How to draw stairs many novice drawing lovers are interested in this issue and in 3 ways will be described in this article! ! In this article, we want to consider the object, without which no multi-story building can do. As you may have guessed, it will be about how to draw stairs. All four examples will be as varied as possible and unique attention should be paid to the stairs; they will be able to surprise their friends! Stairs can be a threatening theme to draw.
However, with some practice and an understanding of how to construct them, they can be worked out on paper just like anything else. There are lots of ways to understand stairs, but what many artists discover valuable is taking an approach that breaks up the entire space into smaller, more manageable blocks.
How to draw stairs easy (option 1)
Step 1
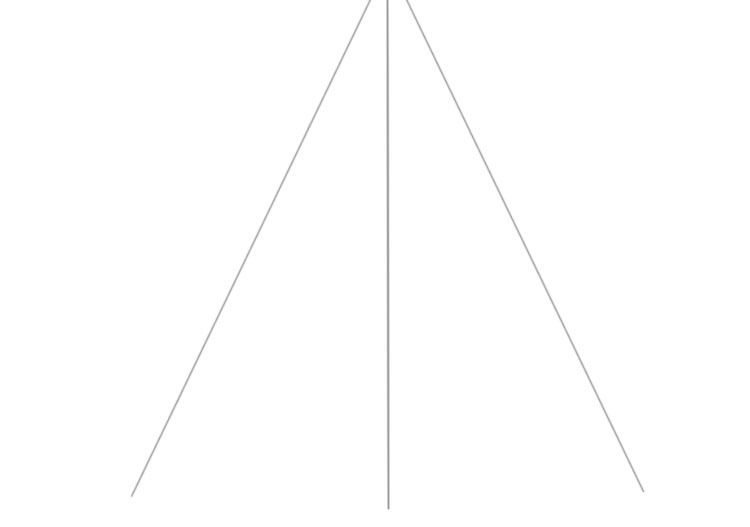
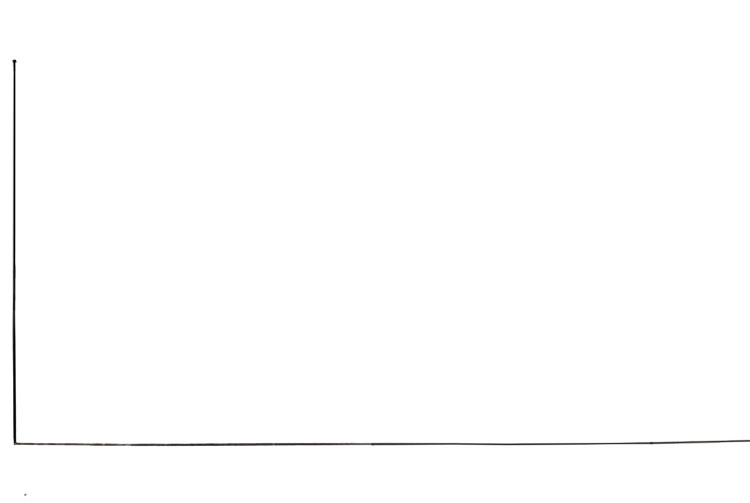
To make drawing easier, we’ll start by drawing a vertical line—this will serve as our starting point for creating the staircase!

Step 2
Next, we draw two diagonal vertical lines to create the outline of our staircase
Step 3
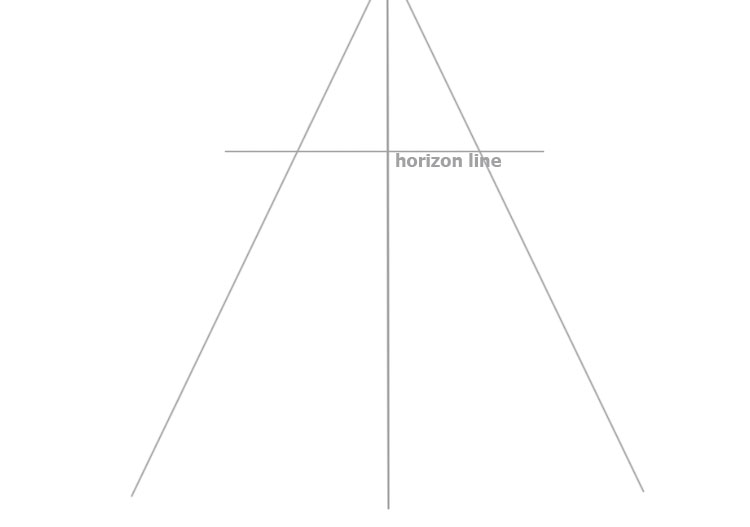
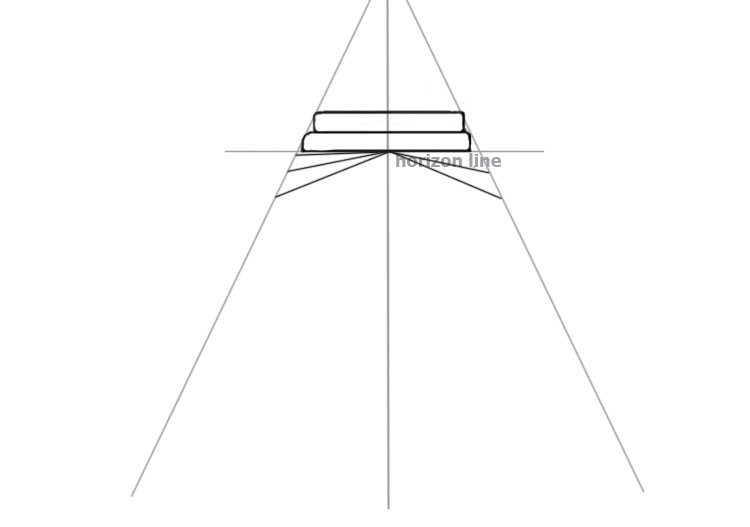
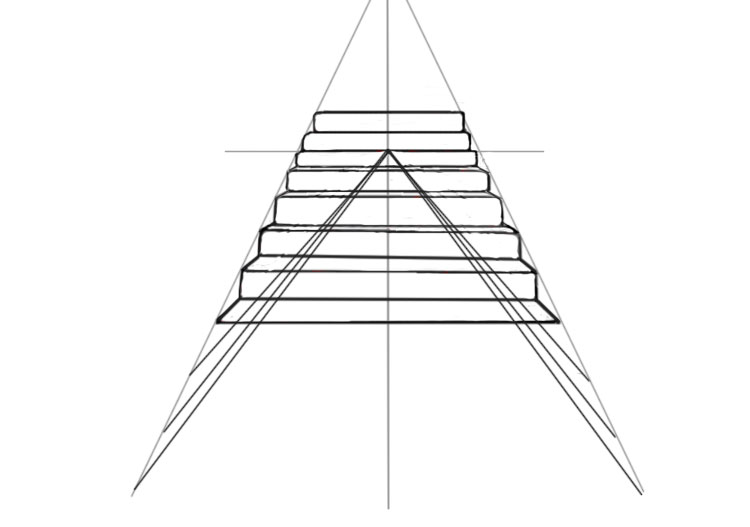
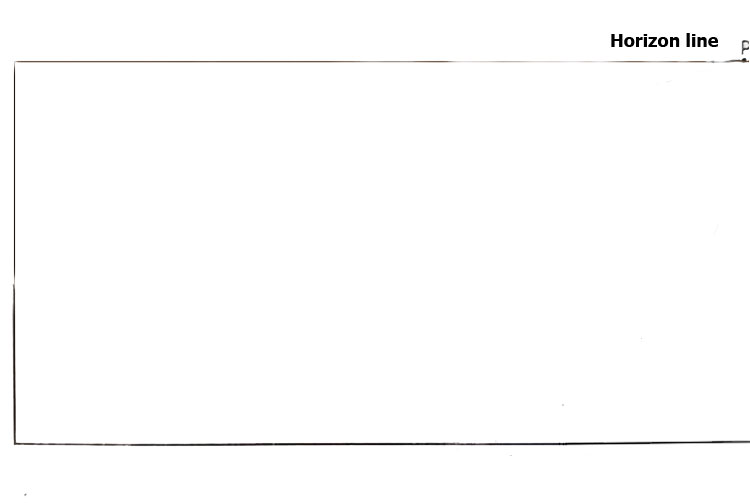
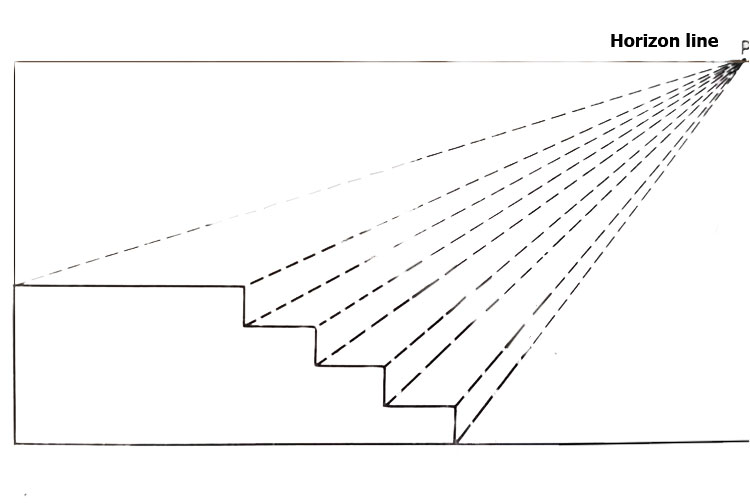
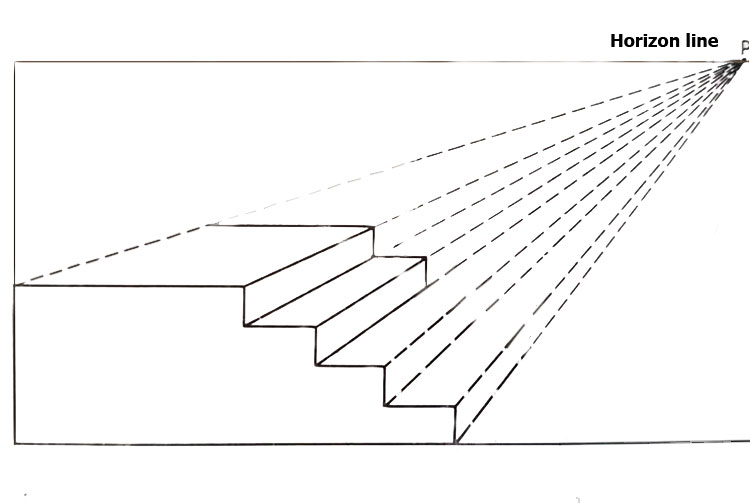
In this step, we draw the horizon line—it runs across the top of the page!
Step 4
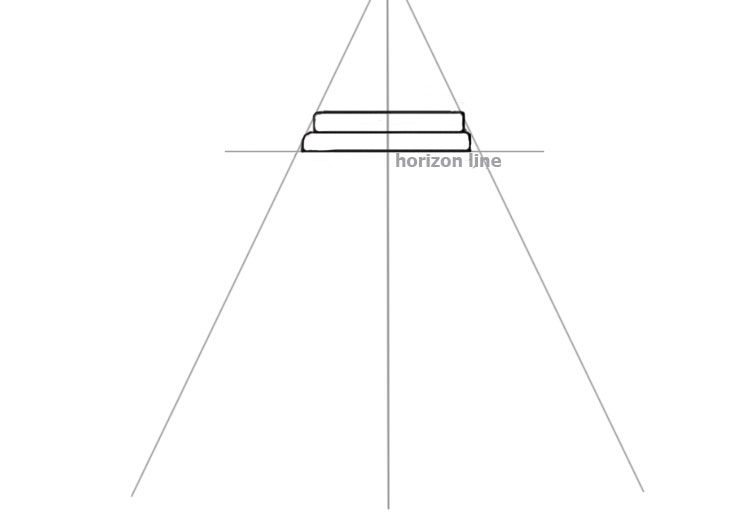
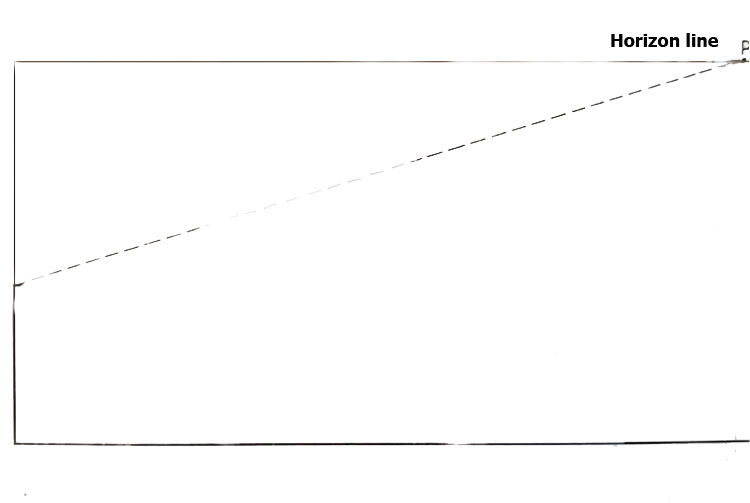
At this stage, we draw the top two steps; since they will extend above the horizon line, we simply draw them as rectangular blocks!
Step 5
Here, we take the center point of our horizon line and draw auxiliary lines from there, as shown in the figure!
Step 6
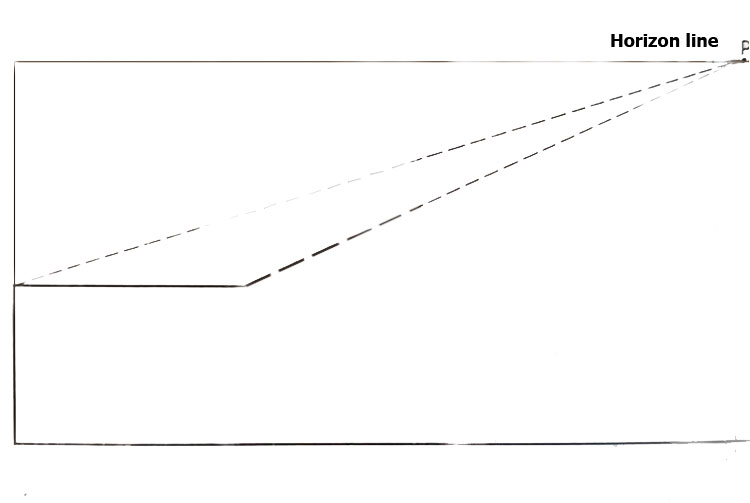
As you can see, the top edges of the stair treads are angled away from the centerline of the horizon (this is shown more clearly in step 9 of the staircase drawing guide)!

Step 7
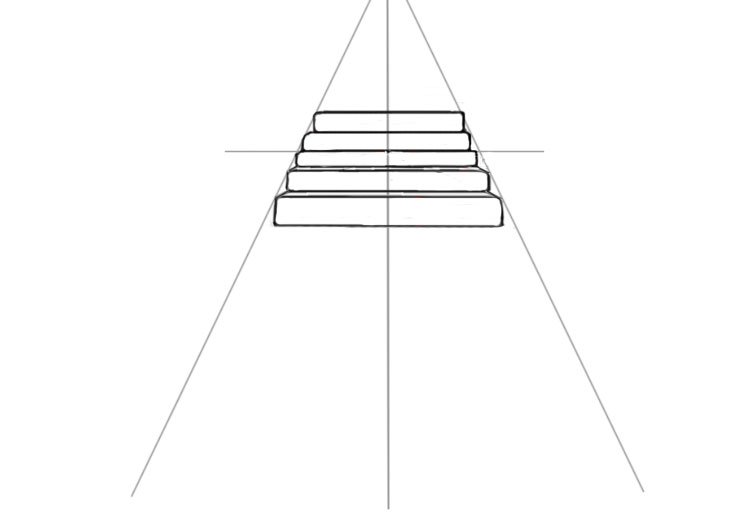
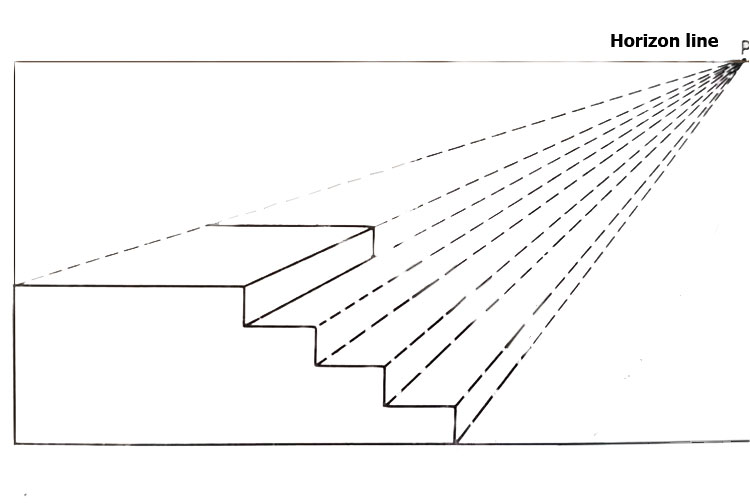
Next, we draw the steps of the staircase as shown in the figure, while removing the guide lines!
Step 8
Here, we draw the next set of guide lines to create the next flight of steps on our staircase!
Step 9
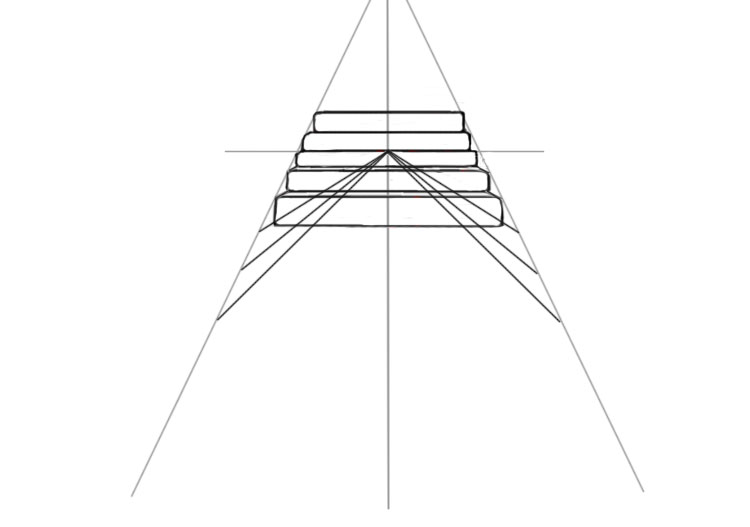
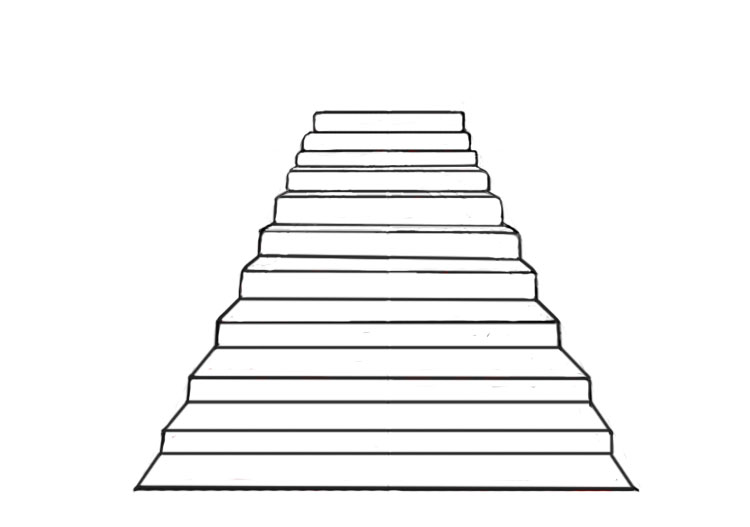
Let’s just draw the steps of the staircase, one by one!

Step 10
Let’s also remove the guide lines from our staircase!
Step 11
In this step of drawing the staircase, we’ll also create guide lines!
Step 12
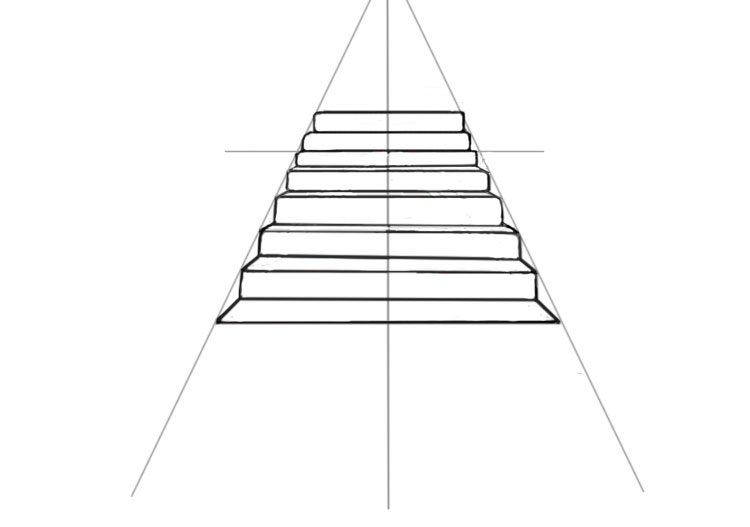
And now let’s draw the outer rows of the bottom steps of the staircase!
Step 13
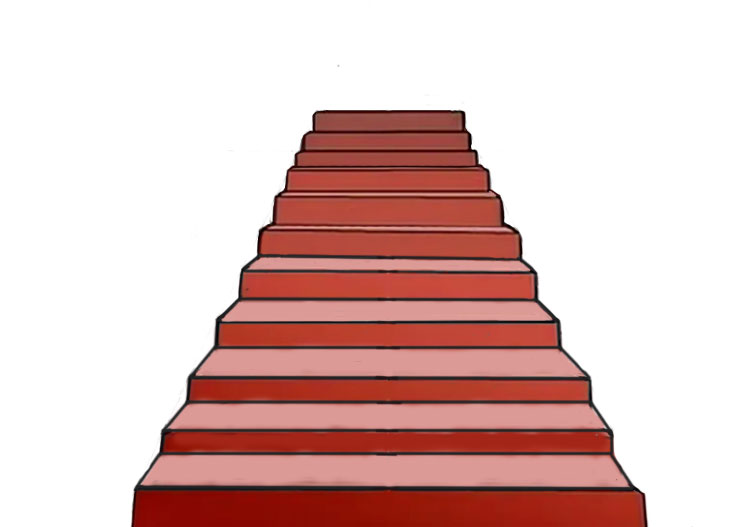
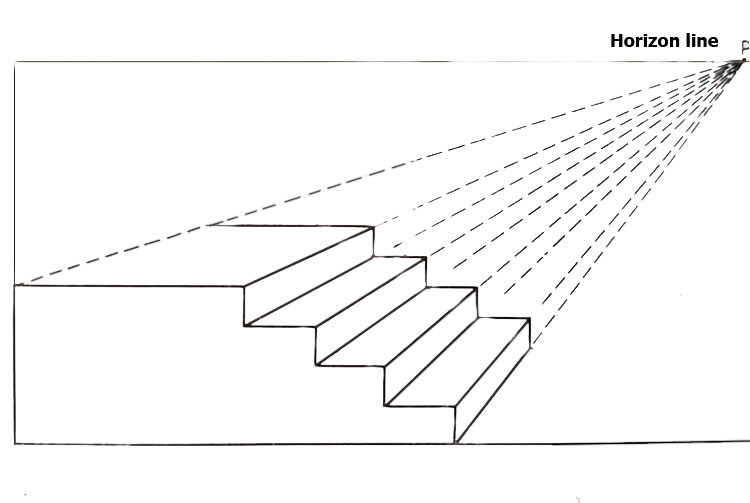
Let’s start coloring the top 6 steps of our favorite staircase!

Step 14
And now let’s finish coloring the remaining steps of the staircase a light red!
Step 15
And if you’d like, we can give your staircase a beautiful new look!
How to draw stairs simple (option 2)
Step 1
The first step in drawing a staircase from the side is to draw two lines—one horizontal and one vertical!
Step 2
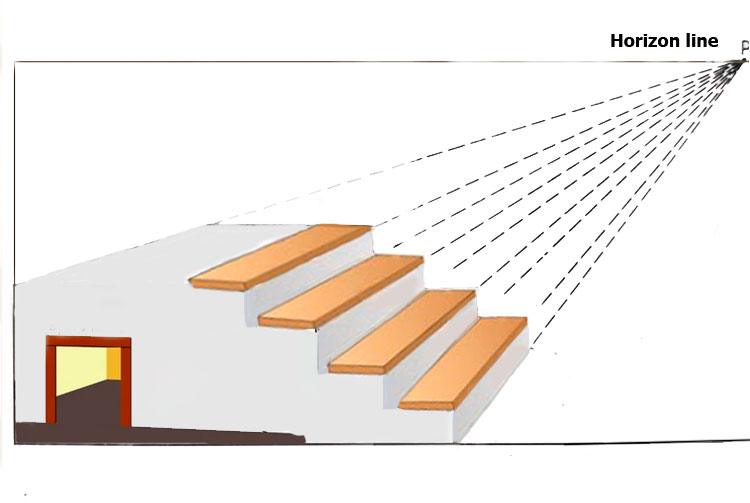
At this stage, in the far right corner, we mark the vanishing point from which we will draw the perspective lines!
Step 3
And here we draw the first perspective line and mark the far left point of our staircase in the side view!
Step 4
At this stage, we draw the central point of our staircase, followed by the perspective lines!
Step 5
Let’s draw some simple stair steps, keeping perspective lines in mind!
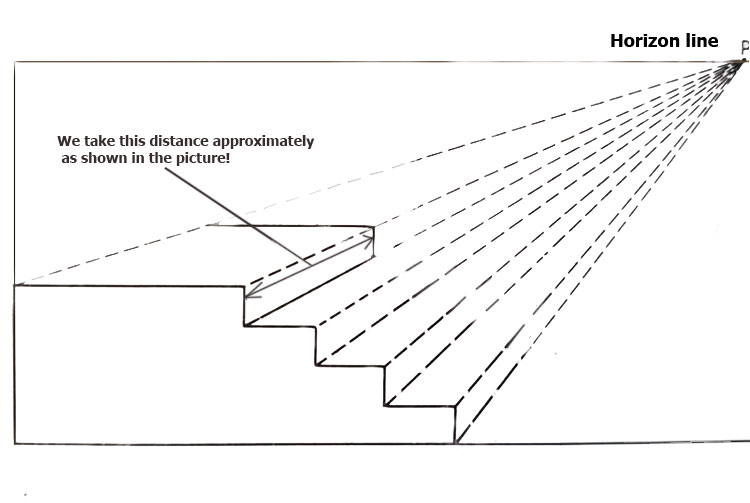
Step 6
Use the approximate step distance shown in the picture!
Step 7
Let’s sketch the first step of the staircase from the side!
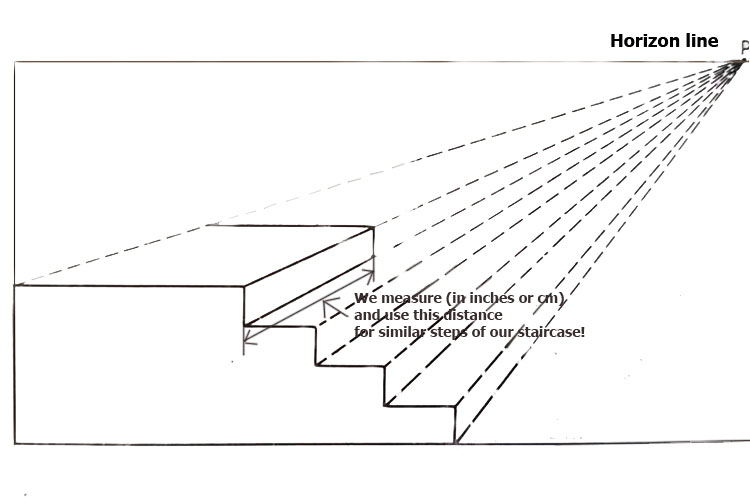
Step 8
To ensure accuracy, measure the exact dimensions of the first step and use those same dimensions for the subsequent steps of our staircase!
Step 9
Let’s draw the next step!
Step 10
And now we’re done drawing the stair steps!
Step 11
Let’s start coloring the side of the staircase in beautiful colors, as shown in the picture!
Step 12
Let’s finish coloring our beautiful staircase in lovely colors!
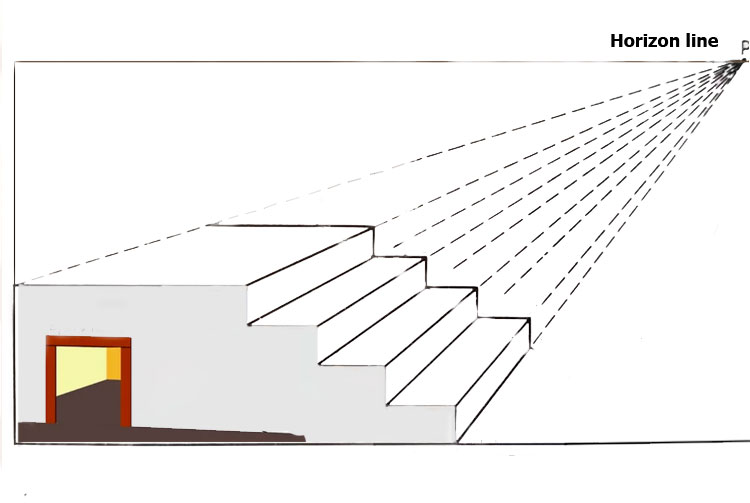
How to draw stairs in plan (option 3)

The laws of perspective are a complicated thing that must be studied to make indoor drawings. We will not spend a significant amount of time on this article within the framework of this article, but merely show how to draw a ladder in perspective gradually.
Place the landscape sheet horizontally and draw two horizontal and one vertical line over the entire surface. Do not press the pencil too hard; most of the lines in this example will be only a guide for us, and in the final stage we will erase them.

We depict the first step of the stairs. To make it more transparent, we carry it through to the very end, and according to the laws of perspective, it is less in the distance than near.

Leave a little space and draw the front side of the second stage. In the photo, it is shown in red.

Similarly, we spend its edges to the very end.

By the same technique, we add a few more steps of our stairs.
Now take the eraser and erase all the extra lines. As a result, you should get the picture as in the picture below.
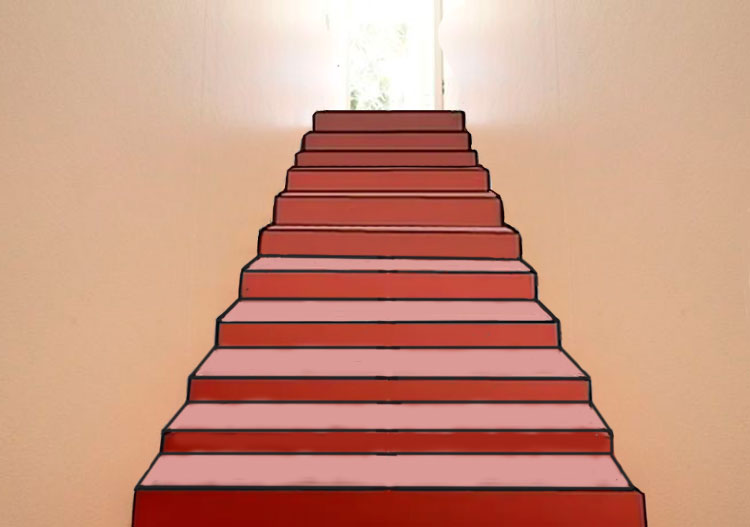
The illusion of the endless stairs

Earlier we said that the last paragraph would be fascinating. We finally came to him and are pleased to announce that this time we will learn how to draw the illusion of a staircase. Its feature is that it seems endless. If you are interested in it, then sharpen the pencil as soon as possible and start exploring!
We make a simple sketch with a pencil. Here we denote only the contours and approximate forms of our future drawing.

Starting from the previous sketch, we depict endless steps. Perhaps this is a too abrupt transition of stages, and you may not be too clear how this is done. To learn more about this technique, we recommend studying the video tutorial, which is presented at the end of the paragraph.

At the last stage, outline the outlines with a black marker and apply chiaroscuro. As a result, we will have a drawing with which you can surprise your friends and relatives.


