Anchor drawing in 4 different ways will be covered in this article. Anchor, which itself turns over to a horn when pulling a rope, was invented in the East 2 thousand years BC. e. Such anchors made first entirely of wood, and later with lead rods, have become widespread in the Mediterranean basin. But who was the first to make an iron anchor?
The ancient Greek writer Pausanias (II century) claims: the first bicorn iron anchor was forged by Phrygian king Midas (VII century BC). The Greek poet and musician Arian (7th century BC) say that in the temple of the goddess Phase, he saw the stone and iron anchors of the Greeks. How to draw an anchor, many beginners ask this question!
Drawing an anchor is very easy; the main thing is to follow our recommendations! The Roman writer Pliny the Younger (62-114) considers the constructor of the Greek iron anchor Eulampius, and he attributed the invention of the iron anchor, the horns of which had paw ends, to the ancient inhabitants of Etruria. Let’s take a closer look at drawing anchors with different approaches!
Anchor drawing easy (option 1)

Step 1
The first step in drawing an anchor is to draw two circles, one small and one large on top!

Step 2
Next, in the center of the drawing, create two more mini circles, one the same size and the other even smaller!

Step 3
At this stage, draw two vertical lines that cross the entire drawing!

Step 4
At this stage, we draw the upper part of the anchor in the form of a rectangle and two circles spinning above our masterpiece!

Step 5
The next step is to draw the lower part of the anchor in the form of pointed tips!

Step 6
Next, draw super-tips in the form of triangles on these tips!

Step 7
Let’s start drawing wooden sticks. First, let’s create two of them!

Step 8
And at the bottom, as shown in the picture, we draw 5 more of the same sticks!

Step 9
Here, we erase the extra lines in the center of the steering wheel in the picture with anchors and color the central part yellow!

Step 10
Drawing the anchor wheel itself and 7 sticks in bright brown!

Step 11
In the same way, we color the anchor itself and the upper and middle parts of our drawing blue!
Anchor drawing simple (option 2)

Drawing an anchor is not as difficult as everyone thinks. First, we need a pencil, of course. I advise you to take a simple pen because, in case of an error, you can quickly fix the error with an eraser, which can be bought at a kiosk or in many other stores.

To begin, draw a line, this will be the basis of the anchor.

At the top of the line, we draw a circle; it will be a hole to which they hook the rope to hold the anchor.
Then, at the bottom of the line, draw a circle on the floor, this will be what the anchor clings to the roots and so on.
Then we draw according to the scheme that I gave.
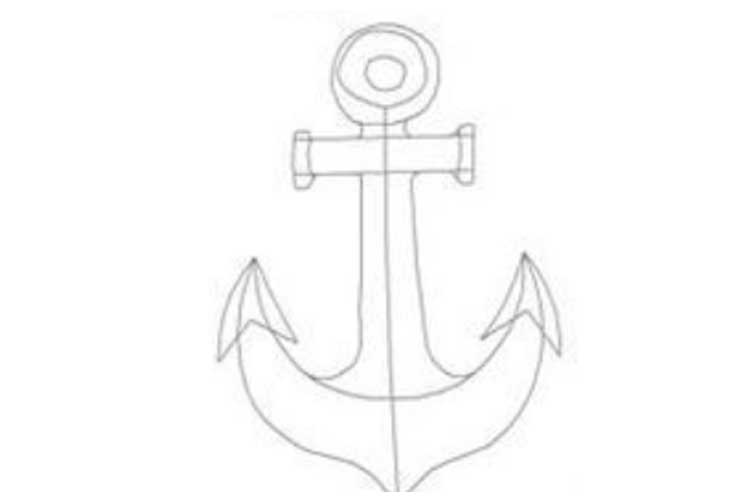
How to draw an anchor ( option 3)
1
Spindle
This is the central part to which the other components are attached. Reminds an elongated rectangle.

2
Staple
A ring that attaches to the top. A strong rope is tied to it so as not to lose the anchor in the water.

3
Stock
Presented in the form of a transverse bar just below the bracket. Thanks to him, the anchor crashes correctly into the ground.


4
Horn
Thanks to him, a stop is made. This part has paws that cling to the ground.


5
Left paw
At the tip of the horn, add a triangle that resembles the advice of an arrow.

6
Right paw
The second is drawn in the same way. Below the horn has a sharp ledge.

7
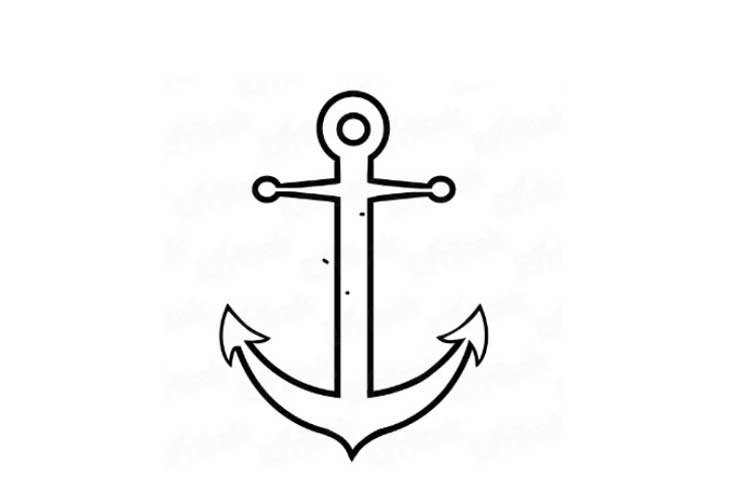
Adjustment
Erase the unnecessary lines that appeared during the drawing.

8
Colourize


