 Drawn light
How to draw fire in 2 ways will be described in this article! ! Let’s draw some fire to warm up! In this tutorial, I will show you how to draw a candle flame, a campfire, and a thrown flame using a few simple tools. The symbol of coziness and home is a fire. His warmth and bewitching glow lulls and brings peace.
He was revered from the earliest times, so they stored a ray in each family so that with new rays of the sun he could revive him to live. How to draw fire, that with the help of well-known techniques to transfer all the power of the flame and the weightlessness of its sparks? This will help a specific master class. So, we prepare a working area, a paper, and the necessary tool.
How to draw fire easy (option 1)
Step 1
The first step in drawing fire is to draw a horizontal line.

Step 2
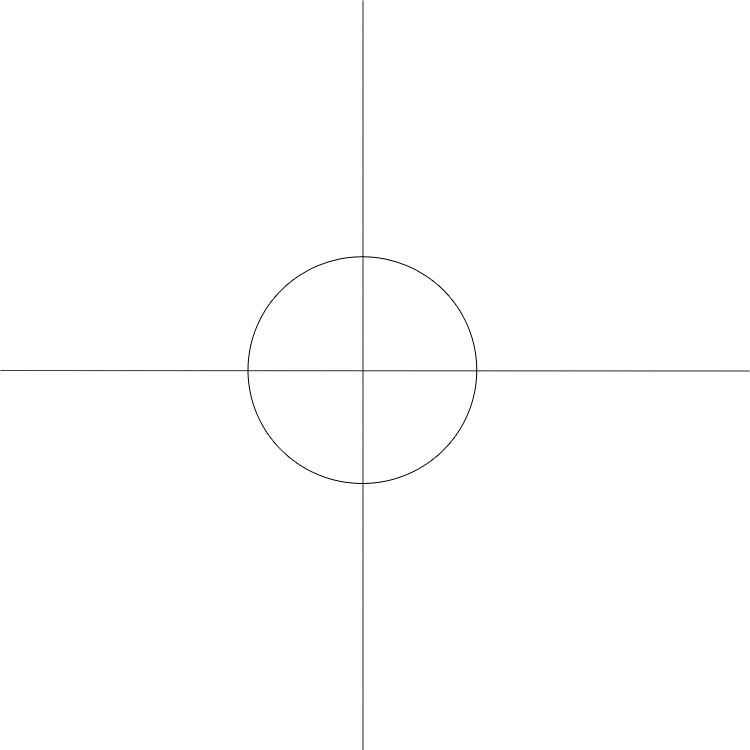
Next, we draw guide lines—a horizontal line and a vertical line that intersect at the center—as well as a circle at the center of these lines in order to successfully draw fire .
Step 3
At the bottom of our circle, we draw the very bottom of the flire.
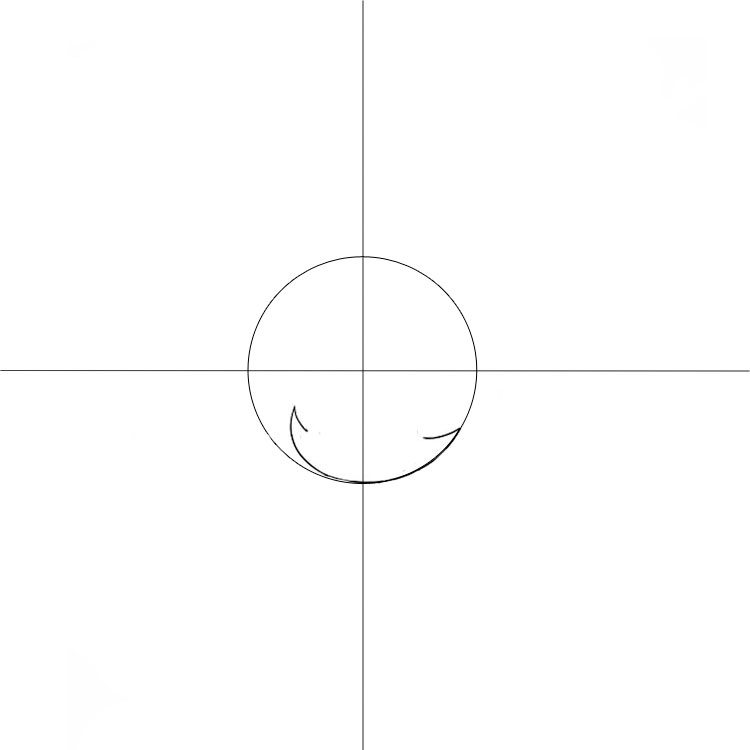
Step 4
In this step of the drawing, we’ll sketch the outline of the central part of the fire (which we’ll later color yellow).
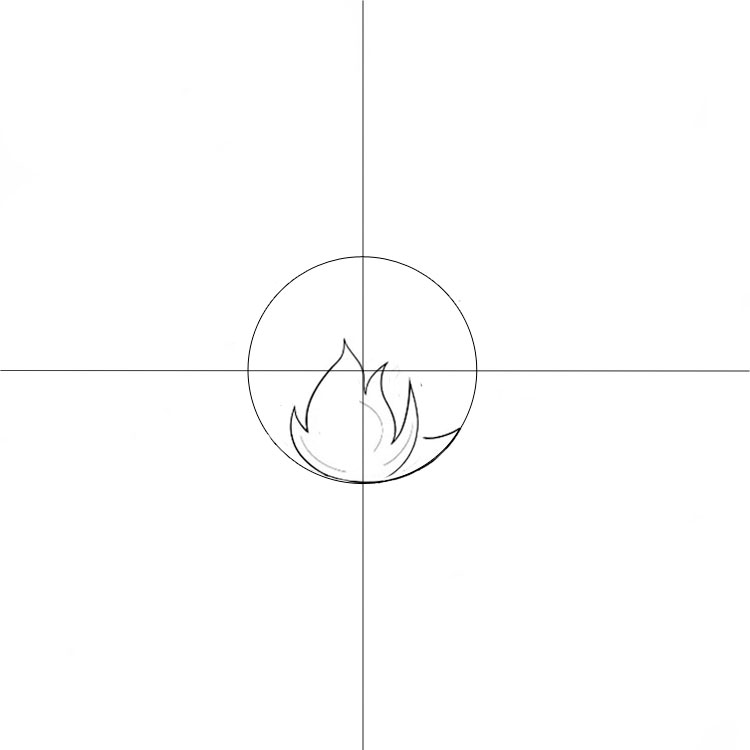
Step 5
Just draw the outline of the second segment of the flame.
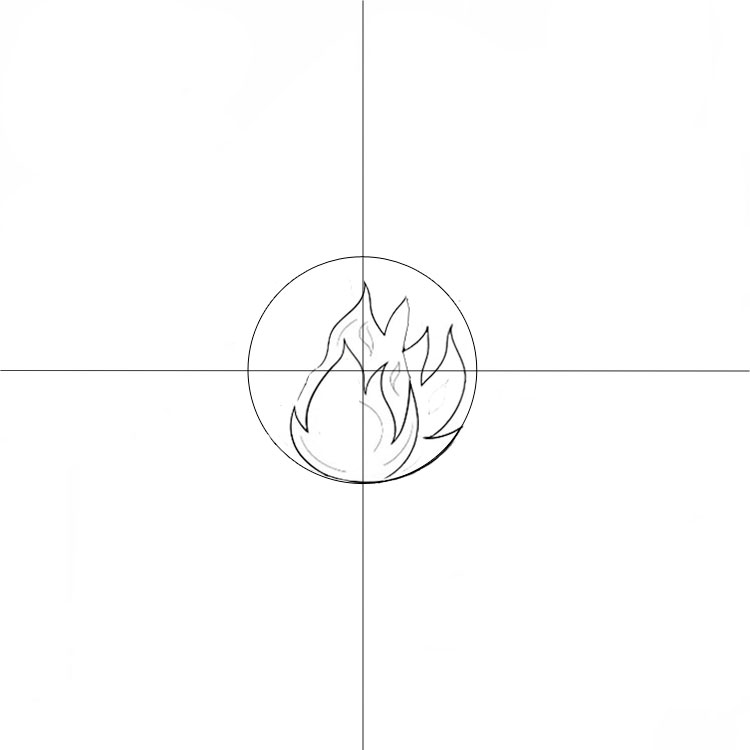
Step 6
In the same way, we draw the outline of the third element of the fure.

Step 7
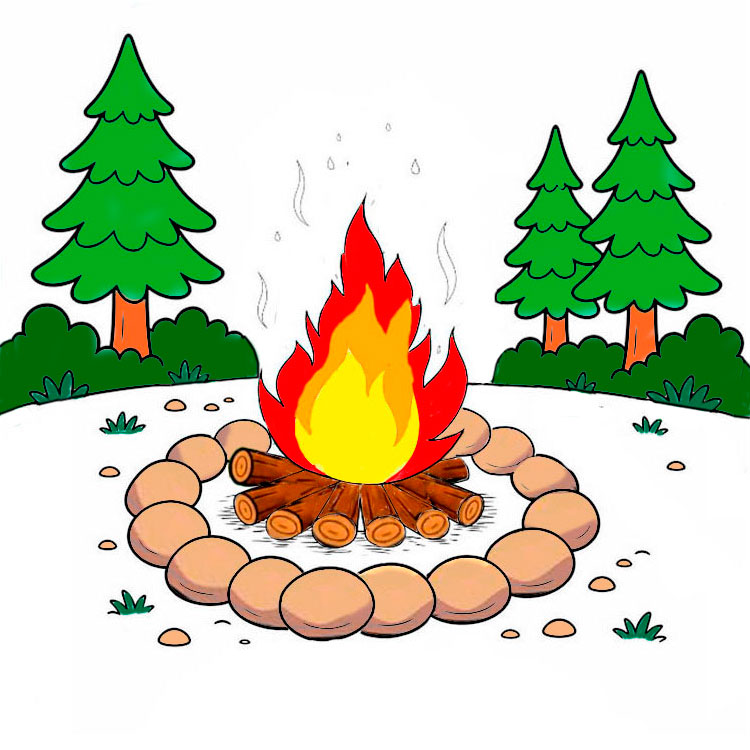
In this step of the drawing, we’ll create the outlines of the logs and the area of ground around the fire.

Step 8
Next, draw the outlines of the Christmas trees and the shrubs.

Step 9
Here, we sketch the outline of the cobblestones around the campfire and add details to the logs right next to the fire.
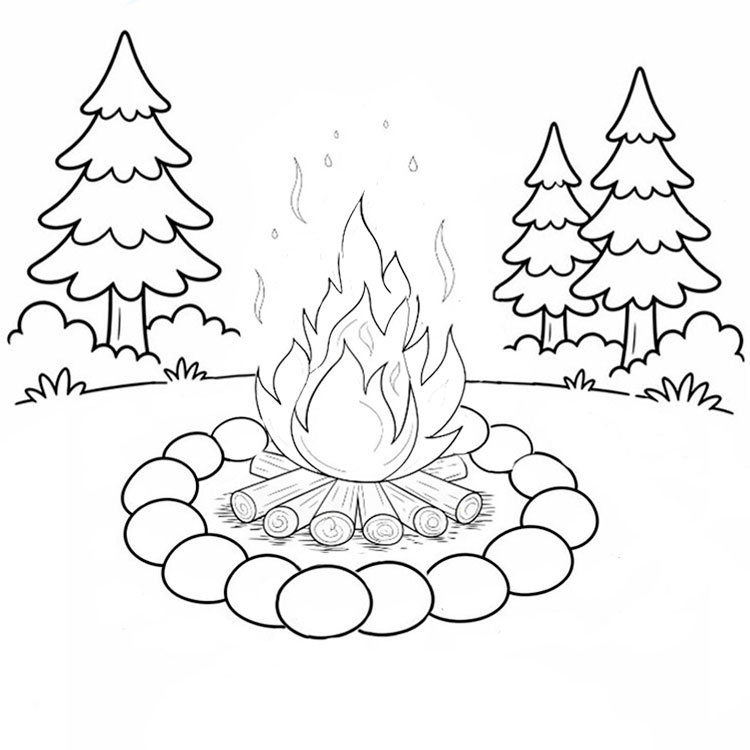
Step 10
At this stage of the drawing, we’ll sketch the small bushes around our campfire and add detail to the rocks.

Step 11
At this important stage of drawing, to achieve this beautiful color combination, you need to: color the center of the campfire yellow, but leave some space between the color and the pencil line so you can erase it later.
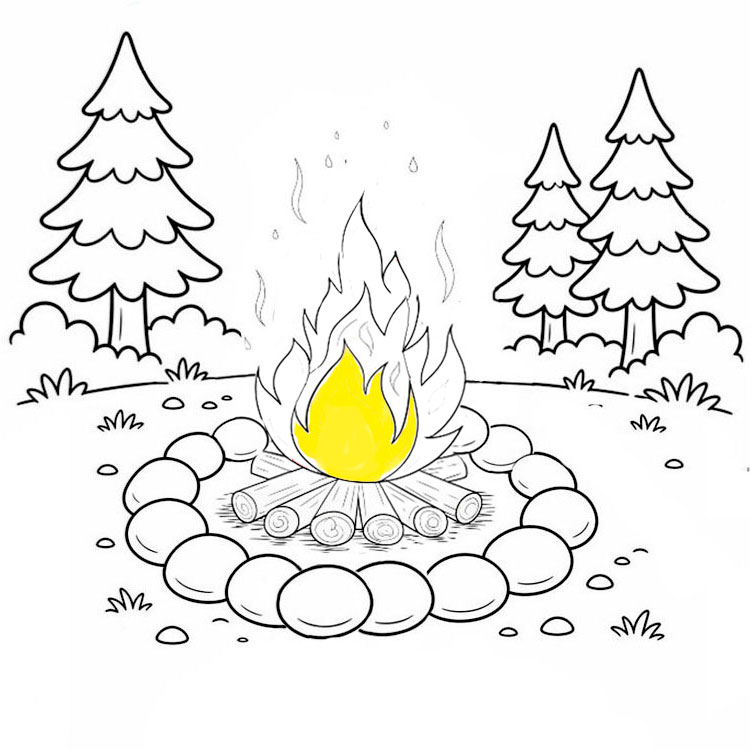
Step 12
Here, pay special attention to the fact that we’re lightly adding a few more details and erasing the black-and-white pencil line so that we end up with this overall color palette for the fire.

Step 13
In the same way, we start by partially coloring in the next shade (in this case, light brown), leaving a space up to the line drawn with a regular pencil, and then continue coloring it in. We do the same with the next color—that is, bright red.
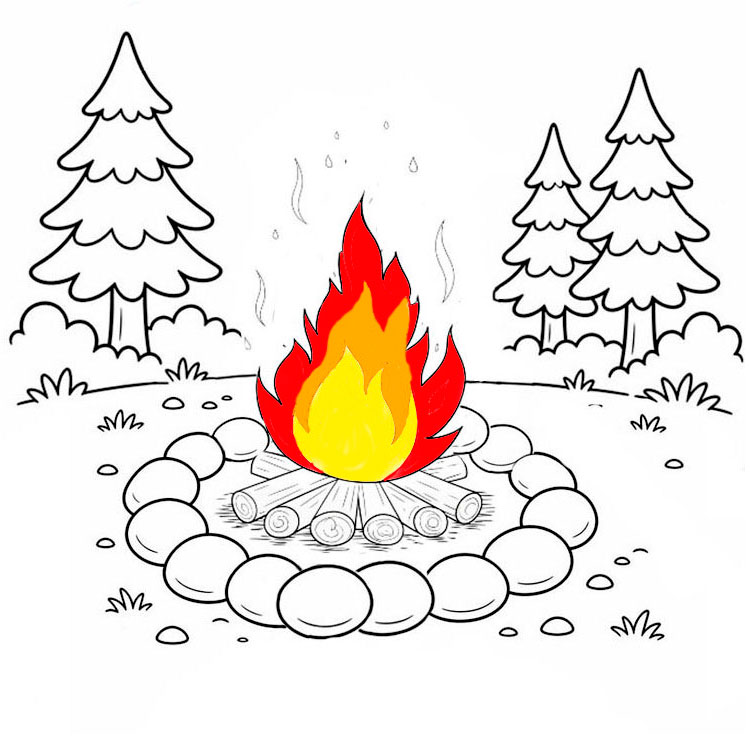
Step 14
Next, we simply coloring the logs at the base of the campfire and the stones lying around the fire in bright, colorful shades.
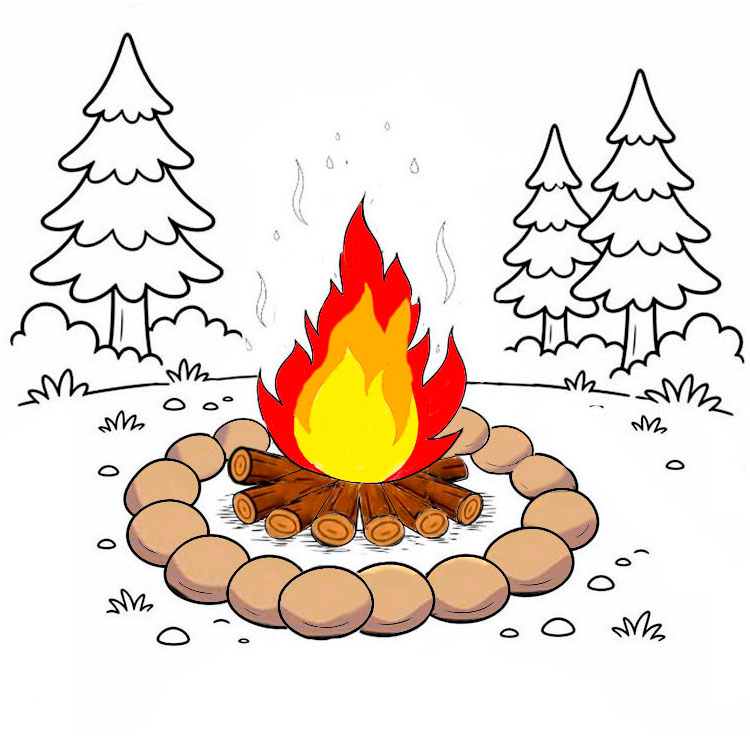
Step 15
In this step, we finish drawing by coloring the elements of the Christmas tree in light green shades and the shrubs in dark green shades.
How to draw fire simple ( option 2)

Each time you need to complicate the technique of drawing and the composition itself, so consider a more complicated version of how to draw a bonfire in the forest. It will be fenced with stones so that the flame of fire does not spread to dry grass, which is fraught with the onset of a fire. On the sheet follows an easy movement of the pencil to limit all future zones, which in the future will need to be detailed. Draw an ellipse in the center of which horizontally place three rectangles, and above them draw five flames.
Step 1
The first step in drawing the flame is to create the base of the main stone!

Step 2
Next, draw two stones on the sides of the center stone!

Step 3
The next step is to draw a succession of rocks!

Step 4
Drawn a bar in the center!

Step 5
Creating a flame out of 5 elements!

Step 6
Drawing the second bar and the neck of the flame!

Step 7
Color our flame!