How to draw a bow explains two ways (the two simplest techniques for drawing )! Drawing lesson, how simple and easy to draw a beautiful pencil step by step. The decoration that has become customary, which is made of ribbons, is so widely used that everyone should know how to draw a bow, especially since it is so simple.
Drawing a bow is fun and exciting!
We see it on the hair, on the clothes, on the New Year tree or the envelopes with the newborns, the bow turns everyday things into pleasant things, and everyone knows how to make it.
We draw the middle part, which overfills the ribbon, then draw on both sides of the bow.
How to draw a bow in stages (option 1)
Step 1
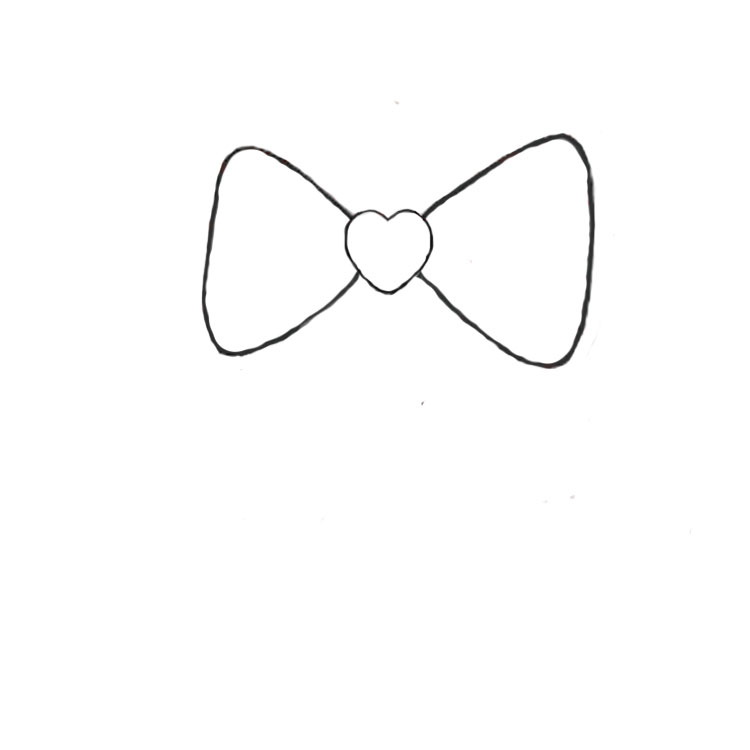
First, we draw the outline of a heart—this will be our starting point for making the bow!

Step 2
Next, we draw the outer outline of the bow.
Step 3
And here we draw the inner outline of the bow in the form of curved arcs at an angle!
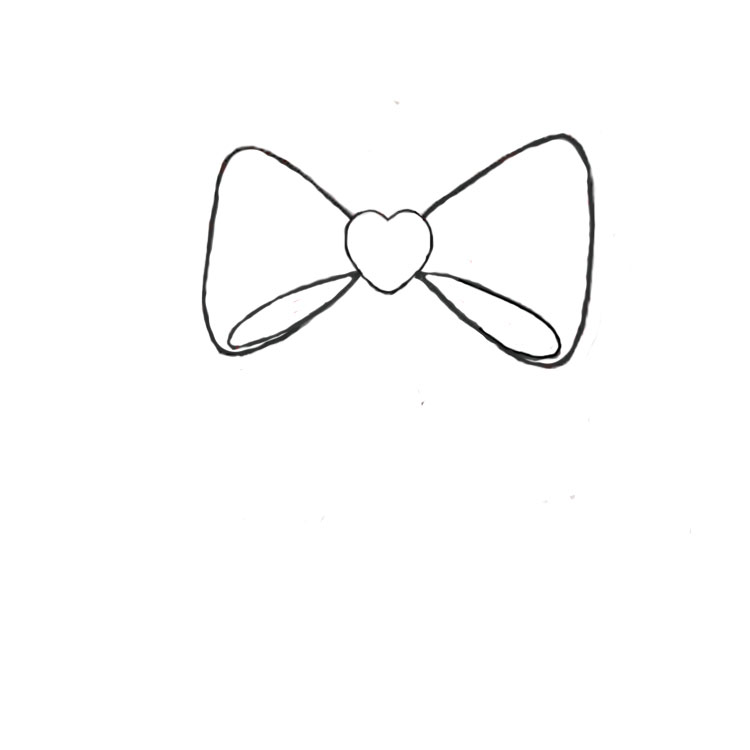
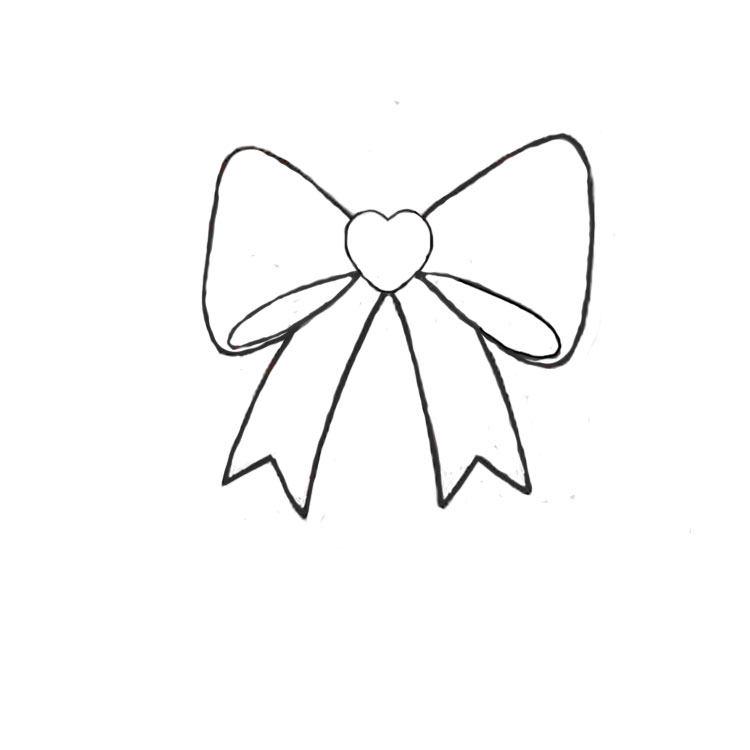
Step 4
And now we’re going to draw some pretty ribbons that flow down!
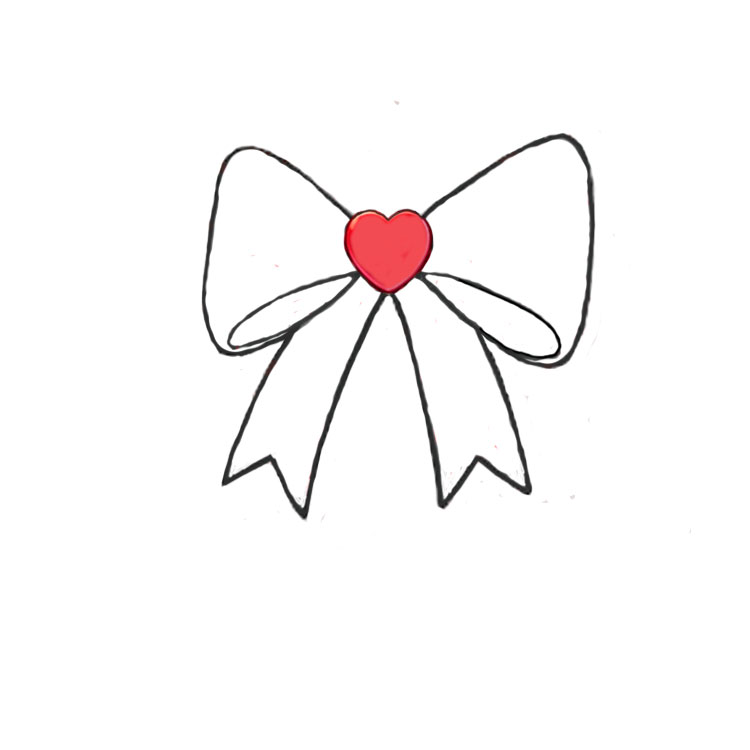
Step 5
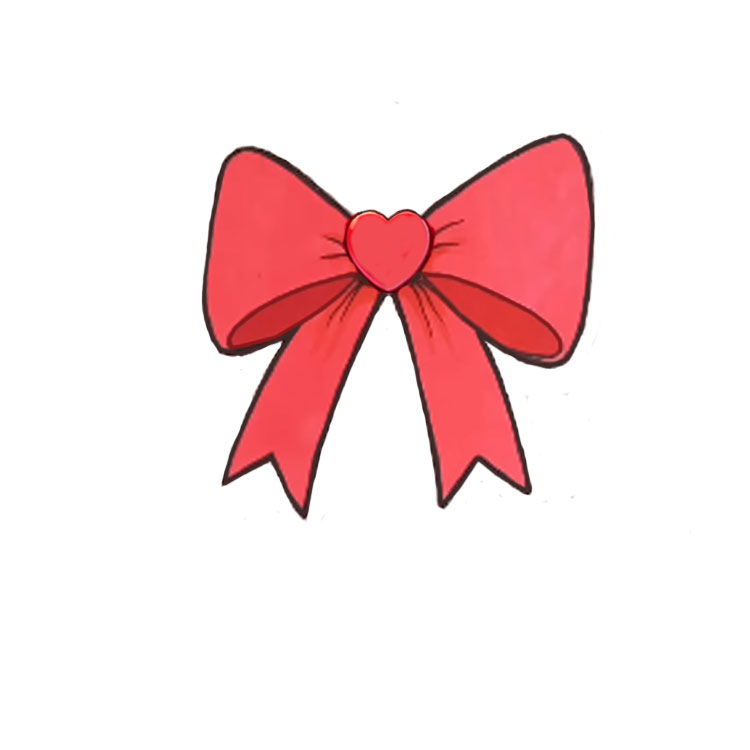
Let’s start by coloring the center of the bow red!
Step 6
And now let’s finish coloring the rest of the bow!
Drawing bow (option 2)
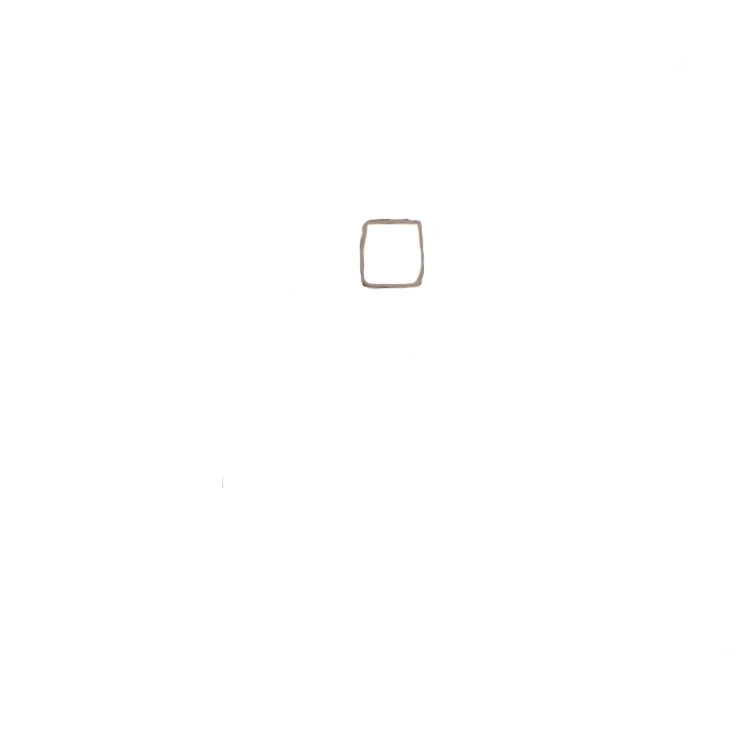
Step 1
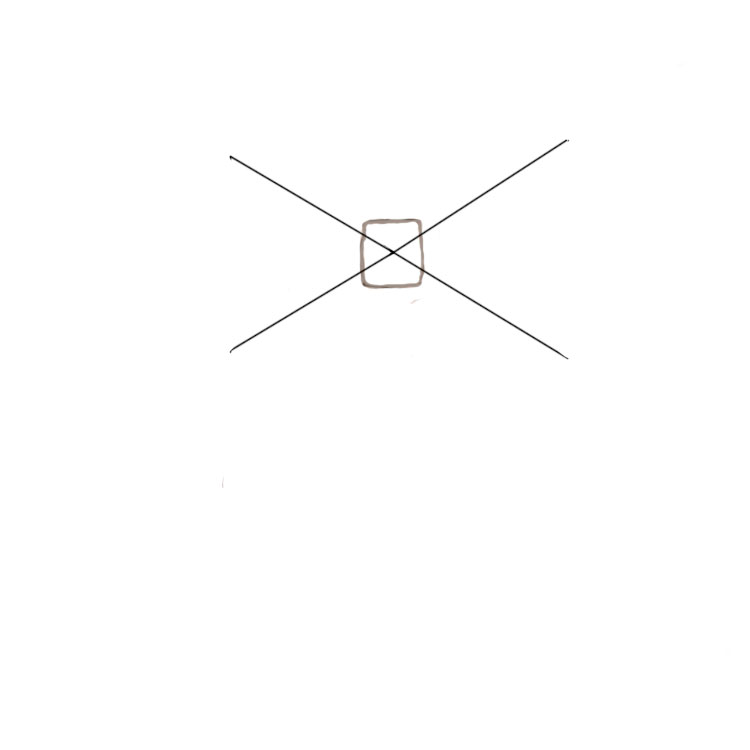
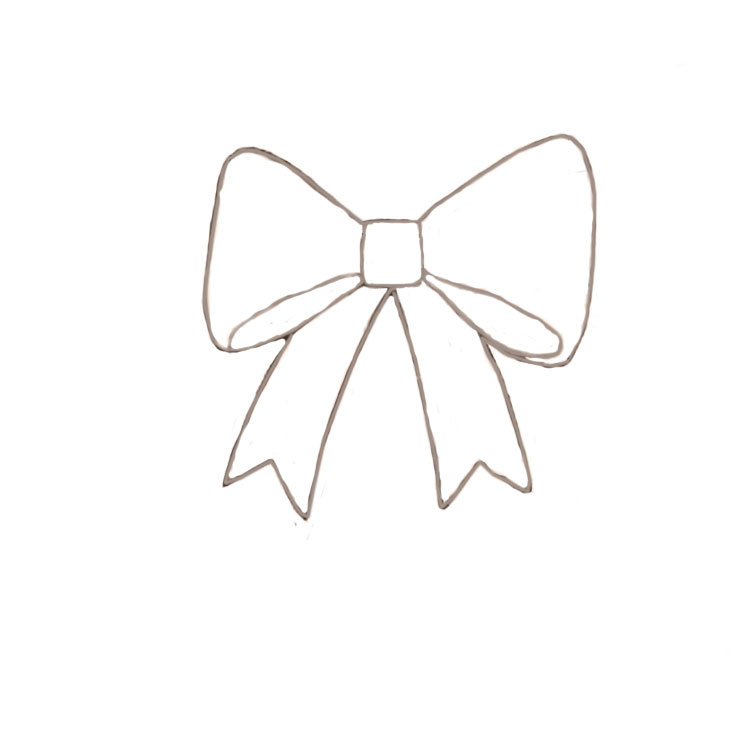
In the second technique for drawing a bow, you need to start with its center, which should be shaped like an almost perfect square!
Step 2
At this stage of the drawing, we create two diagonal lines that intersect at an angle!
Step 3
Connect the endpoints of these diagonal lines—in other words, draw two vertical lines!
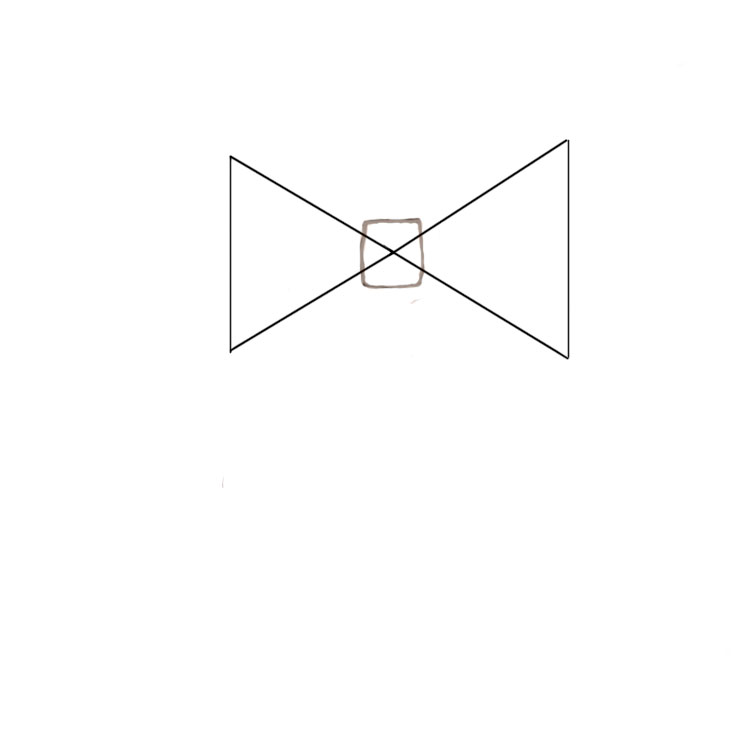
Step 4
We use these auxiliary diagonal lines to create the outer outline of the bow!
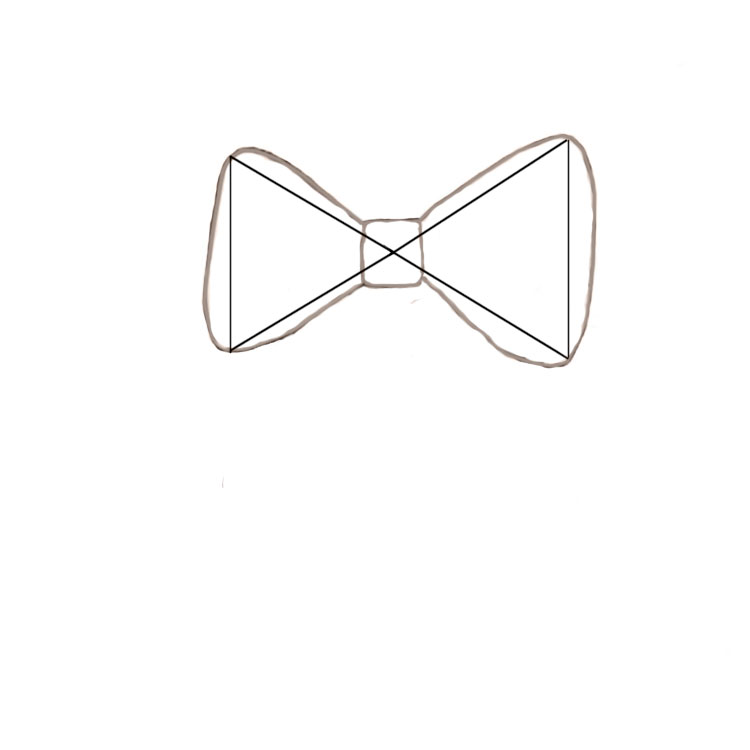
Step 5
Here, we’re just drawing the outline of our drawing!
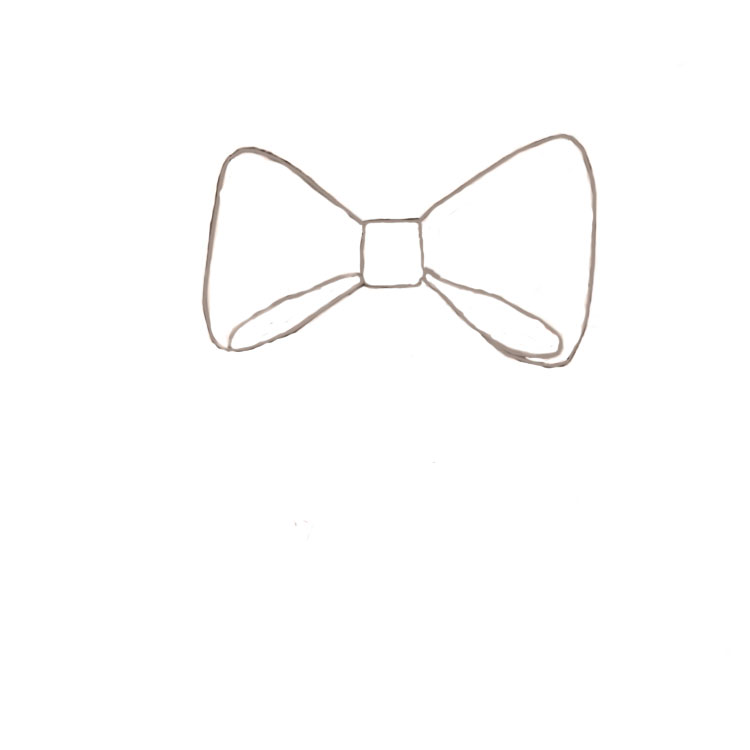
Step 6
Here, we’re just drawing some pretty ribbons on our favorite bow!
Step 7
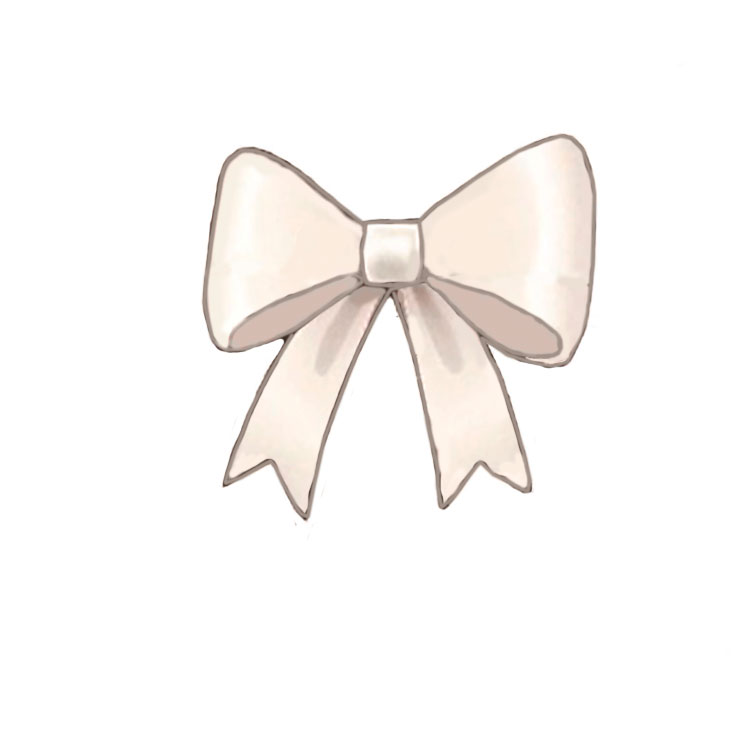
Let’s start coloring from the center, giving it a light brown shade!
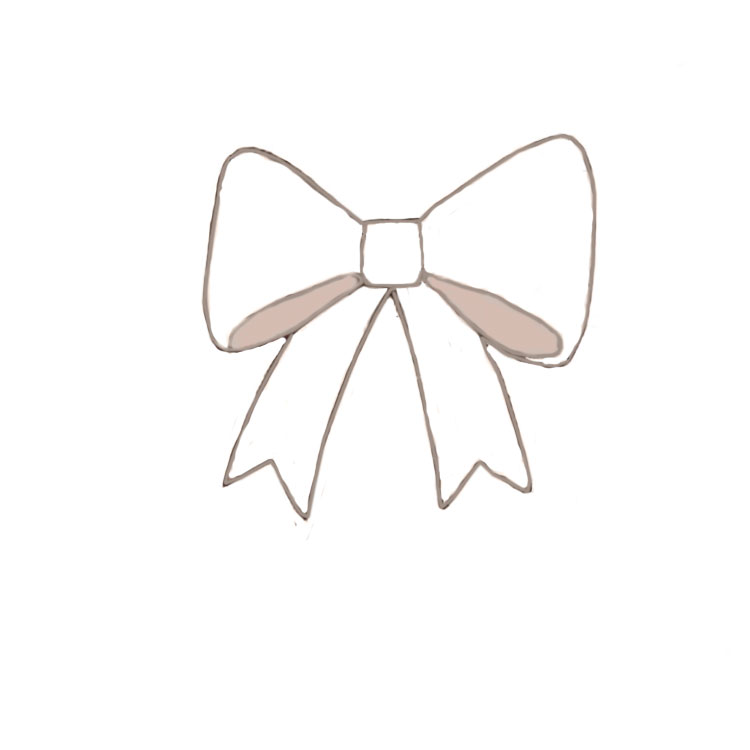
Step 8
And now let’s finish coloring in the rest of the picture!
Draw a bow strict and solid bow pencil (option 3)
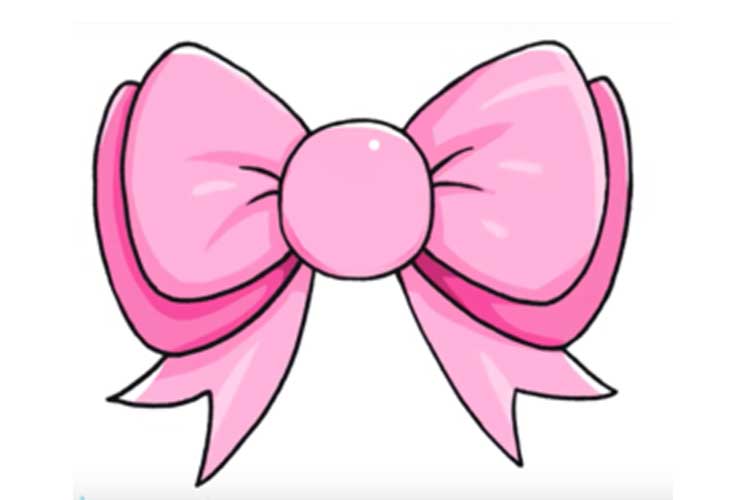
Pink smart bow with short ends
It is good to know how to draw a bow in stages because this skill is useful for drawing a princess dress or for reproducing the image of a famous hero Leopold. The adorable pink decorative element looks like a real one. And to create this mini-masterpiece, a simple pencil and pink paint are enough to decorate the finished product.
The first stage consists of the creation of a knot and the first loops of the bow. Draw a node in the form of a circle; you can not perfect shape. Next, draw the loop with rounded lines and shapes, vaguely resembling a cropped triangle. It is not so important to perfectly match the pattern – in reality, each bow looks unique so that you can allow certain liberty in the drawing.

Then go to the second pair of ears or eyelets, which will be for the first. It is even easier to draw them; they are the same in shape as the previous ones, but a little more and are just below. And on the first ears, you need to put a couple of checkmarks, like folds on the tape from the knot.
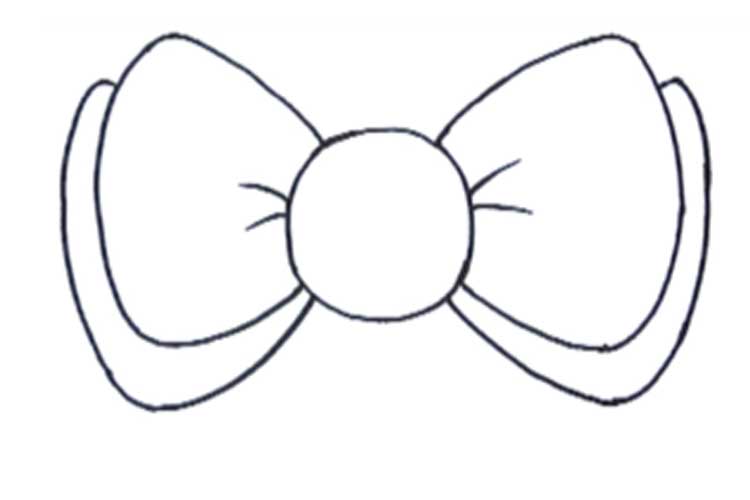
The final stage – drawing the ends of the tape, which is a beautiful cut. The tips extend from the knot, their edges are uneven, with a triangular cutout. The tape diverges in different directions, although their length, boundaries may depend on the destination of the finished product.

And finally, the most pleasant thing is the embellishment! It turned out the gorgeous and magnificent bow. And when it is sketched with soft pink colour, it will turn out even more elegant. But for a better view, it is desirable that a pair of ears slightly different in the shade. For example, the first pair is light pink, and the second is dark pink.