Bed Drawing in 3 versions will be described in this article! The first primitive beds made of palm poles or twigs fastened with ropes appeared in Ancient Egypt about three millennia BC. And only centuries later, prototypes of couches with headrests and footrests began to appear in the palaces of the pharaohs. Gradually, the tradition of sleeping on such devices spread among the nobility of the ancient Egyptian civilization.
Centuries will pass before the fashion for such couches does not pass to the Greeks, and from them to the Romans. But the matter did not go further – the dark Middle Ages came, rolling civilization far back. Bed Drawing quickly, the main thing is to adhere to our recommendations!
So, during the Middle Ages and up to the 18-19 centuries in Western European countries, all family members slept in the same room, often together with domestic animals. All went to bed on the floor, covered with animal skins, blankets, mats. There were no pillows at all – they put a fist under their heads. Night clothes also did not exist – they slept in what they wore during the day.
For example, this is how a large Irish family settled down for the night: “away from the door, at the very wall, is the eldest daughter, followed by the rest of the girls, in the middle of the bed are the mother and father, then the sons, and from the very edge are the guests of the house.”
Let’s start bed drawing right away!
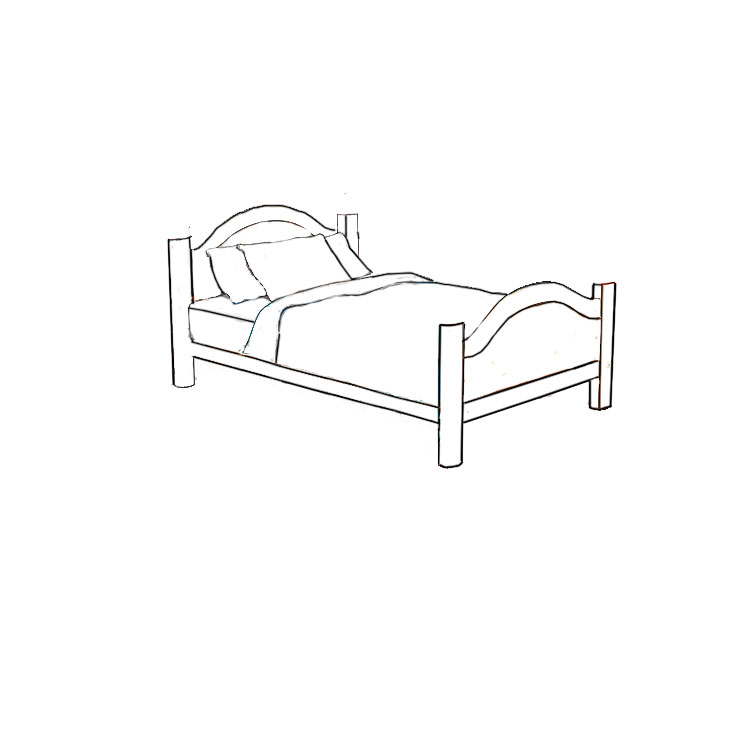
Bed Drawing easy (option 1)

Step 1
The first step in drawing a bed is to create its front frame!

Step 2
Next, we create the front arch of this wooden frame!

Step 3
In the next step, we draw the side panel and rear frame, or rather, part of it!

Step 4
Draw the base of the cushion and the rear connecting frame!

Step 5
This is how we draw the base of the blankets and the side frame!
Step 6
Here we draw the upper round balls along the edges of the bed!

Step 7
Let’s drawing these balls red color!

Step 8
In the same way, paint the side walls of the bed, but in light gray!

Step 9
And we finish drawing the bed, or rather its pillows and blankets, in bright colors!
Bed Drawing view: side, top, front (option 2)

Step 1
The first step is to draw an almost perpendicular line!

Step 2
Next, we draw the same parallel line!

Step 3
In this step, we draw the base of the front leg of the bed!

Step 4
Here we draw the base of the rear leg of the bed!

Step 5
Let’s continue drawing the front part of the bed!

Step 6
Let’s finish drawing the front legs of the bed!

Step 7
At this stage, draw the curved part of the back of the bed!

Step 8
Let’s continue drawing the back of the bed!

Step 9
Let’s make beautiful framing elements for the back of the bed!

Step 10
We also draw a semicircle at the back of the bed!

Step 11
Let’s draw pillows and the main place for sleeping!

Step 12
Let’s draw a blanket!

Step 13
Finish the drawing by creating a colorful blanket!
Bed Drawing cartoon (option 3)

Step 1.
Okay, you’ll need a ruler if you don’t know how to draw lines to make good ones. After you equip yourself with the necessary tools, begin this step by drawing a large square box. Then you need to add in the rectangular side and opposite the bed to shape this to look three-dimensional. We will then add the head of the Board to the pillow guidelines.

Step 2.
In this next step, you will start sketching in wrinkled lines around the pillow’s edges and then sketching in the comforter that covers the bed. When it’s over, you will need to add a foot to the upper left corner and then add to the shape on the right side of the pillow.

Step 3.
You will be solving this step by stretching the rounded edges and shapes of the rest of the pillow, as seen here, and then you will start adding fold lines to the bottom foot end of the quilt bed. Add other bottom legs and then shape the corners of the blanket as shown.

Step 4.
This is your last drawing step and what you will be doing in detail and define the pillow and quilt as shown with some wrinkles and fold lines. Once you’re done, you can start erasing all the principles you drew in step one to clean up your sketch.

Step 5.
When you are done, your bed should come out like this. All you have to do now is color it the way you want it. I hope you enjoyed this tutorial on how to draw a bed in stages.

Step 6
Coloring our bed


