 Drawn light
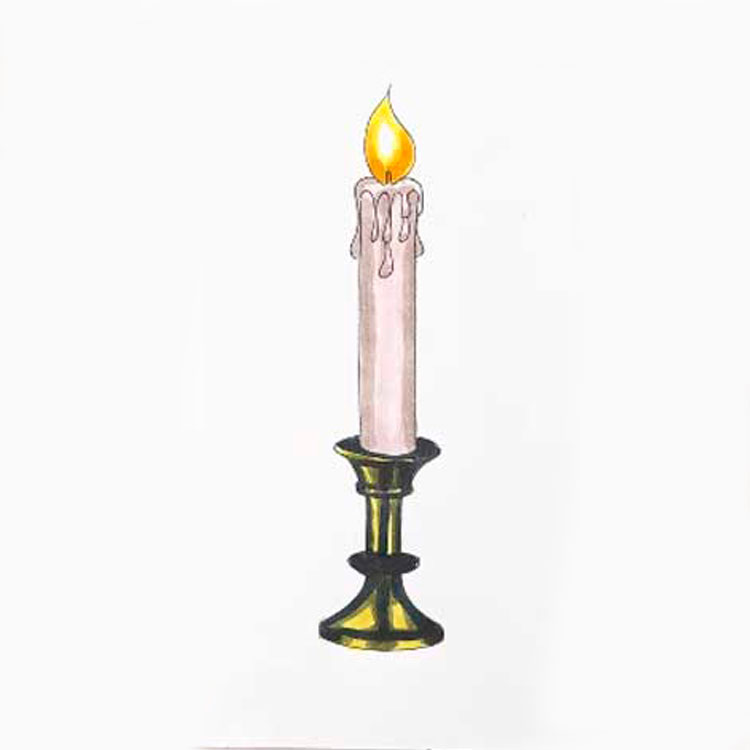
How to draw a candle with a detailed description of 16 steps will be described in this article! The combustible material in a candle can be different, such as wax, paraffin or vegetable oil. When the wick burns, it releases heat and light that warms and illuminates the room.
There are many types of candles, varying in shape, size, color and fragrance. and for example, having a traditional form, being round or square, having different colors such as white, yellow, red or green, and having different scents such as vanilla, lavender, cinnamon or orange.
There are also decorative candles that are used for interior decoration and ambiance. They can have different shapes, such as animals or flowers, and can be made in different styles, such as retro or modern. There are many benefits of using candles. They are an eco-friendly source of lighting and do not produce harmful emissions. They also create a cozy atmosphere and can help you relax and calm down. However, it should be remembered that candles can be dangerous if precautions are not taken when using them.
In ancient times, people used various materials for lighting: torches, lamps, and candles. However, the candle, in the modern sense of the word, was invented in Egypt around 300 BC and was made from beeswax. This material was soft and easy to work with, which made it possible to create candles of various shapes and sizes.
Drawing a candle is fascinating and entertaining for children’s minds! Later, in the Middle Ages, candles began to be made from various materials such as stearin, paraffin, and others. Stearin was derived from animal fat, and paraffin from petroleum. These materials were more available and cheaper than beeswax, making candles more accessible to a wide range of people.
Today, candles create a cozy atmosphere in homes for lighting at night and for interior decoration. Candles can be of different types and have other properties depending on their composition, shape, size and purpose. Below are some of the most common types of candles:
Paraffin. The most popular type of candles. They are made from purified mineral oil, then heated and molded into various shapes. Paraffin candles can come in a variety of colors and sizes.
Beeswax. These are more expensive candles that are made from natural beeswax. They have a longer burn time and have a more pleasant scent than other types of candles.
With the addition of essential oils. These candles contain essential oils such as lavender, rose or eucalyptus. They have a pleasant aroma and can be used to create a cozy atmosphere in the house.
Stearin. They are made from stearin, a mixture of wax and calcium stearate. Stearin has a higher melting point than paraffin, which allows you to create candles with a longer burning time.
Let’s immediately start drawing a candle!
How to Draw a Candle Easy
Step 1
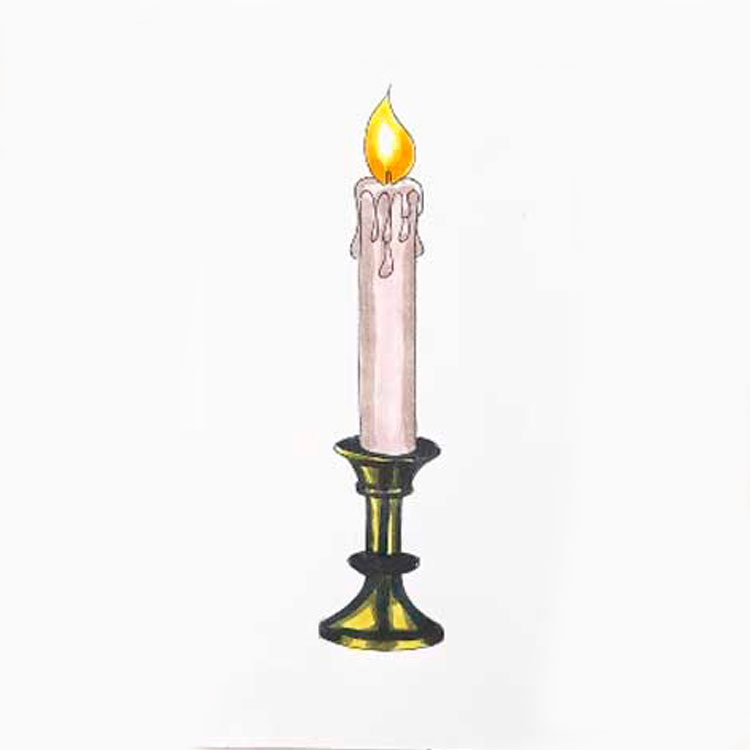
The first step is to draw a small vertical line with a pencil!

Step 2
Next, draw two small horizontal lines at the top and bottom of our vertical line!
Step 3
At this stage, we’ll draw two small ovals at the top and bottom of our drawing—these will serve as the top and bottom bases of our wax candle!

Step 4
Above the bottom oval, draw another oval—but make it bigger—using a pencil as well!
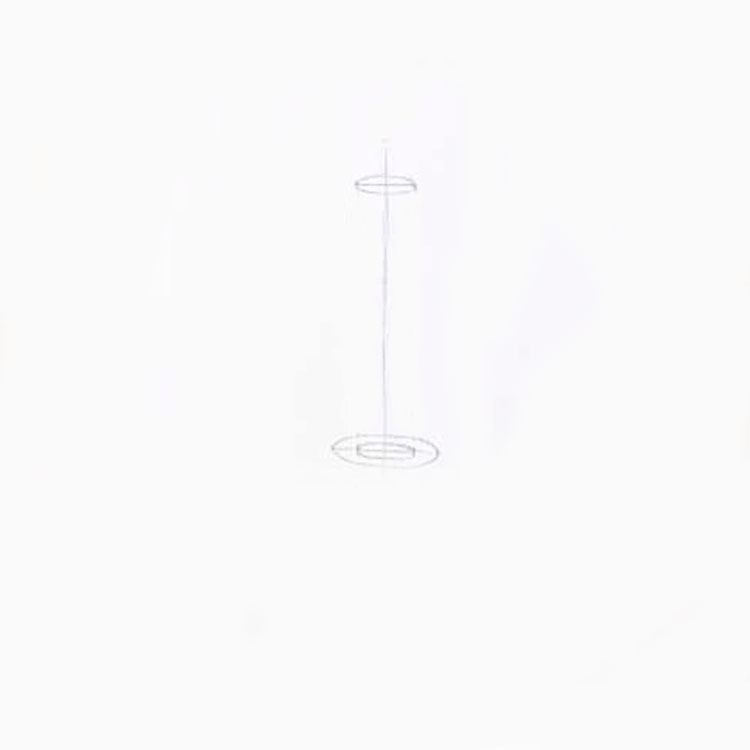
Step 5
Let’s draw two vertical lines on either side of our drawing!
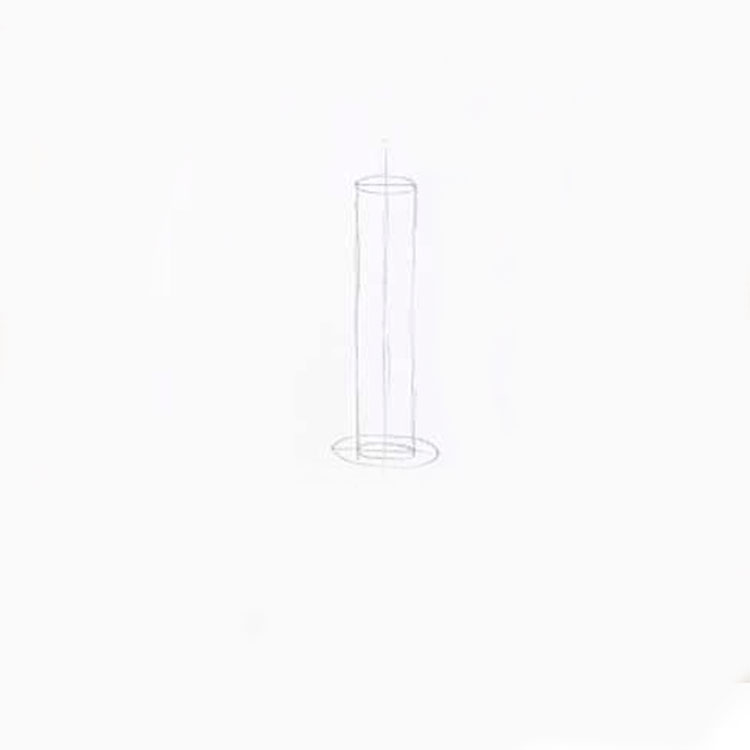
Step 6
Here, we simply draw the bottom part of the candle—first, we draw a vertical line for the base of the metal part of the candle, and then we finish drawing the tapered bottom section!
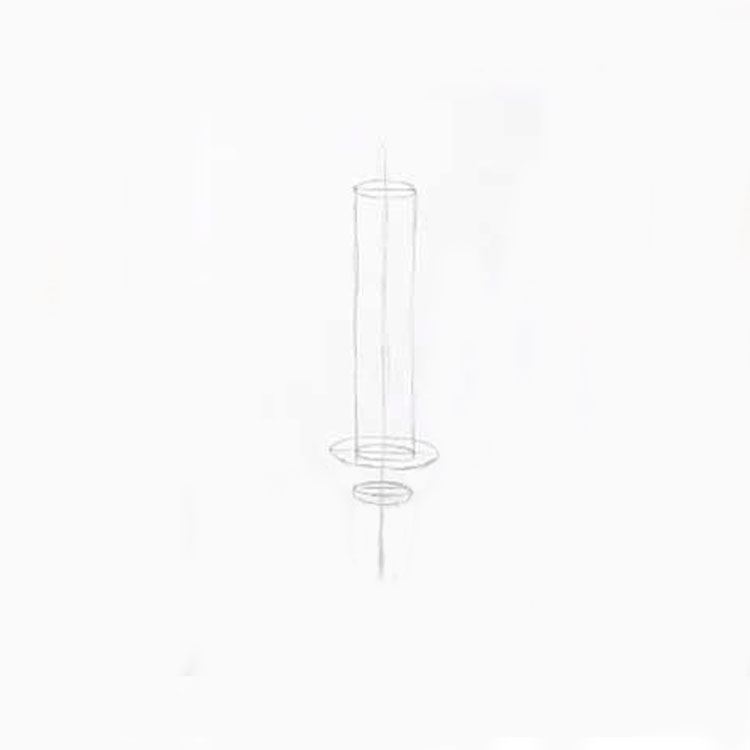
Step 7
Use a pencil to connect the top and bottom parts of the candle in the same way!
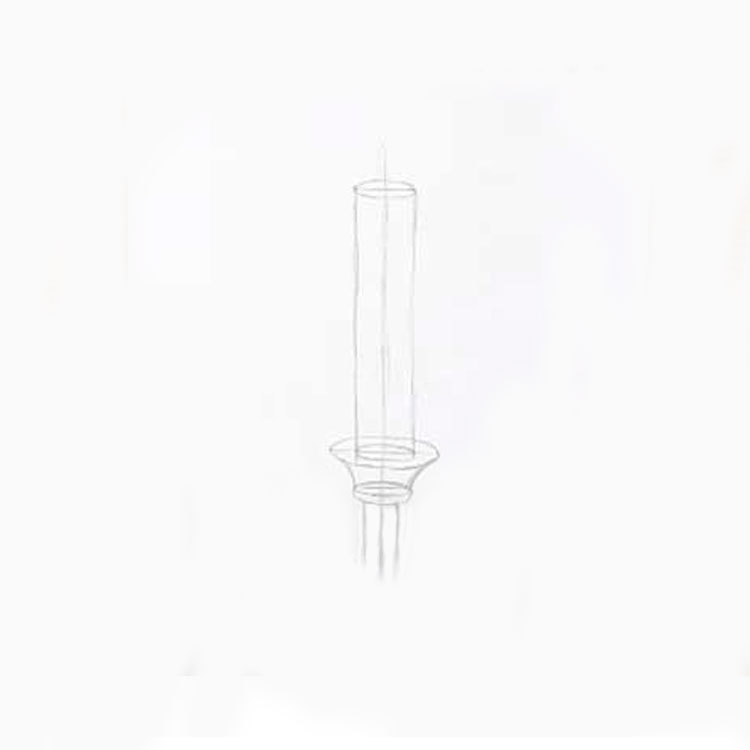
Step 8
At this stage, we will simply draw the very bottom of the candle – the so-called “leg”!
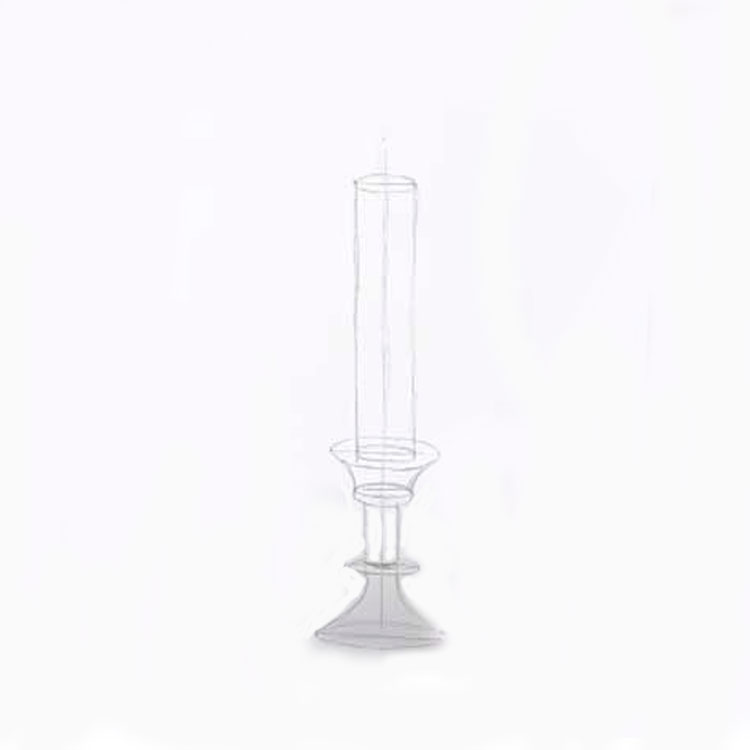
Step 9
Next, let’s draw the top part of the candle—the outline of the flame—still in black and white!
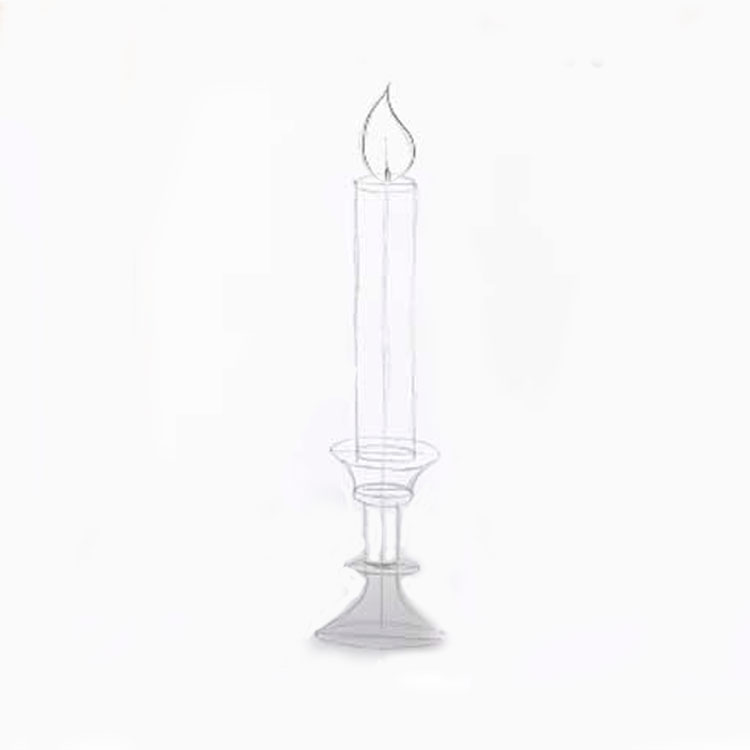
Step 10
And here we’re creating the outline of the melted wax flowing from the top of the candle!
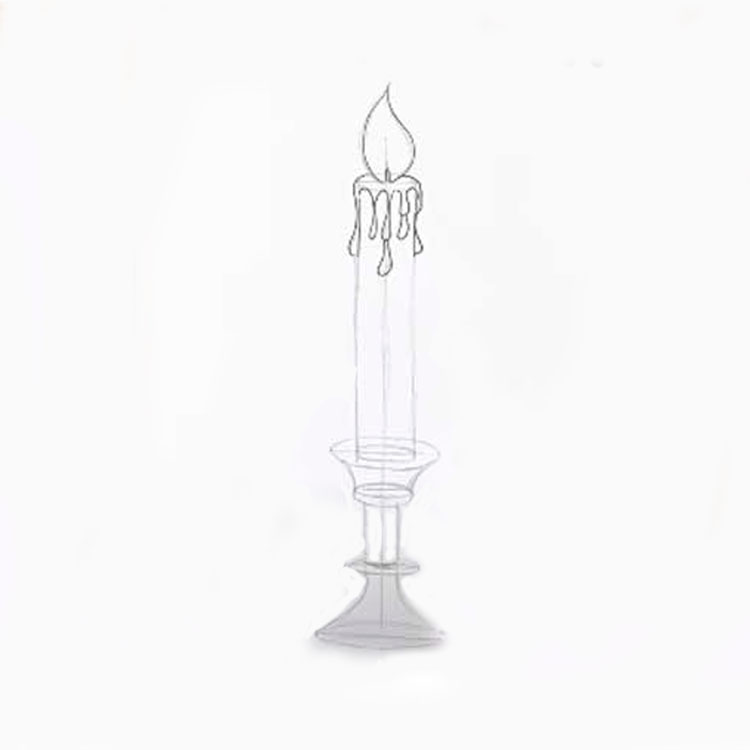
Step 11
At this important stage, we’ll add detail and shade all the edges of the candle!
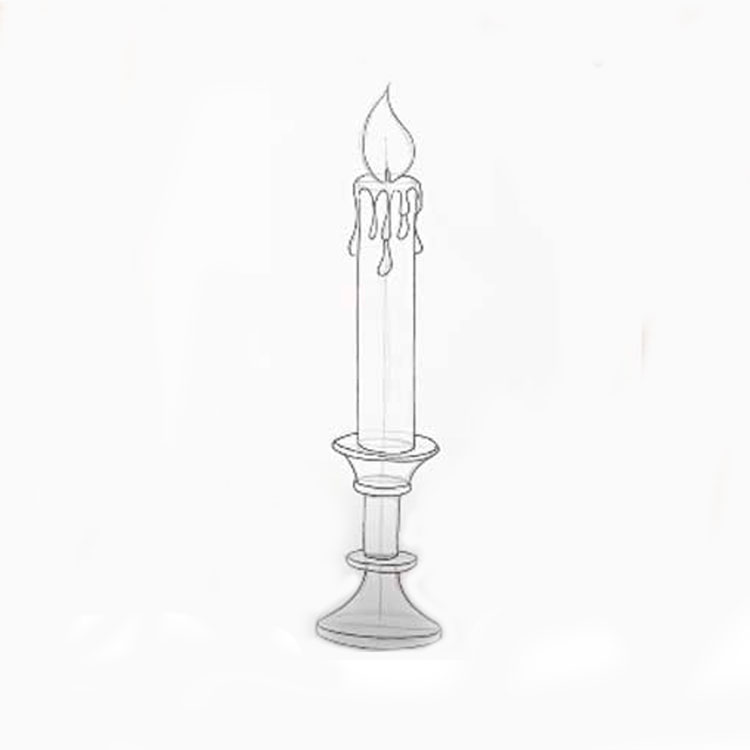
Step 12
Let’s get started on coloring the candle in bright colors, giving its center a light gray hue!
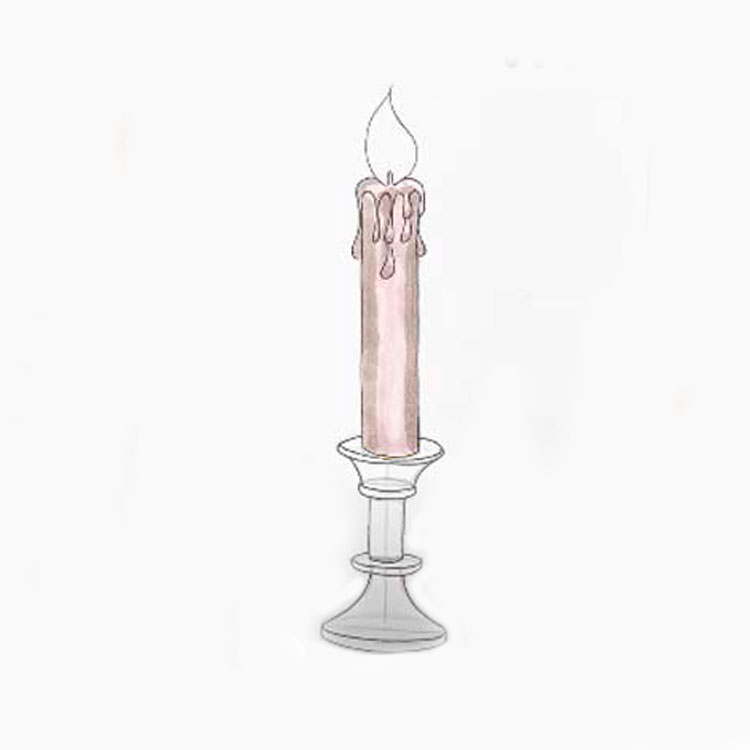
Step 13
Let’s coloring the bottom part of the candle partially yellow!
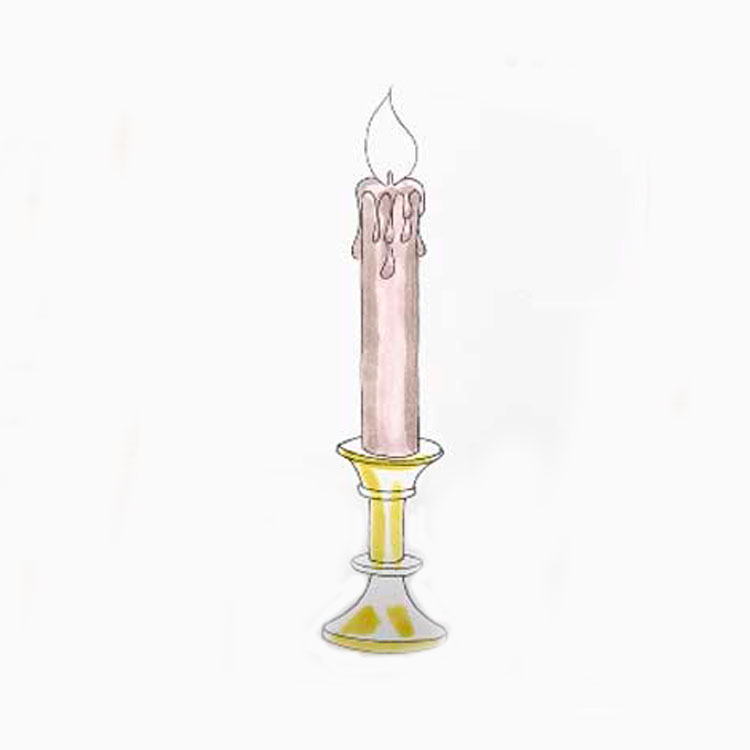
Step 14
And in this step we give a dark shade to the bottom of the candle by covering it next to the yellow color!
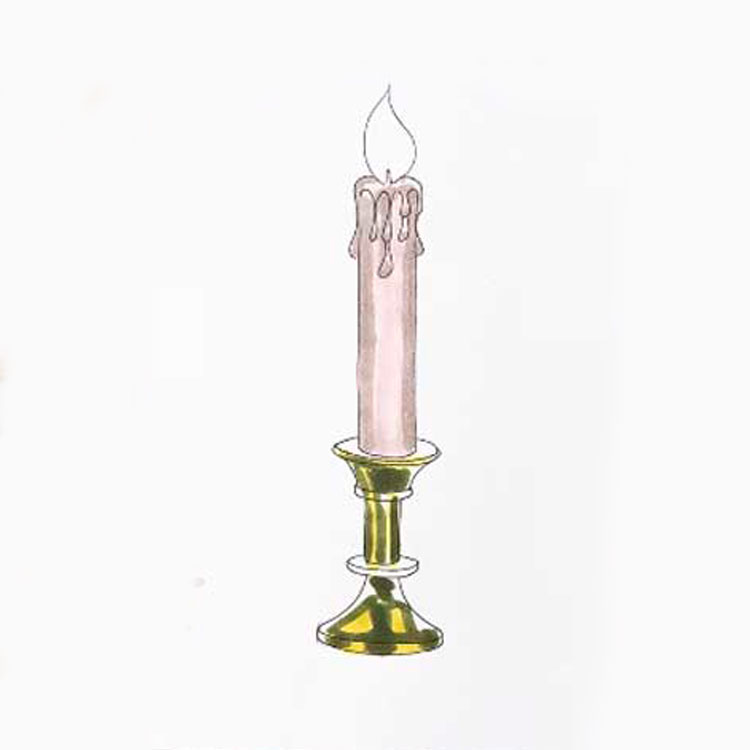
Step 15
Let’s darken the bottom part of the candle even more!
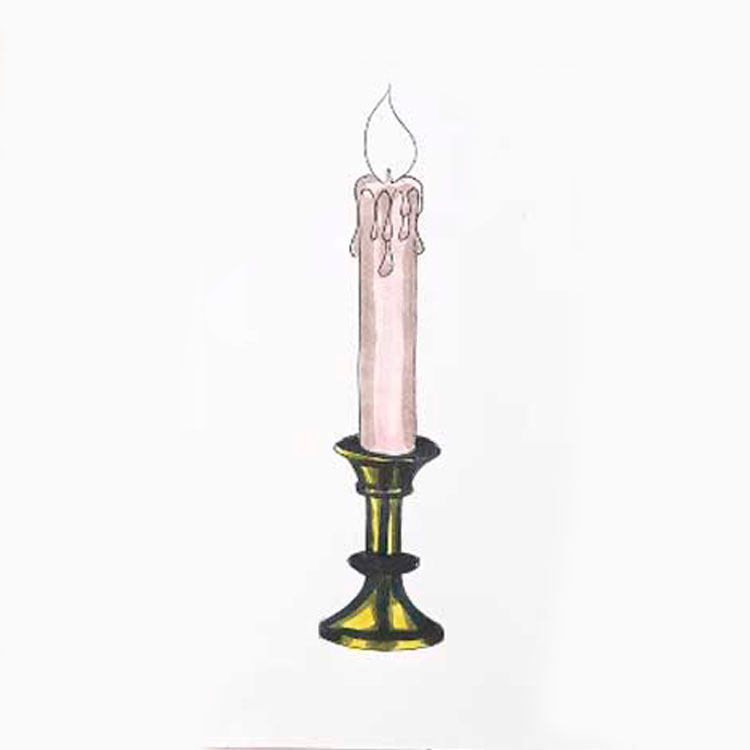
Step 16
And now let’s finish coloring the top of the candle—or, more precisely, its flame—in bright yellow tones!