 Drawn light
The Eiffel Tower emerged at a time when the very logic of cities was changing. New boulevards were being built in Paris, electric lighting was being introduced, and communications were advancing. The city was becoming modern in the sense we understand today. Against this backdrop, the idea of erecting a structure that surpassed everything that had existed before seemed not just ambitious—it shattered the very notion of what a building could be. On March 31, 1889, the Eiffel Tower was inaugurated in Paris—a metal tower about 300 meters tall, which was initially considered temporary and even ugly, but over time became a symbol of the city and one of the most recognizable structures in the world.
In the second half of the 19th century, World’s Fairs became a showcase of national power. They were not merely cultural events, but showcases of technology where countries displayed their achievements in industry, science, and engineering. The 1889 World’s Fair (Exposition Universelle) took place from May through November and covered a vast area along the Seine—from the Champ de Mars to the Trocadéro. Tens of millions of people visited it during its run, and for many, it was their first encounter with technologies that were just beginning to transform everyday life.
To draw the Eiffel Tower, start with simple elements and work your way up to more complex ones—and we’ll show you how to do it right here! The exhibition featured very specific items: electric generators, lighting systems, industrial machinery, and telegraph and telephone systems. Entire pavilions were dedicated to electricity—a topic that was then perceived as new and not yet fully understood. During those same years, ideas related to alternating current—promoted by Nikola Tesla—were actively developing, and the modern energy sector was taking shape. The exhibition was open to everyone. People came to see how the machines worked, how electric lights were turned on, and how the new technologies were designed.
Everything could be seen with one’s own eyes. The tower in this system was not a separate structure built “for beauty’s sake.” It served several purposes at once. First, it served as the entrance to the exhibition grounds. Second, it was a vantage point—from it, one could see all of Paris and the exhibition itself. But most importantly, it set the scale. At a height of about 300 meters, it was the city’s most prominent landmark. No building in Paris could compare to it, and this created an impact that no pavilion could have achieved. In fact, the tower became the central element of the entire exhibition: not an addition, but the main attraction. It showcased not an idea, but a result—that such structures could already be built.
The tower design did not originate with Eiffel himself. In 1884, engineers from his company—Maurice Kéhlen and Émile Nouguier—proposed a design for a tall metal tower—essentially the same principle used in bridges, only directed upward. Initially, it looked like a purely technical framework: four supports and a system of trusses. Without decorative elements, the structure seemed too “engineering-oriented,” so architect Stéphane Sauvestre redesigned the exterior—adding arches and platforms and shaping the silhouette. It was only after this that the project began to be taken seriously.
When a competition for a 300-meter-tall tower was announced in 1886, there were many entries, but Eiffel’s design had one key advantage—it had already been fully engineered and was clear in its implementation. By that point, Eiffel already had experience working with large-scale metal structures, including his involvement in the construction of the Statue of Liberty’s framework. This played a key role: the commission understood that the project could be brought to fruition.
Let’s get started on drawing the Eiffel Tower right away!
How to draw the Eiffel Tower easy

Step 1
First, to make it easier to draw the Eiffel Tower, you need to create guide lines—one vertical and one horizontal!

Step 2
Next, using a simple compass, draw a semicircle and create a thick line—this will be the tower’s entrance arch!

Step 3
In the same way, let’s draw a few more arcs with a compass to create our wonderful Eiffel Tower!

Step 4
Let’s draw the fine details in the tower’s French entrance arches!

Step 5
Let’s use rulers and other tools to draw the tower’s supporting structures!

Step 6
In this step, we’ll sketch the top part of the Eiffel Tower. Using our guide line, we’ll create the outline of the tower’s upper sections!

Step 7
Here, we’re just adding the finishing touches and detailing the upper floors of the famous French tower!

Step 8
In this simple step, we’ll just finish drawing the outlines of the bushes to the right and left of our drawing!

Step 9
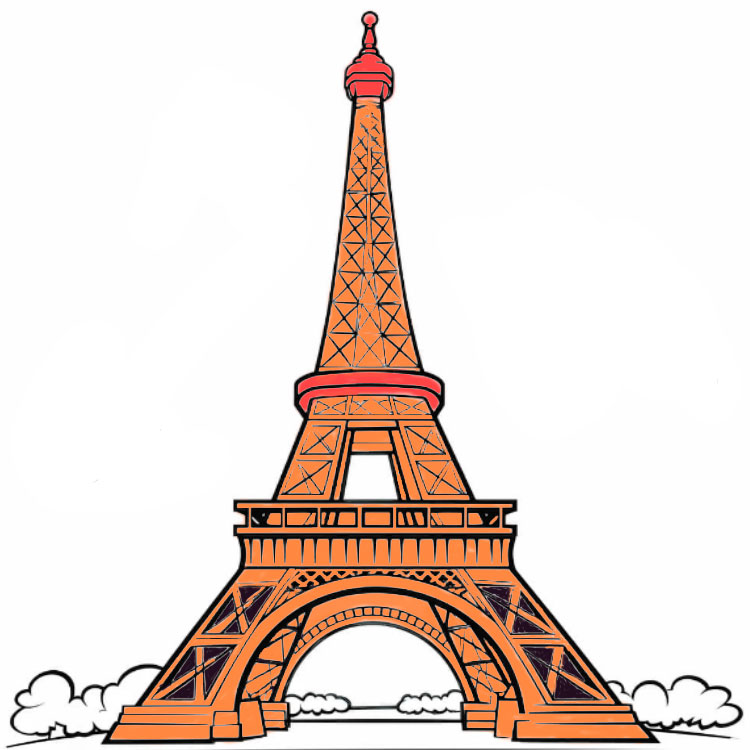
Let’s start coloring the entire tower in shades of red and light gray, from the bottom all the way to the top!
Step 10
And here, we’re just finishing up coloring the tower by creating a beautiful backdrop for it—a blue sky and bright shrubs all around!