 Drawn light
Pyramid drawing in 2 different variants we will tell in this article! Pyramids remain one of the most popular tourist sites. They amaze with their greatness. Ideally, straight lines and angles make one doubt that human hands could create such a structure.
Pyramids often appear in the paintings of artists.
We will look at how to draw a pyramid correctly so that the picture looks even and neat. Drawing a pyramid is an exciting and fascinating activity! A pyramid is an element that must be taken apart when studying an academic drawing. This geometric figure is simple, but it requires specific skills and developed spatial thinking. We will analyze several ways of drawing a regular quadrangular pyramid.
We will undoubtedly draw the pyramid utilizing the following principles: overlap, skyline, darkness and also shading. This lesson will certainly likewise help you practice applying smooth, discriminatory shadows. And at the end of this lesson, you will learn how to draw pyramids in various ways!
Since the sides of the pyramid are flat, they call for regular shading, unlike cylindrical tubes, flags, and various other bent surface areas that call for shaded shielding from dark to light.
To work today, we need the following materials:
- a simple pencil or liner, work with those materials that are better known.
- eraser;
- paper.
Let’s get the pyramid drawing step by step!
Pyramid drawing easy (option 1)
Step 1
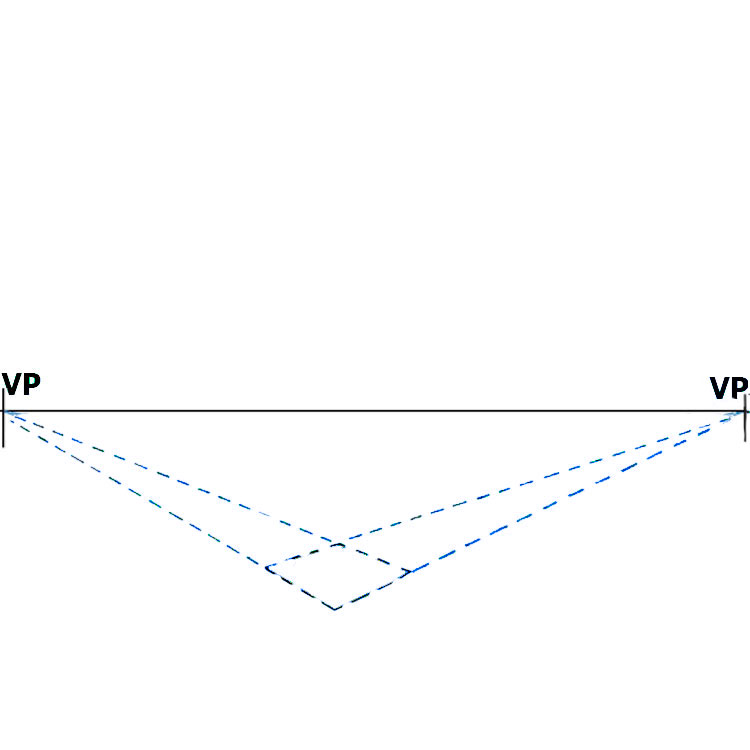
The first step in drawing a pyramid is to draw the horizon line and, from the two outermost points, draw the perspective lines (in this case, dotted lines), and then sketch the bottom part of the pyramid!
Step 2
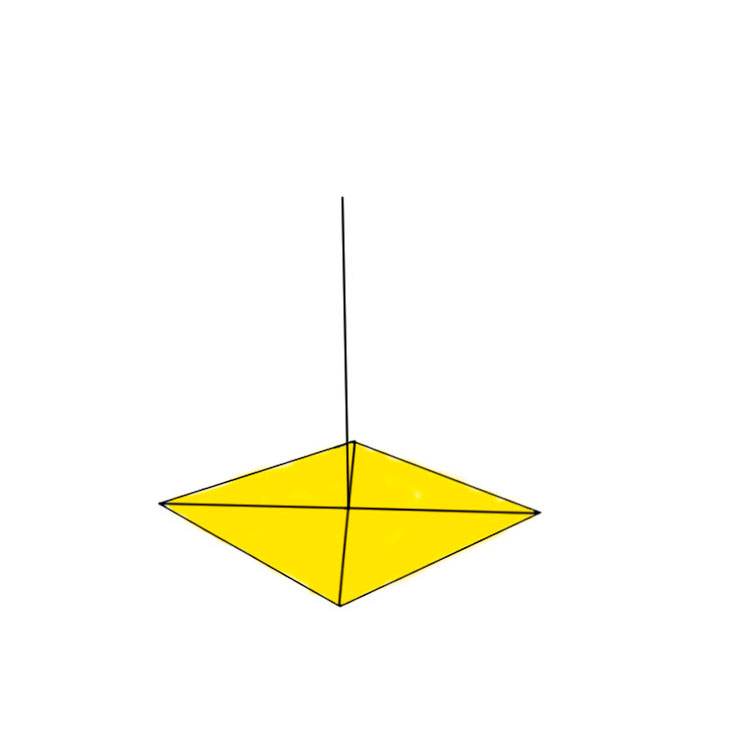
From the corners of the base, we draw two intersecting lines, and the point where they intersect will be the center of the bottom of the pyramid!

Step 3
At this stage, we draw a straight line upward from the center of the bottom of the pyramid—this will give us the apex of the pyramid!
Step 4
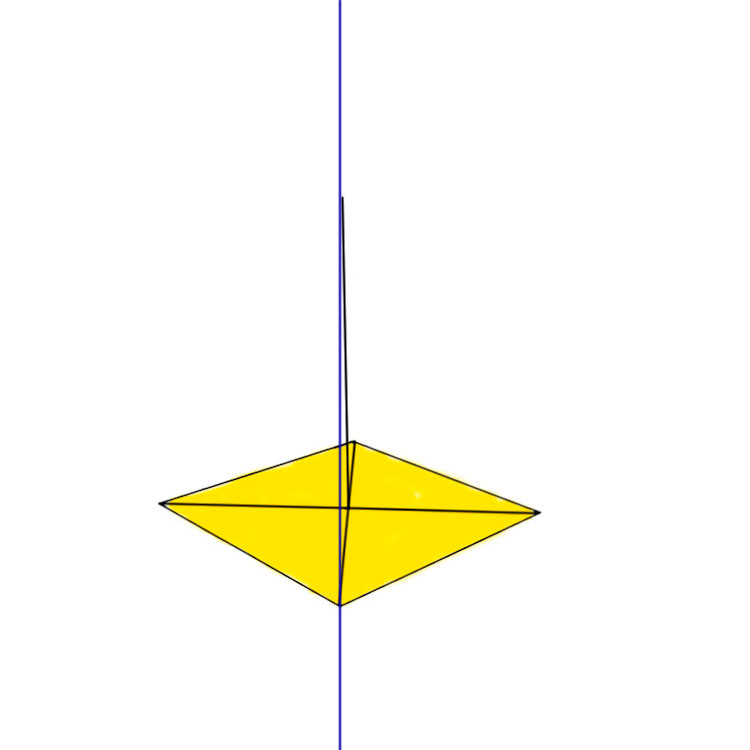
Here, I used a dark blue guide line that runs perpendicular to the vertical axis of the drawing and helps me draw the tip of the pyramid!
Step 5
And in this step we connect the back central and front faces of the pyramid at the top point!
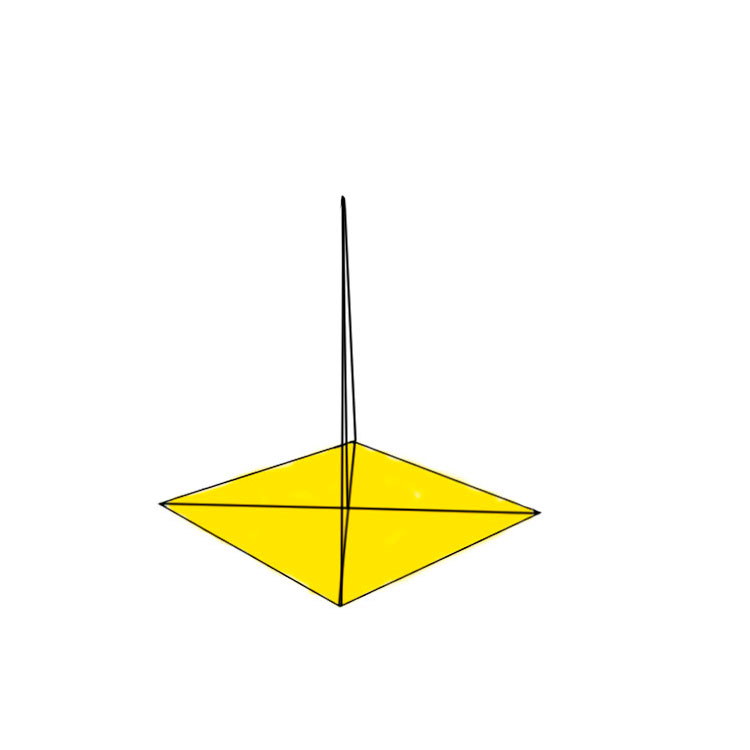
Step 6
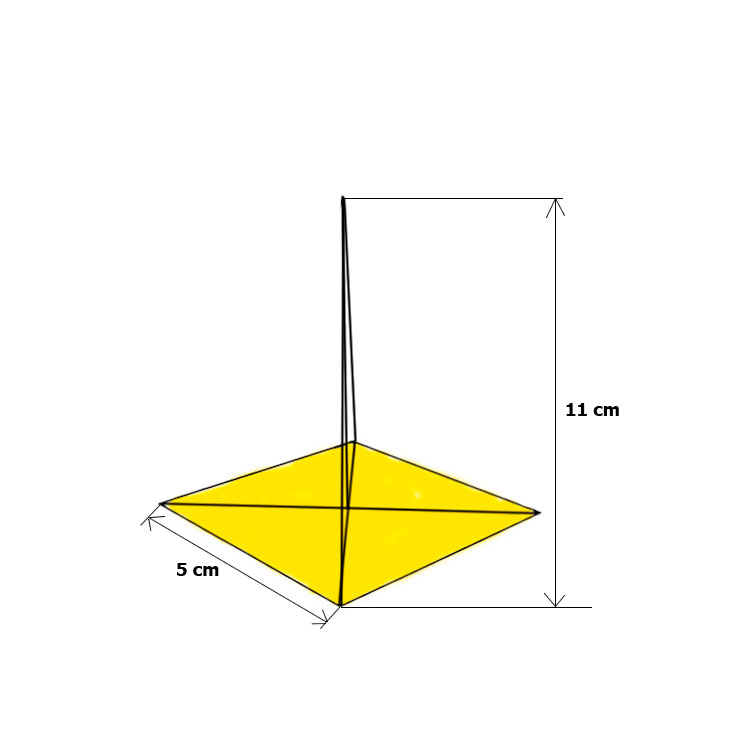
Here I’ve listed the approximate dimensions in centimeters (the length of the pyramid’s bottom edge is 5 cm, and the distance from the bottom to the top of the pyramid)!
These dimensions are approximate and they gave me proportional dimensions of the pyramid itself on an A4 sheet when I drew previous versions on a simple A4 sheet!
Step 7
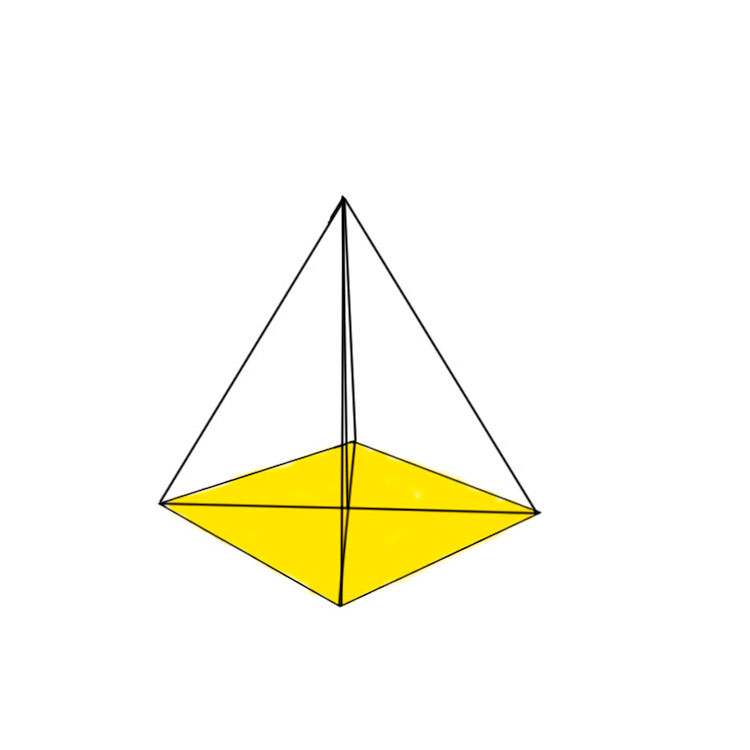
And at this stage, we connect the endpoints of the pyramid at the top!
Step 8
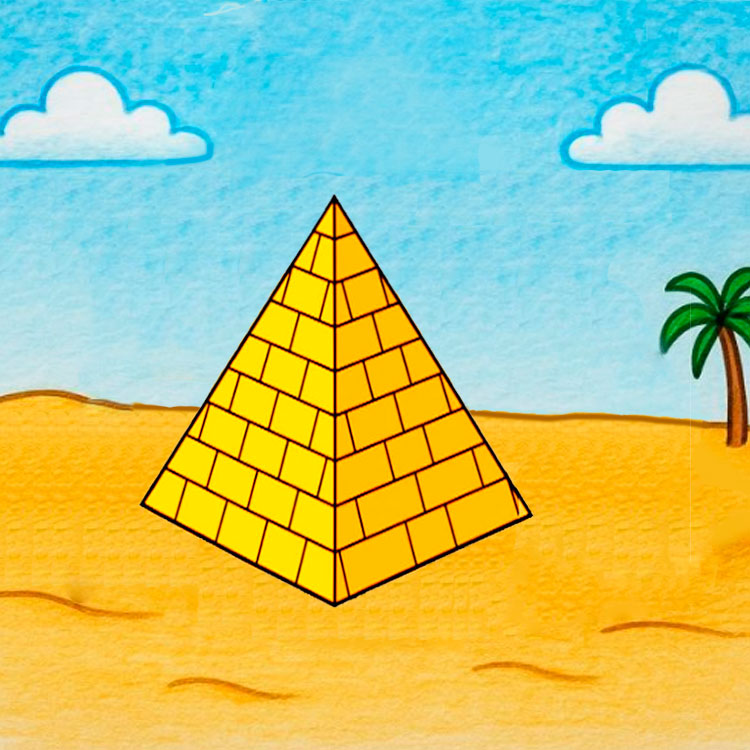
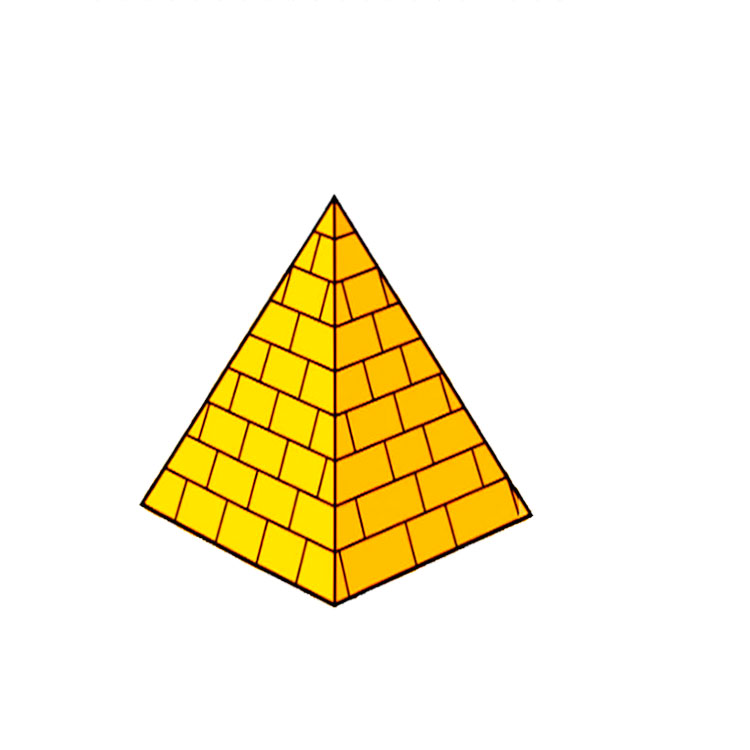
Here, we’re simply painting the central part of the pyramid in bright yellow shades!
Step 9
And let’s finish drawing the pyramid by creating a beautiful desert background for our drawing!
Pyramid line drawing (option 2)

How to draw an Egyptian pyramid through a square?
Consider a second, more academic approach to drawing a pyramid.

We draw a distorted square – the basis of the future pyramid.

We denote the vanishing point of all rays. It should be located in the centre of the square; you can identify this point using the perpendicular, which will be drawn from the centre of the base.

We use the pen and bring the contours of the pyramid; we carry out the stylization of a stone.

Denote the shadow areas. Their position depends on which side the sun will be displayed. Do not forget to depict the falling shadow – it will add realism to the image.