Starfish Drawing in 4 variants will tell in this article! Starfish are animals with unusual body shapes and various colors, which immediately attract the attention of explorers of the starfish. Rare photos of oceanic beauties often go without these creatures, ranging in size from 2 cm to 1 m.
Their unusual appearance and a sedentary lifestyle cause frequent misconceptions when starfish are considered underwater plants. Starfish are the closest relatives of snake tails and somewhat distant relatives of sea urchins and holothurians. A total of about 1700 species of these echinoderms have been studied. All of them have bright coloration and standard features in body structure.
Starfish belong to the type of echinoderms of the class of invertebrates. They are so named because of their appearance, which resembles a 5-rayed star, although there are varieties with 3, 6, and more rays. One of the subspecies has as many as 30 radial processes.
Starfish Drawing is an exciting and fun activity; the main thing is to follow our recommendations!
The body of representatives of echinoderms consists of a central circumference and branches – rays, which make the body of starfish radially symmetric. The length of the “arms” relative to the body varies. Some glow is long and thin, while others are triangular, wide at the base. There are species whose tentacles are so small that they almost do not stand out against the body.
The colors of these sea creatures are also very diverse, as is the skin’s texture. The starfish’s body can be smooth or prickly to the touch, rough or pleasantly velvety. The rainbow of colors includes almost all shades of rainbow colors; there are also entirely black.
Simple at first glance, sea stars have complex internal systems with their features: The internal skeleton of invertebrates has no separate bones, only many calcareous plates woven into an openwork system. The spines of some stars are nothing more than skeletal elements that have come out through the erased skin.
The muscular system, which connects the bony plates, is poorly developed, and after a star’s death, it simply crumbles to pieces. The digestive system is well developed and located in the central part of the torso. The stomach consists of two compartments. The opening, which serves as a mouth, is situated in the lower abdominal cavity. Not all species have an anal space; most starfish eject their waste products through the mouth.
The central system, which is peculiar only to echinoderms, is the ambulacral system. This water-vascular structure consists of many channels filled with fluid. The movement of the star rays occurs as this organ pumps fluid from one part to another. This system is designed for breathing, movement, excretion, and touch. The channels of the natural mechanism permeate the whole body of a sea star and end at the ends of the rays with ambulation legs with suction cups at the ends.
The starfish has no brain; it is replaced by a nerve ring in the center, in which nerve bundles and several interconnected brain cells are assembled.
Let’s start Starfish Drawing right away!
Starfish Drawing Easy (option 1)

1. The starfish, in most cases, has five handles and a central disk. However, there are cases when the number of tentacles reaches more than 40. So, draw a horizontal and vertical line; these lines intersect in the middle.

2. From the vertical line dorsum, two more stripes will be the extremities of the starfish.

3. Excellent! We have drawn the skeleton, and now it’s our turn to draw the silhouette. As I said in the beginning, the variety of starfish is excellent. One distinguishing feature is the arms’ thickness, number, and length. We will draw thick and short tentacles.

4. We can erase the auxiliary skeleton forever because he is no longer helpful to us. After that, draw a line from the center.

5. Draw five more lines, which will now end at the end of the tentacles.

6. The color of the starfish will depend not only on the species but also on where it lives. Usually, in shallow water, it has a brighter color than those that live in deep water. But today we are going to paint over everything with a simple pencil. We are going to color the top handle.

7. Now also paint all the other parts of our starfish. The edges will be darker than the middle, remember.
Starfish Drawing Realistic (option 2)

This is the variant of drawing we will consider.
We will need:
- pencil
- eraser paper
- paints.
Step 1
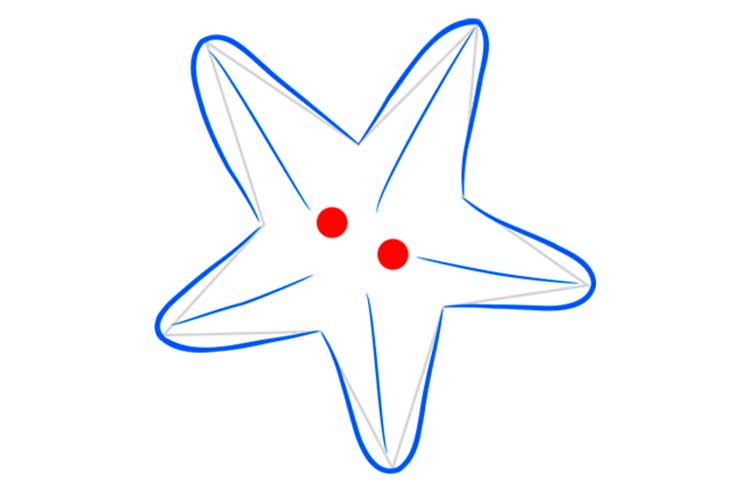
First, we draw an ordinary starfish with rough, sharp lines – this will be our backbone for drawing the starfish.

Step 2
Then on top of the primary starfish, we draw more rounded and smooth lines,

Step 3
We draw center lines on each limb,

Step 4
Draw eyes,
Step 5
Draw a smile

Step 6
Then color the starfish in a yellowish-orange color

Starfish Drawing Cute (option 3)

Step 1
Draw a Starfish.

Step 2
Draw the eyes

Step 3
Draw a smile

Step 4
Coloring our Starfish.


