 Drawn light
Tooth Drawing will tell in this article! Teeth play an essential role in the human body. Originally, human teeth were large and performed one primary task – grinding food (often complex and coarse). But with the development of man and society, dental units began to be regarded not only as devices for chewing food but also as an aesthetic component of the appearance of successful people.
The disappearance of primitive food from the diet and advances in dental science allow anyone to have a healthy and attractive set of teeth. Even though almost all people strive to have a beautiful white smile, clean their teeth daily and visit the dentist periodically, few people think about the origin and structure of dental units.
Tooth Drawing is a fun and educational activity; follow our advice, and you will succeed! There are thirty-two of them on two jaws; they are white, shiny, and can hurt… That’s probably where the general knowledge ends. But it is helpful to know what a tooth is. Teeth are bony structures in the mouth that mechanically process, grasp and retain food. Dental units are part of the human chewing apparatus with the tongue, lips, and muscles. Their growth and development are determined by genetics.
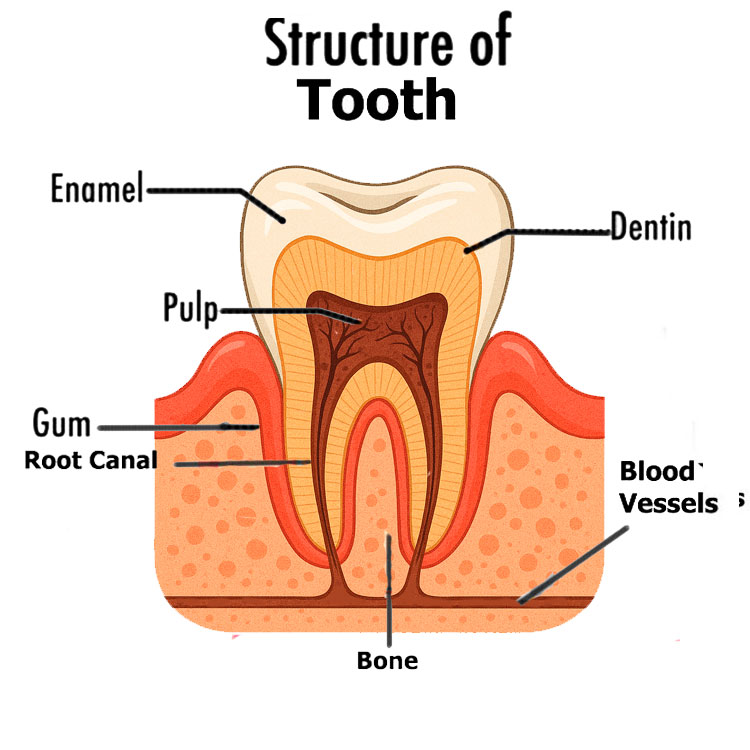
The location of the dental units on the jaws and the timing of their eruption depend largely on heredity. Functions of teeth Originally, human teeth, like animals, were set up only for the primary mechanical processing of food, facilitating the process of digestion. The shallower the pieces of food that fall into the stomach, the easier digestion of food and assimilation of nutrients.
The second important function of human teeth is the formation of sounds and speech production. If a child loses at least one incisor at a young age, a trip to the speech therapist is likely inevitable. Some sounds cannot be pronounced without the help of dental units. Missing front teeth often cause a foul mouth and a lisp.
Let’s start tooth drawing right away!
Tooth Drawing Easy
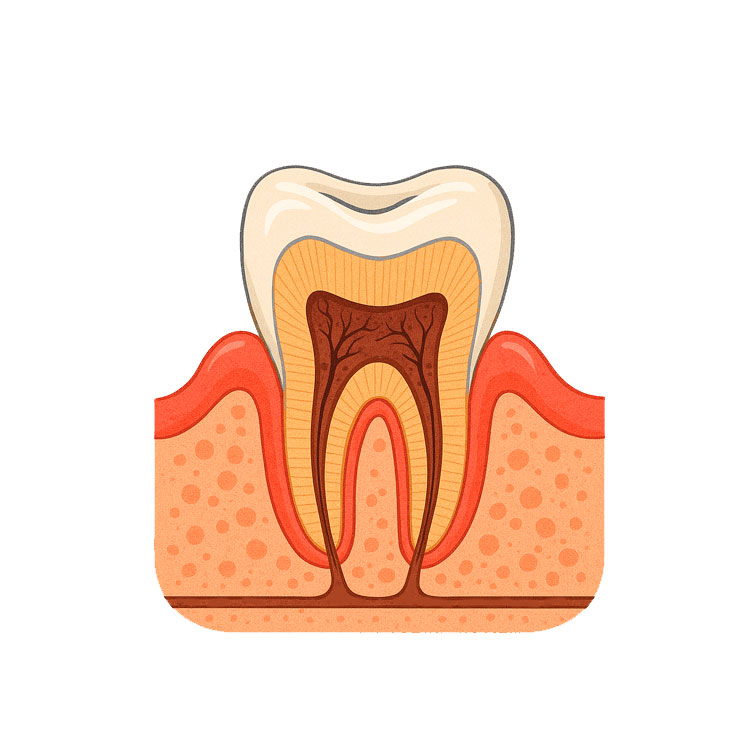
Step 1
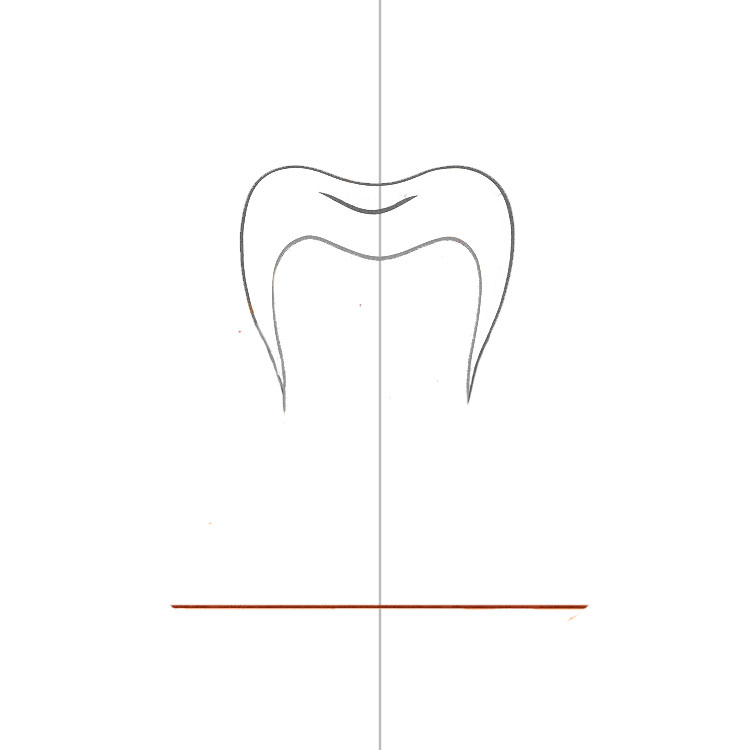
To draw a tooth successfully, we’ll need a vertical guide line!

Step 2
And in this step, we draw the line separating the enamel from the dentin of the tooth!
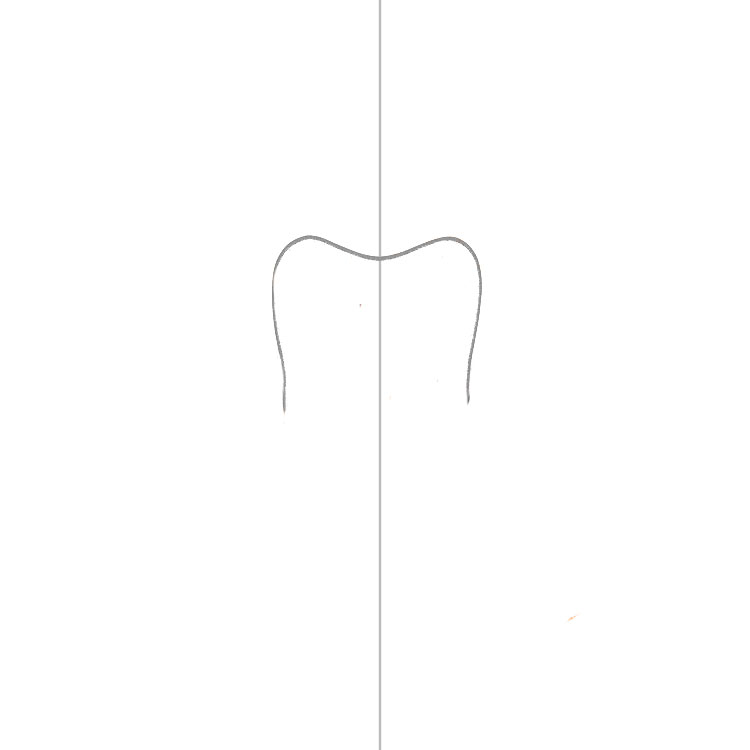
Step 3
Next, we’ll sketch the outline of the enamel—without any color for now!
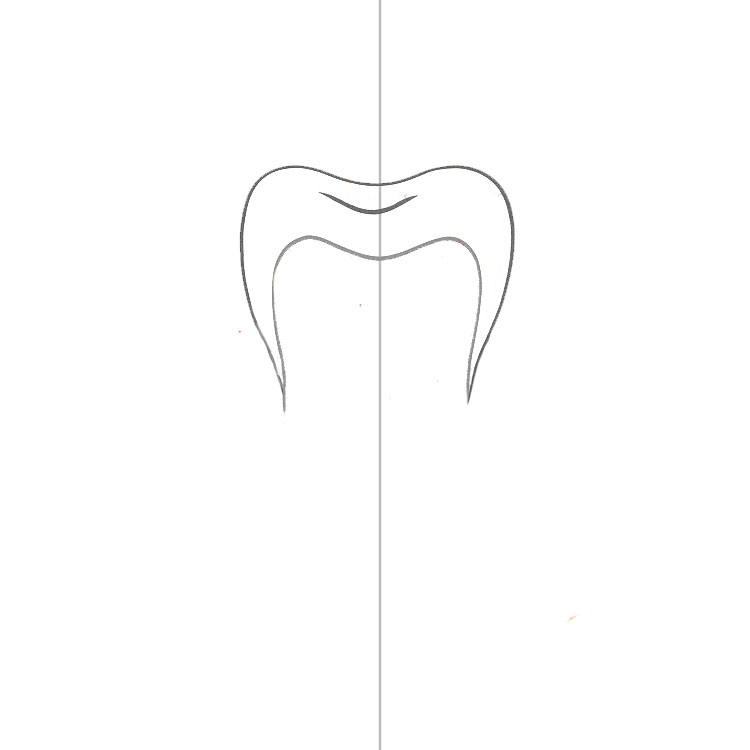
Step 4
And for this important step, we draw a horizontal line—this will serve as our foundation, or more precisely, the lower part of the tooth’s blood vessel!
Step 5
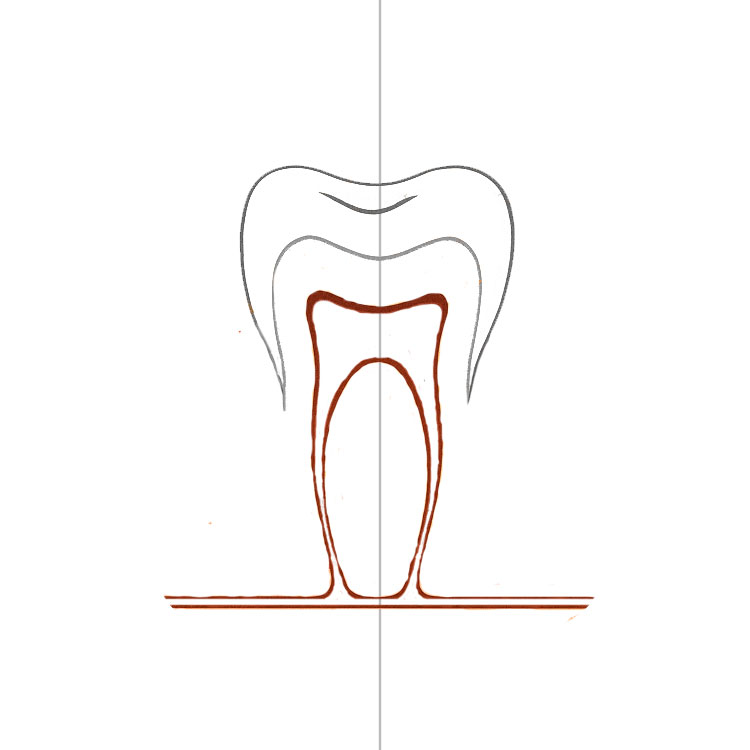
Here, we’re simply creating the outline of the pulp and root canal in our image!
Step 6
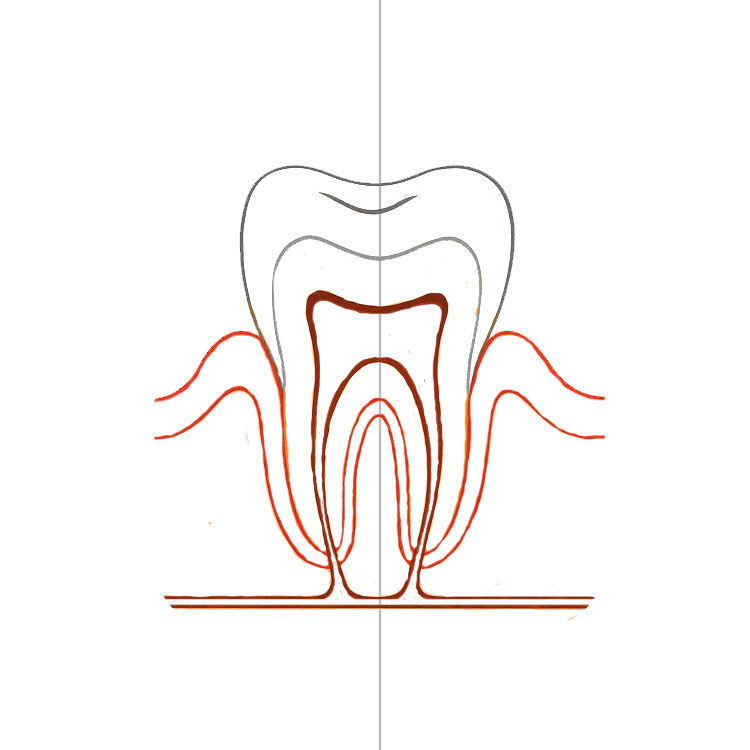
And in this step, we’ll create the outline of the gum line on our tooth!
Step 7
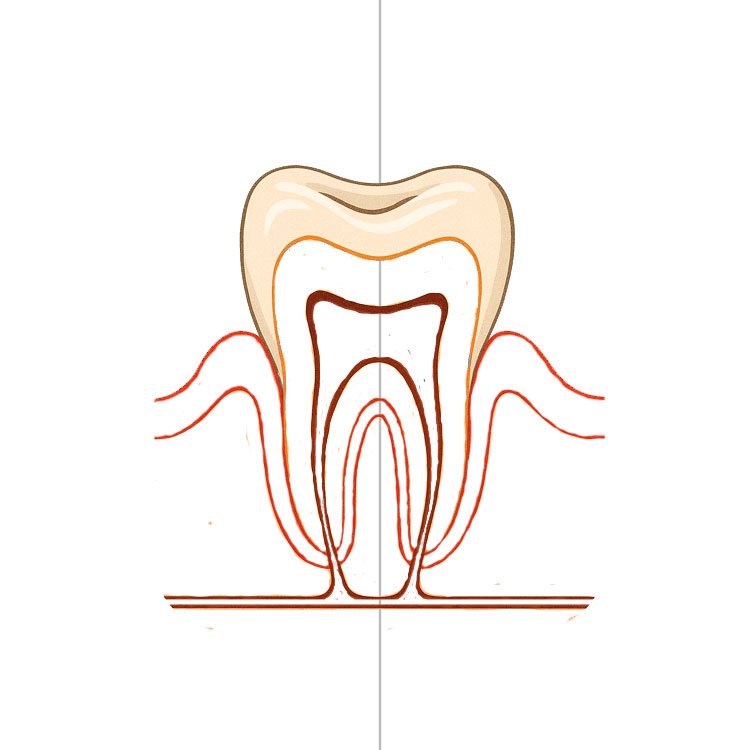
Let’s start coloring the tooth by coloring its enamel a light brown color!
Step 8
And at this stage, let’s color the gum area of our picture pink!
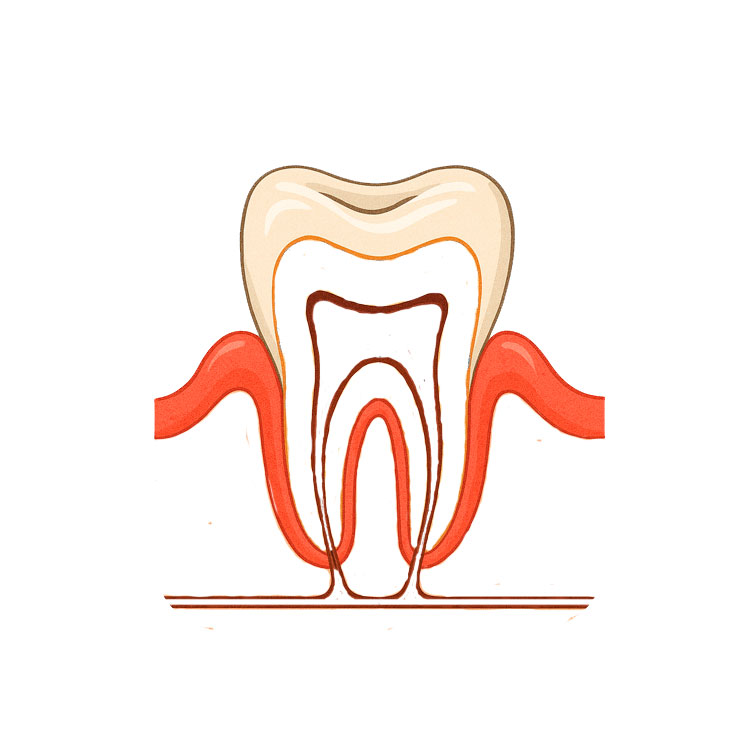
Step 9
Let’s give the pulp chamber and its blood vessels a dark brown color!
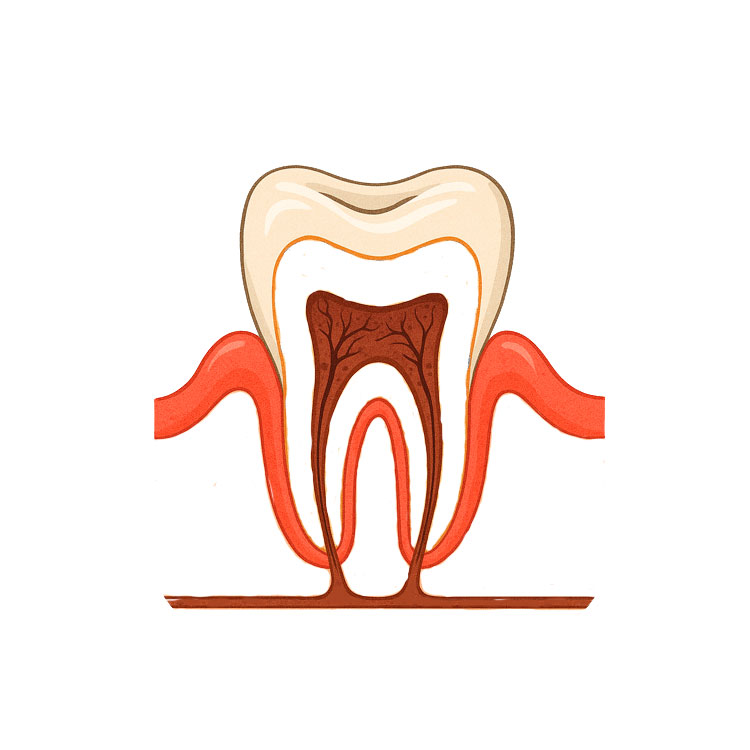
Step 10
And in this step, we simply shade the dentin in light gray tones!
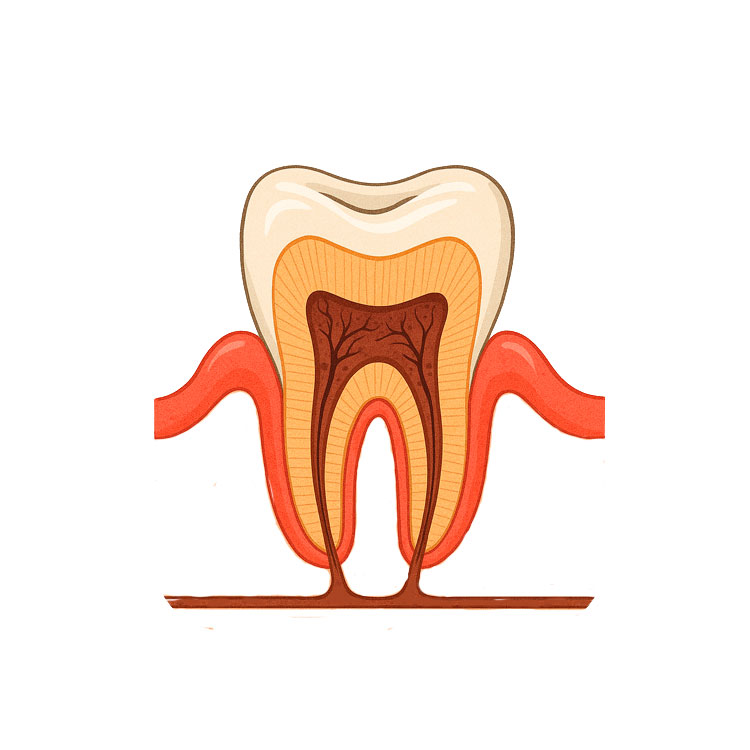
Step 11
And we’ll finish coloring our tooth by adding light gray tones to its bone tissue!

The tooth is ready! You can draw the tooth with your eyes or paint it to liven up the drawing. You can show your child the technique of shading – for this, sharpen a little pencil lead and gently rub the graphite crumb with the pad of your finger. Such a tooth will look very natural and not ugly! If something didn’t turn out right away, you could use an eraser to remove the extra details – a simple pencil is excellent to erase!