Bridge drawing in 4 versions will be described in this article! The construction of bridges was also carried out in the era of the primitive communal system. The prototype of the bridge could be a log thrown over a stream or a ravine, hanging bridges woven from ropes, with light decks suspended from them and fixed on opposite sides of the canyon. To draw a bridge is easy; follow our recommendations!
These structures helped a person to overcome obstacles on his way. Better wooden and stone bridges were erected in the ancient Eastern and ancient slave states. It is known about the construction of the wooden bridge Siblitsius in Rome (630 BC), an arched bridge over the Danube, consisting of 21 spans 36 m each (Troyan Bridge, 103 AD) (Fig. 5.1). The spans were covered with wooden arches and rested on high concrete pillars lined with stone.
Before you draw the bridge, make sure you have pencils, paints, an eraser, and enough paper. If you do not have experience working as an artist, you will have to experiment a lot.
So let’s get down to drawing the bridge!
Bridge drawing Easy (option 1)

First, let’s try to understand how to draw a bridge in stages. First, let’s draw four parallel lines. Three of them (lower) connect a perpendicular and a vertical strip on the left side. On the right side, combine the top three in the same way.
Draw the two lower parallel straight lines with vertical stripes. These are the sleepers of our bridge. Draw three more parallel lines from the upper left corner of the sheet of paper.
Draw bushes and trees in the form of wavy lines above the upper parallel line. Draw two more parallel lines. This is the road.
It remains only to paint the picture. We will need the colors green, salad, brown, blue and yellow, and dark gray.
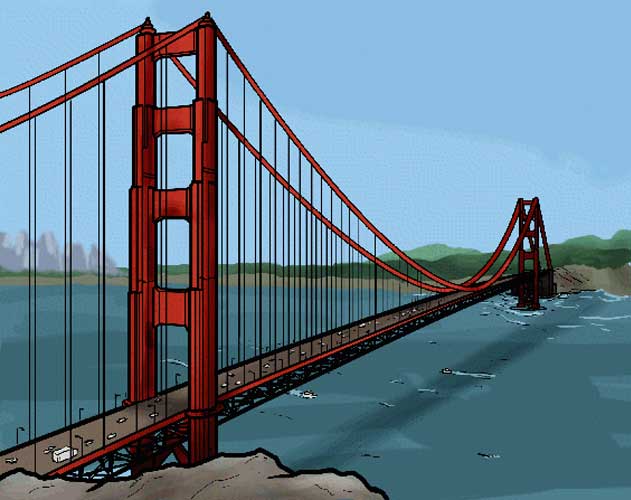
Bridge drawing Simple (option 2) -Bridge in San Francisco
Let’s start our drawing with the horizon line:
And we will build a bridge as shown in the pictures below:
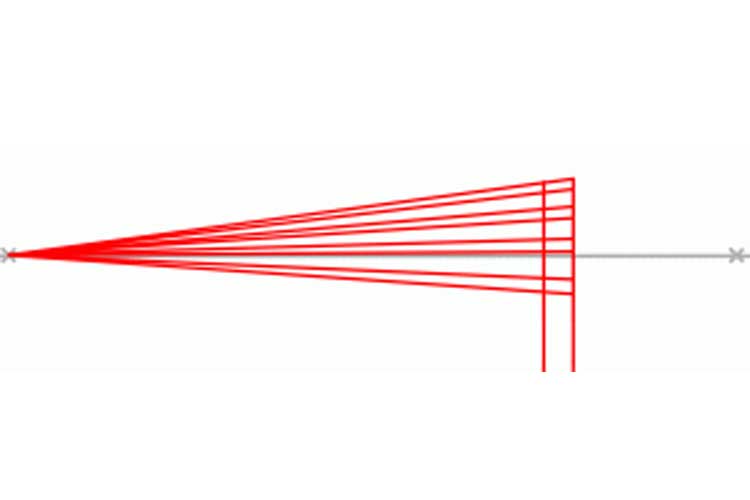
We draw two lines tending to one point. Draw another similar strip at the bottom, parallel to the bottom. We draw a bisector in the very center of the formed triangle. Draw two parallel vertical stripes at the base of the triangle. Draw eight more horizontal lines, ending at one of the two previously drawn vertical lines. Draw a rectangle closer to the apex of the triangle.
We paint on two vertical lines one by one and highlight them with a bright color or thicker with a simple pencil. It would help if you had something that looks like two pencils.
Highlight the sections of the stripes between the “pencils brightly”. We outline a bright rectangle.
Select the two bottom lines inside the triangle and draw two more thin ones between them. We draw the top of the resulting shape a little outside the triangle.
We also paint the lower part of this figure with obtuse corners.
Draw a curve in the upper part of the triangle and shade the resulting shape not very tightly.
Remove the top stripe of the shape.
Color in blue, red, and brown.
Golden gate bridge drawing (option 3)
And here is another drawing scheme – the Golden Gate from a different angle:
Draw lines as shown in the picture.
I am making double lines!
We are laying the bridge cable!
Draw the details of the bridge!
Draw the hanging bridge cable!
We paint in dark colors.
How to draw a bridge is simple (option 4)
With the help of the following diagram, you will even teach children how to draw a bridge over a river.
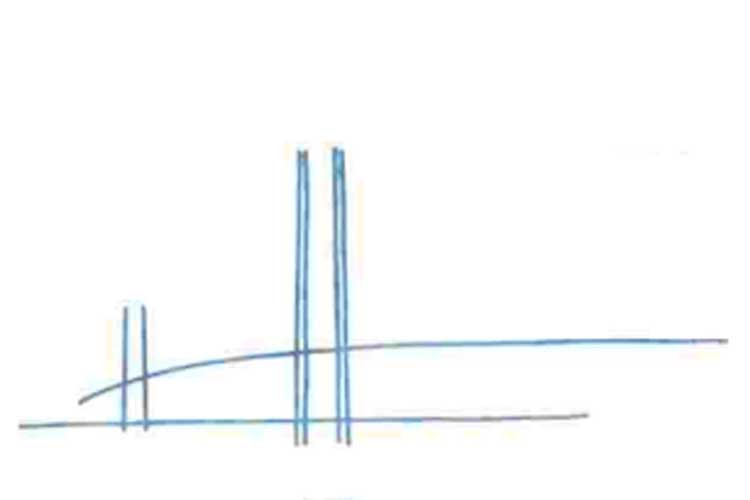
We draw three curves, two of which are located close to each other, the third – at a certain distance. We draw four vertical stripes through them.
Draw the railing on top.
We draw a bridge, imitating the boards at the bottom of it.
Draw a couple of thinner pieces between the two lowest lines. Here we add grass (broken lines) and a curve representing the road.
It remains to paint the picture. We will need colors such as blue and blue (for the river), fill the space up to the broken one with green (grass), make the engineering structure itself brown.
 Drawn light


