 Drawn light
Draw Tulip Flower in 2 variants will be described in this article! Tulip L., family Liliaceae, has about 140 species and at least 3000-4000 varieties and forms. They are herbaceous perennial spring ephemerides with a short growing season.
Tulips are plants of hot countries with dry climates, frost, and drought tolerant.
As an ornamental plant, they have been used by humans since time immemorial. The first information about introducing this plant into culture is found in Persia during the reign of Cyrus I. The garden of the latter was decorated with tulips. The poem “Leyla and Majnun” by Nizami (1188) is a “monument” to tulips, where he described a garden with tulips in bloom.
The first tulips appeared in Europe in the 16th century. They were imported by Barlem del Eklund, better known as C. Clusius. From the middle of the 16th to the 18th century, Europe had a real tulip boom, which is still going on, despite a slight decline in the 19th century.
Thanks to the efforts of the Dutchman N. Lefeber, the tulip boom was kindled again in the 20th century because from his travels in Central Asia, he brought to Holland bulbs of tulip Foster, T. Greig, T. Albert, T. Kaufmann, T. Riegel, T. Schrenk and on their basis he created many (about 400!) new varieties which conquered the whole world.
Draw Tulip Flower easy and fun; the main thing is to follow our recommendations!
The tulip bulb consists of 2-5 concentrically closed fleshy scales and a membranous covering scale. It renews annually. Leaves are 2-4 (rarely one or up to 12). Depending on the species, flowers are 1 or 2 on the stem, but some may have three or more (up to 15). Coloration is a variety: red, yellow, white, and bicolor. Broad types and garden forms are created. The flowering period lasts from 7 to 10 days. The fruit is a dry capsule. The seed is brown, flat, and triangular. The most important things about growing and propagating tulips
Tulips are propagated by seeds and bulbs (preferably for various tulips). Seeds are sown soon after harvesting in prepared beds. Bulbs are planted 1.5-2 months before the soil freezes so that the plants can take root.
The place for planting should be sunny and protected from the wind. The most favorable for tulips is sandy loam soil, rich in organic and mineral nutrients, neutral or slightly acidic, and necessarily well-drained. On acidic soils, a thorough liming is carried out beforehand. The depth of the cultivated soil layer for tulips should be no less than 40-45 cm. Tulips are planted in open sunny areas. Tulips should be planted in open, bright rooms.
The plants are usually planted at 3-4 height of the bulb (up to 18 cm). For the winter, it is good to cover the plantings with a layer of humus and peat. It is desirable to excavate the bulbs annually, sort them, and cull and destroy diseased plants.
Tulips are responsive to fertilization with readily soluble fertilizers in the snow (at the end of winter – beginning of spring at the rate of 20-40 g per square meter of nitrate or superphosphate), and also with granular slowly soluble complex (eg, fertilizer AVA should be applied at a rate of 5-7 g per square meter in the zone of root development and the same amount over the bulbs in the second layer, after a partial covering them with soil) under planting when tulips lose their characteristic color and become motley.
Wide varieties are affected by the variegation virus. Biological species are resistant to the virus. The only control measure is to destroy (burn) the bulbs. If you want to have good tulips on your plot, never give in to pity, even if you like the plant, and
it seems even better than the variety.
Let’s get to Draw Tulip Flower right away!
Draw Tulip Flower Easy (Option 1)
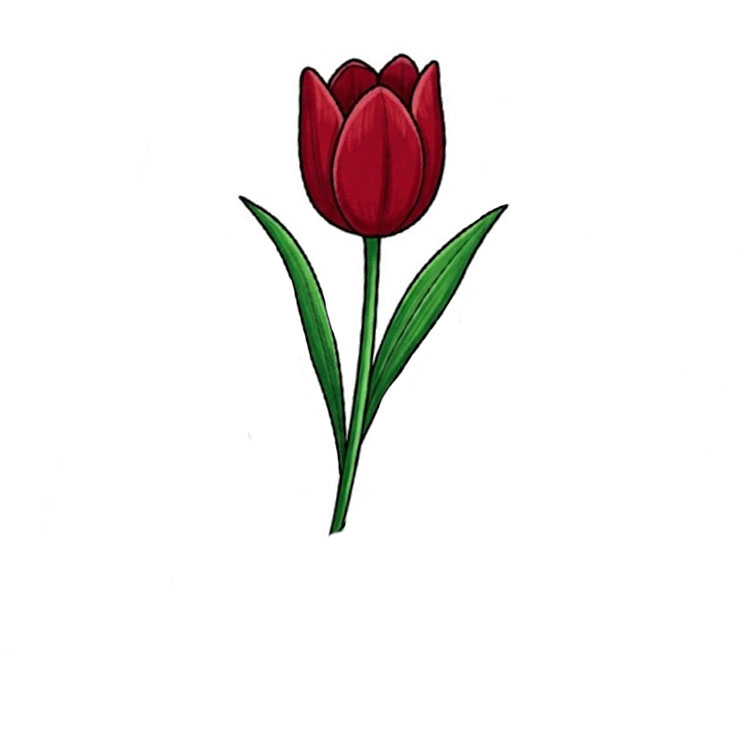
Step 1
To draw a tulip, you need a base, and for this base we’ll use a horizontally elongated oval!

Step 2
Here we draw an oval—this will form the tulip’s calyx, which is oval-shaped but elongated vertically this time!
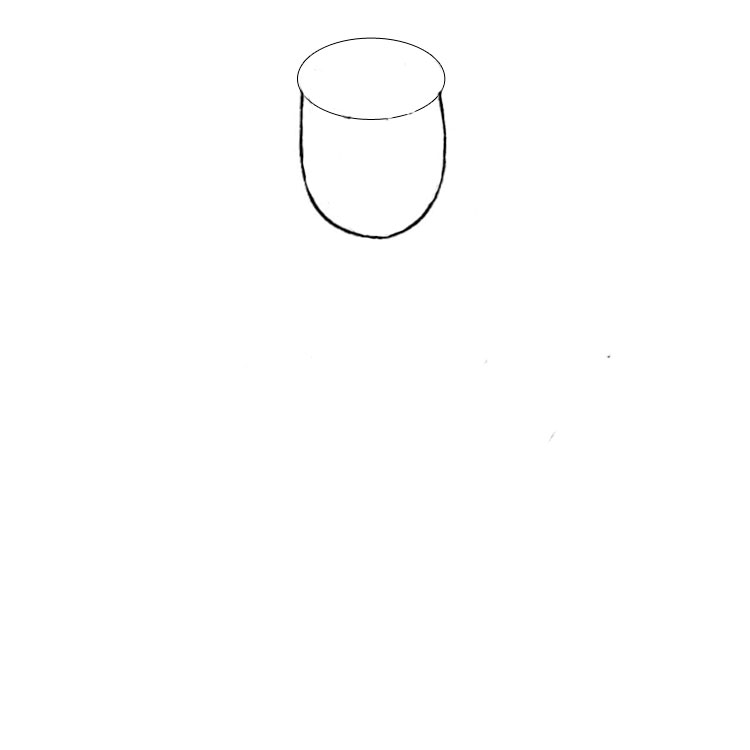
Step 3
At the top of the oval, we draw part of the first tulip petal!
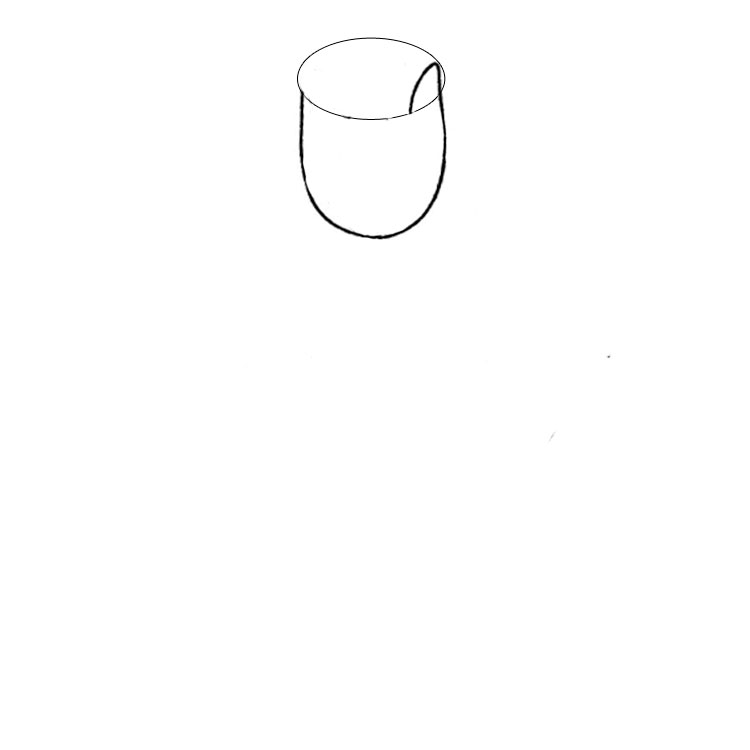
Step 4
Draw the next tulip petal in the same way—they look just like little ears!
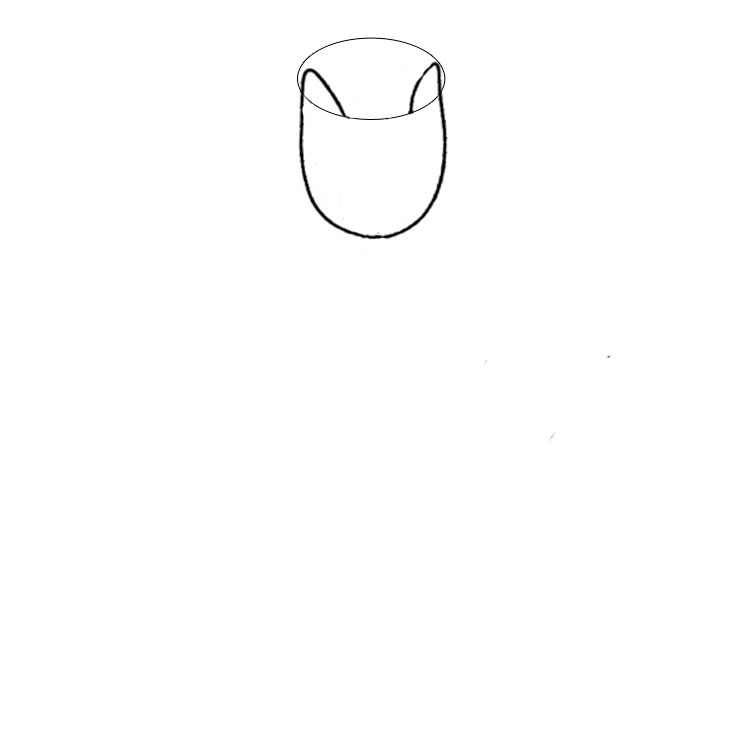
Step 5
And in this step, we’ll draw the central petal of our favorite plant!
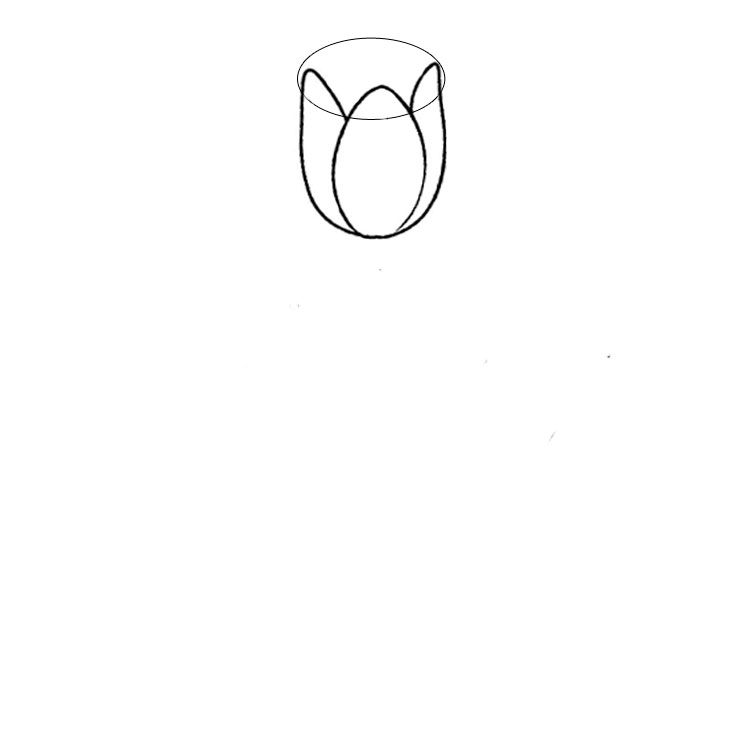
Step 6
Draw the top two petals in the same way!
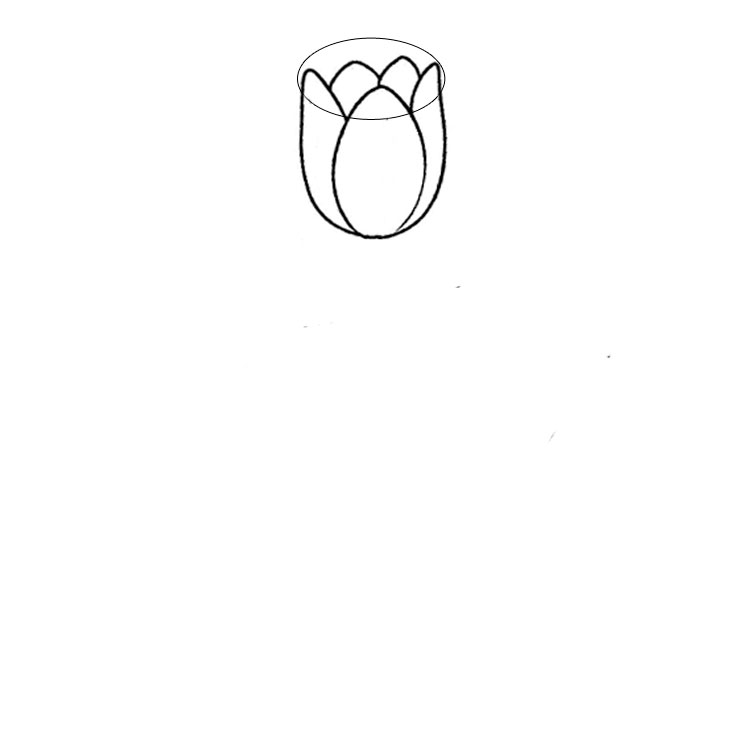
Step 7
At this stage, we’re creating the outlines of the petals!
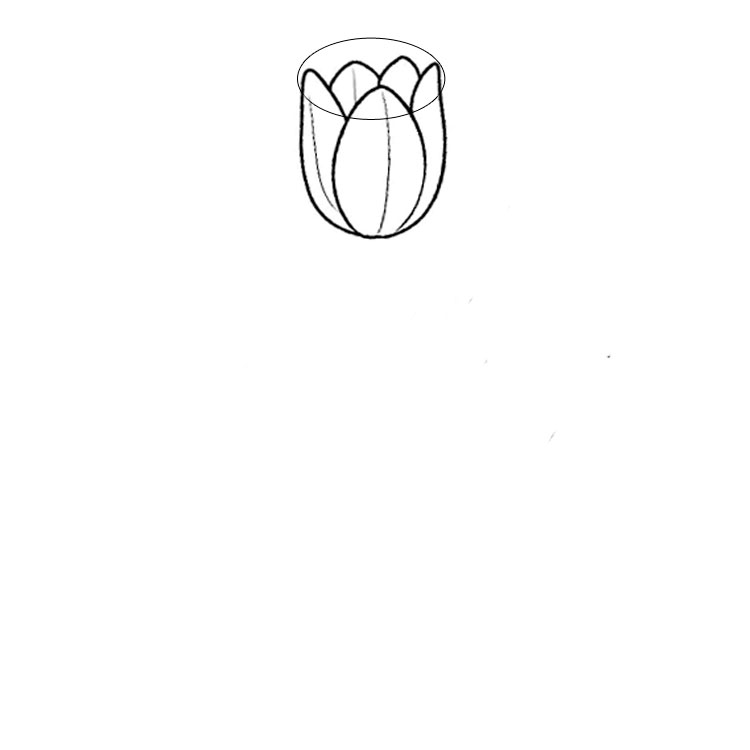
Step 8
And here we’re drawing the tulip stem!
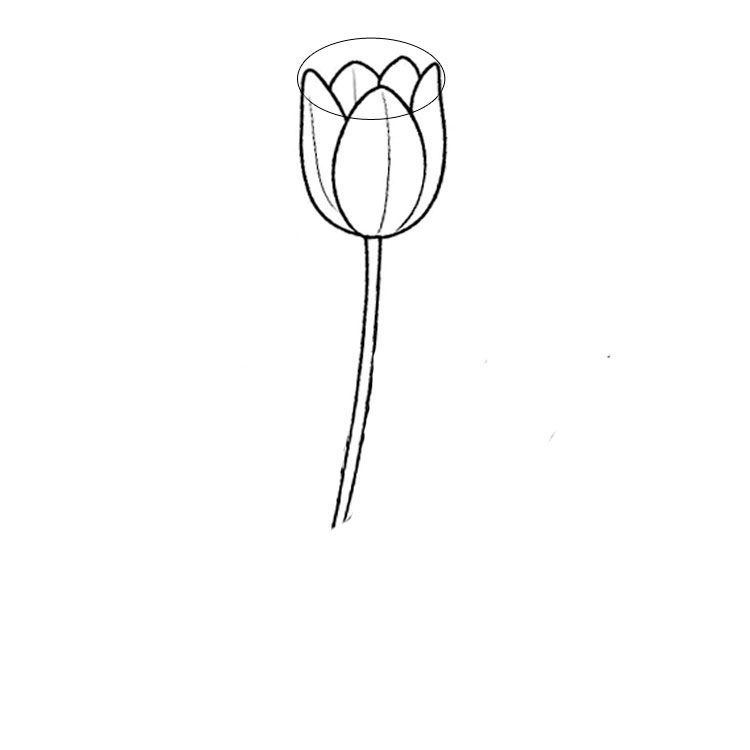
Step 9
Let’s remove the top guide oval from our drawing and finish sketching the outlines of the leaves!
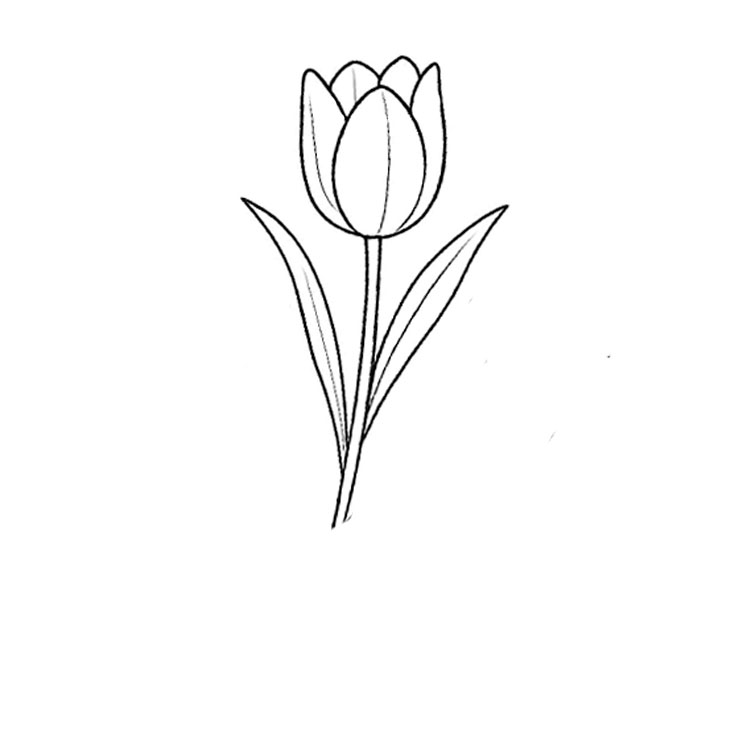
Step 10
Let’s start coloring the tulip’s stem and leaves in shades of green!
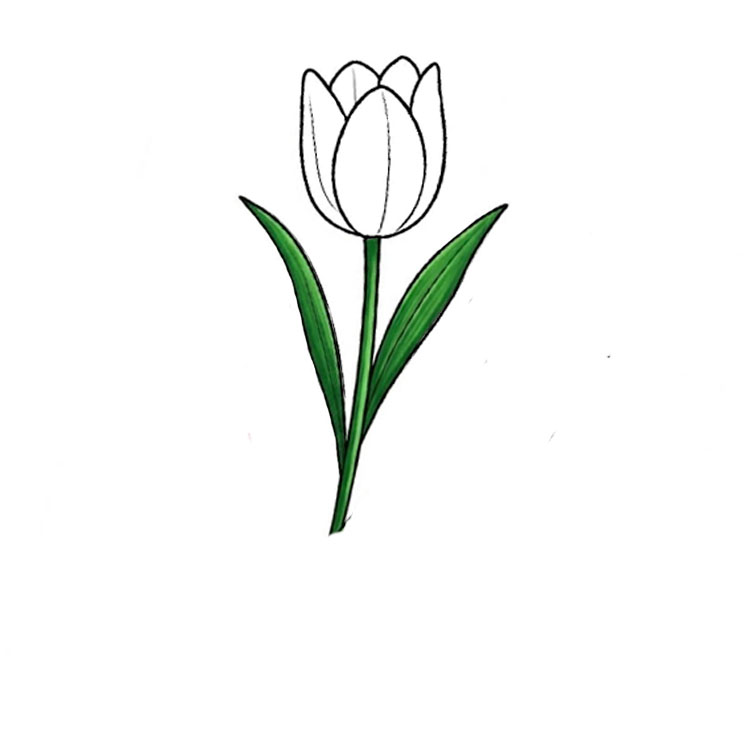
Step 11
And we finish the drawing by adding a bright red hue to the tulip bud itself!
Draw Tulip Flower Simple (Option 2)

Step 1
We draw an oval with a lower part for our tulip

Step 2
Draw the petals of the tulip

Step 3
Draw the top of the tulip

Step 4
Create a template for further coloring

Step 5
Coloring our tulip