How to draw a beanie in 4 versions will be written in this article! A children’s beanie is a fundamental element of a suit that fulfills an essential functional purpose. After all, a warm and comfortable beanie on a child’s head is a guarantee of his health and protection from the effects of negative climatic factors.
There are many different types of beanies. All of them differ from each other in the material from which they are made and in appearance. In this article, we’ll look at a few examples of how to draw a beanie.
So let’s get down to drawing beanie!
How to draw a beanie Easy (option 1)

Step 1
The first step in drawing a beanie is to create the top part of the pompom!

Step 2
We draw entirely with a pompom!

Step 3
Let’s create three beautiful strokes inside the pompom!

Step 4
At this stage, we draw the upper part of the fur structure of the beanie!

Step 5
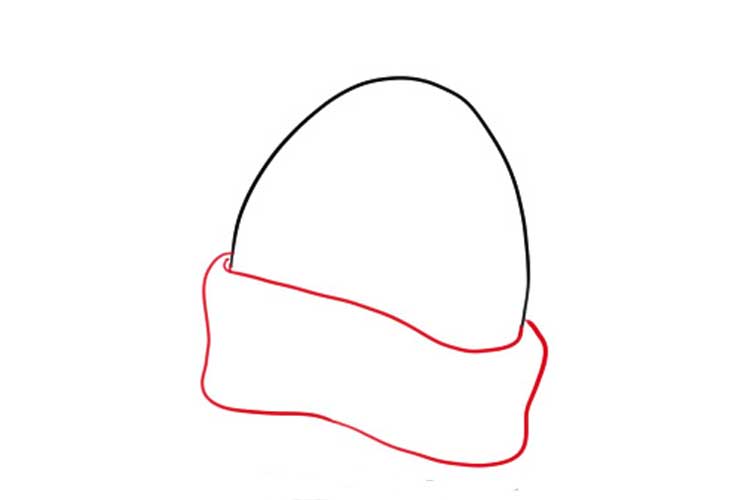
At this stage, we will draw the lower part of the beanie.

Step 6
Let’s create the side elements of the beanie!

Step 7
Let’s draw the lower part of the side elements!

Step 8
Let’s drawing our beanie in shades of blue and dark blue!

Step 9
Let’s finish drawing Beanie by creating beautiful snowflakes!
Drawing a beanie (option 2)

Step 1
First, draw a smooth, curved line.
 Step 2
Let’s add the bottom of the header.
 Step 3
Let’s draw a pompom on top.
 Step 4
If you wish, you can draw any patterns on the surface of the cap.
 Step 5
Coloring our hat in various colorful colors and rejoice at the work done!
How to draw a beanie hat (option 3)

Now let’s look at how to draw a winter hat in stages. After studying the article, it will become easy to do it. You will need plain and colored pencils. You can use paints or markers of different colors.
Step 1
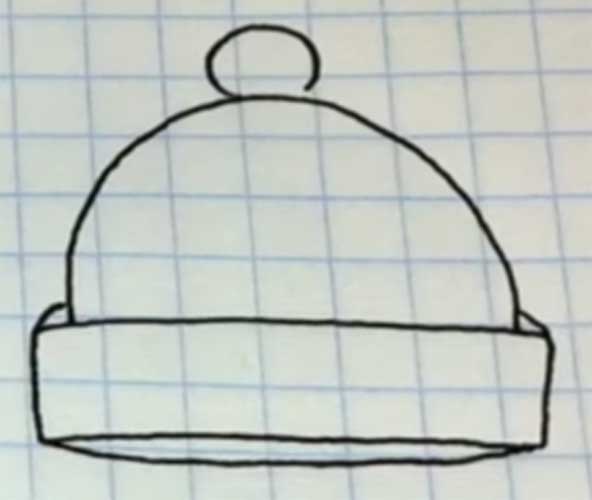
Take a checkered sheet and draw the outlines of the accessory on it. The upper part looks like a semi-oval; the lower one is a rectangle perpendicular to the top.
 Step 2
You need to do three more simple steps to get a hat. Draw a bubo on top. It should be small and round. Let it occupy one cell in size.
 Step 3
Let’s make a nice drawing on the winter hat. Let’s draw two parallel zigzag lines that will divide the headdress into sectors.
 Step 4
Let’s start coloring. You can choose any color. We will make the winter hat colorful, alternating green, orange and blue colors. The cold weather head warmer is ready.
Drawing a beanie simple (option 4)

The foundation
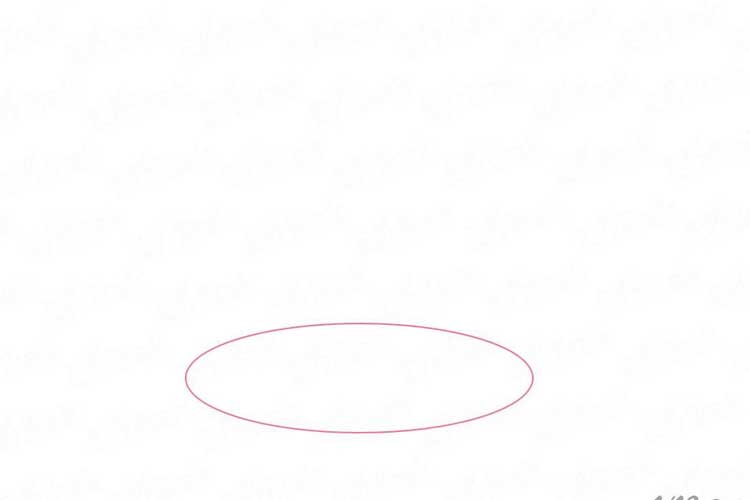
Draw a lying oval, thanks to which we will draw the outlines of the cap. The shape should be slightly below the center.
Volume
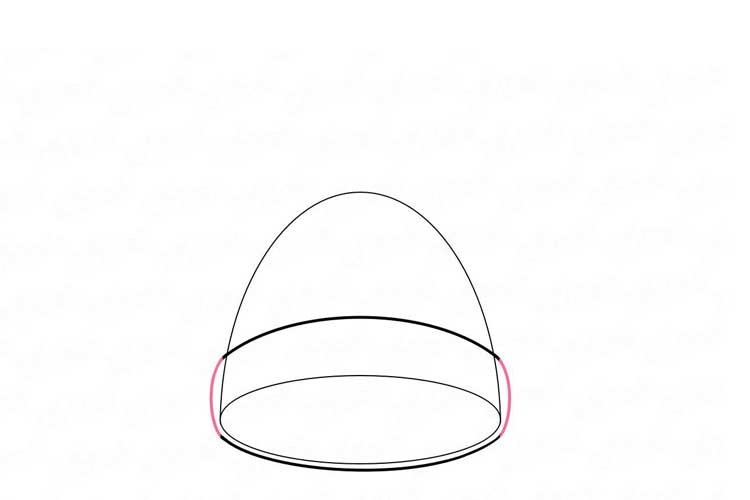
Circle the first oval with another one. The second oval is elongated vertically and resembles an egg. The lower part can be skipped.

Outlines
Now erase the bottom of the second oval. Erase gently near the middle to keep the rest of the details clearly defined.

Bezel
Around the first oval at a short distance, draw the same shape, which approximately resembles an egg.

Adjustment
Make the top and bottom lines more straight. The sidelines should only bend slightly inward. The rim of the hat resembles a rectangle with rounded corners.

Unnecessary details
Erase the lines of the cap inside the rim, giving the outline a realistic look.

Pompon
Moving on to the image of an accessory that adorns many hats – a pompom. Draw a small circle on the cap with the edges touching the headdress.

Pom-poms are usually made from threads that are tied in the center and stick out in all directions. We outline the circle with a wavy line.

Extra details
Since the pompom is ready, you can remove the circle inside with an eraser.

Zigzag
We proceed to the most exciting thing – the image of the picture. About the middle of the cap, draw two zigzags that repeat each other.

Rhombuses
In the zigzags’ bends, draw small diamonds that are at an equal distance from each other. The pattern is ready!

Coloring
You can color the hat, as shown in the picture. We offered one color option. But you can come up with another one with your child and color it to your taste.


