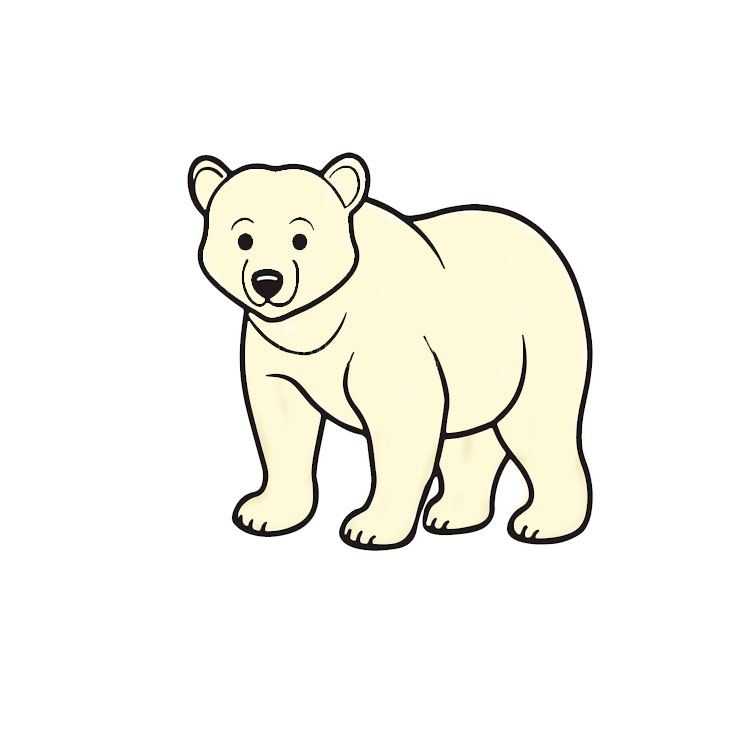
How to draw a bear in step by step ! This article will be explained how to draw a bear!
And this release consists of the following parts. To make a bear realistic, you need to know well the structure of these animals. It doesn’t matter if you draw a forest bear, a polar bear or a panda – the anatomy of their bodies is similar:
– All these predators are stocky, squat and very large.
– The bear neck is short when compared to the rest of the body.
– The distinctive features of these animals are large chest, sturdy legs with long claws. With seeming clumsiness, bears can quickly cover long distances.
– All bears move the waggle on four legs, but if necessary, they can also be minced on two hind limbs.
– The skin of all representatives of this species is thick, insensitive, covered with dense fur.
The most significant and most powerful part of the body, well concealed by fur, is the rib cage. When creating a sketch, it is worth highlighting it to keep the proportions of the animal correct. The shoulder blades stand out on the back, and the front legs have three support points – the wrist, shoulder, and elbow. The hind limbs are also similar to human and have a pelvic, knee and heel joint. The head of the bears is small, and the muzzle is elongated. Knowledge of anatomy allows you to depict an animal in various poses, so look closely at the structure of the limbs. In various drawings, we will describe bears in one position or another.
How to draw a bear easy
Step 1
The first step in drawing the bear is to create an oval flattened on the sides!

Step 2
At this stage we draw the eyes of our bear!

Step 3
This is where we draw our bear’s eyebrows and muzzle!

Step 4
This step is where we draw the ears!

Step 5
Drawing the bear’s front right paw!

Step 6
Drawing the front left paw of a bear!

Step 7
Colored the bear’s hind legs!

Step 8
In this step, we draw the bear’s back!

Step 9
Let’s finish drawing the bear’s chest and simply color it in light gray tones!
How draw a bear paws
Pay attention to the paw image construction scheme:

Our predators have five fingers with long claws. Paw in profile should begin to draw with the “axial” line, which, by the way, coincides with the main bone of the wrist. Further around this line is marked paw, thumb, and claw.
Further, depending on the structure of the bear, draw the wool, the rise, the rest of the fingers. On the front, the pattern “overlaps” approximately the same. If you need to paint the back side of the limb, then pay attention to the black leather pads that all bears have.

Drawing a bear getting started ahead
Perhaps the muzzle, like the human face, is the most important and characteristic part of any animal that needs to be drawn as accurately and precisely as possible. It is necessary to observe a specific sequence of actions to keep the proportions:

1. Beginning to draw the bear’s head from a horizontal rectangle. Next, we enter an oval into the shape and mark it as shown in the figure. Two perpendicular lines define the center of the ellipse. Two more features will help us determine the position of the nose (red) and eyes (green).
2. The upper vertices of the rectangle are connected to the center by two diagonals. Where the lines will intersect with a green stripe, small eyes will be located. They are widely planted in a polar bear, so this form of marking is optimal. If you draw a brown bear, make a rectangle wider. Ears are placed near the green line, above the eyes. The top of the nose will be at the center point of the oval, and the rest of it will be located between the central and red axes. Denote the line of the mouth and select the muzzle with an ellipse.
3. Finish the neck, remembering the structure of the bear body. Do not forget about the shadows – they will help make a face elongated or round. Play with blackouts to create different effects and better convey the personality of the animal. Glare and shadows accumulate mainly around the nose. We display the hair with strokes directed from the nozzle to all other parts of the face. When painting, use different shades to make the image voluminous, and wool – thick.
If you need to draw a polar or forest dweller in profile, use the following guidelines:

– We start drawing with contour delineation and marking – the head will consist of two ovals, on top of which there will be a trapezium, divided in half. Its angle of inclination will depend on the breed of the bear. In the figure above, it is indicated in ginger color.
– Ear, eye, and nose will lie on one line. Listeners will be located between the two upper ranges of the trapezoid. Eye denoted at the intersection of circles on the top rope. The central line shows the place of the end of the nose, and the bottom – the direction of the chin, the angle of inclination of the lower jaw.
Draw the details of the bear head
Let us examine how these or other parts of the muzzle of the beast of prey are drawn:
1. Eyes. Their precise detailing is essential for our bear to be as expressive as possible. You can, of course, mark them with simple black circles with white highlights, but if small details are essential in your drawing, then use this simple scheme. Make sure that the proportions of the eyes are preserved about the face, as well as keep the above form. For centuries the bear has no wool, but in other places, it diverges from the eye in different directions.

2. Nose. This part of the body is easy to draw; the main thing is to display the depth with shading and shadows. We begin to draw from the circle, divide it by perpendiculars, then place the nostrils and start to depict them in detail.

3. Ears. When drawing the organs of hearing, consider the direction of the hair and the location of their location on the head. We begin to create, as always, with simple forms, then we add more and more details, building them on a sketch, layer by layer.


