In one of the preceding drawing article we demonstration you how to draw a book. That tutorial became enormously admired, and many of our readers asked us to make one more tutorial and show how to draw a closed book. The tutorial is ready to do let’s start drawing! So, let’s begin this tutorial and learn how to draw a book! Note that this tutorial is straightforward, and cope with it under any artist. Literature brings new knowledge and fills with unforgettable impressions.
Undoubtedly, in the era of technology, a paper book is challenging to withstand competition, but as Baurzhan Toshibekov noted, “A civilised person spoils his vision with a TV and a cultural person with a book.” Today you will learn step-by-step instructions for the image of this treasury of humanity.
How to draw a book open (option 1)

Step 1
At the initial stage of drawing the book, we create one vertical line!

Step 2
Next, we draw two more vertical lines like this next to it!

Step 3
Connect the top and bottom edges of these three vertical lines as shown in the figure!

Step 4
And in this step, we draw the very edges of our book!

Step 5
We also create the inner edge of the hard cover!

Step 6
And for beauty, we draw an ornament at the top of the book in the form of a unique pattern!

Step 7
Let’s also draw the outline of a bookmark for our book!

Step 8
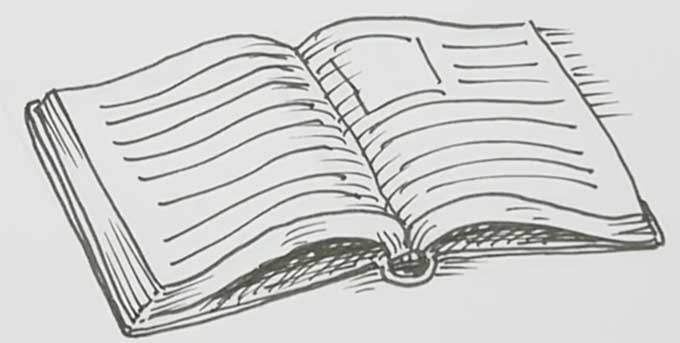
And at this stage, we begin to coloring our book from the inside, starting with the soft pages, giving them a light yellow color!

Step 9
And we finish coloring the book with its pages, bookmarks, and hardcover!
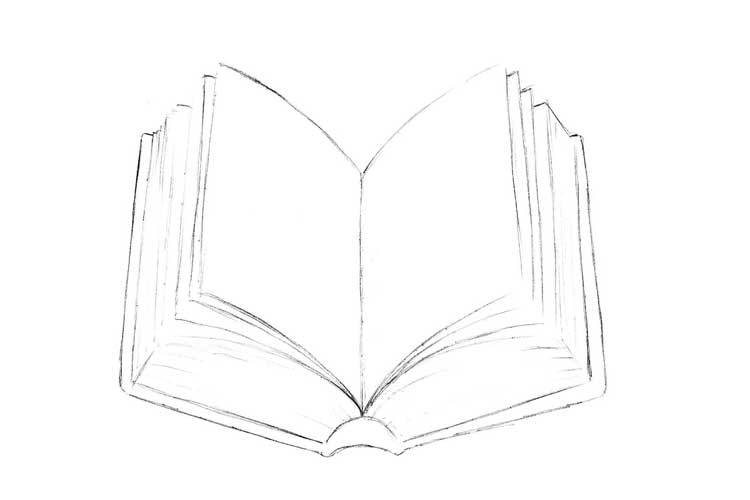
How to draw a book in stages (option 2)
To draw a book this well of knowledge is quite simple. Let’s look at everything in stages.
Step 1
Sketch the future volume. Draw a slightly tilted rectangle. Draw a vertical line in the middle of the box.

Step 2
As you already understood, the size will be open. Therefore, it is necessary to depict slightly bent pages. To do this, from the vertical line, draw two curved lines above and below, as shown in the figure. Also, note that at this stage it is necessary to draw a binding cover.

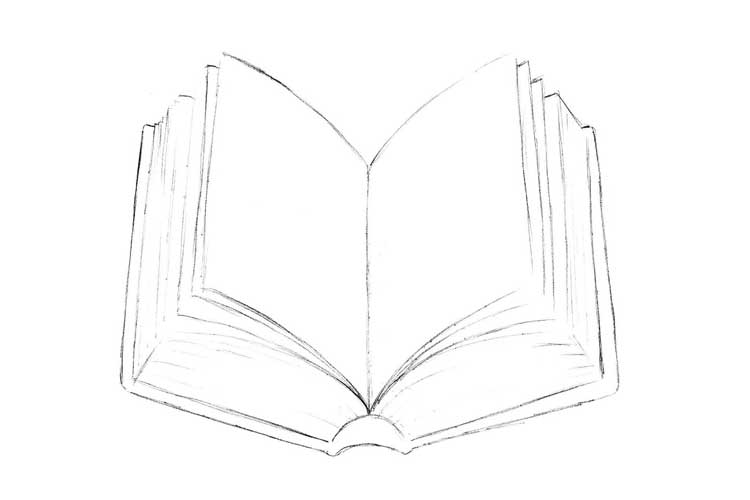
Step 3
Now add details, such as a bookmark. On the sides and bottom with light hand motions, draw lines that recreate the sides of the publication. Erase all the extra tracks.

Step 4
Light strokes impose light and shadow for greater realism. You can add pictures and lines.
How to draw a book in pencil
As mentioned earlier, to make a book easy. Pencil drawings are pure in their execution, but they look decent and believable.
Draw an axis with a low-fat pencil. From it will repel the entire picture. Next, sketch the pages that are deployed in front of you. You can draw them with slightly bent quadrilaterals.
 Next, on both sides, describe a few more eye-catching sheets. Pencil choose not too bold; it is still a sketch
 .
.
Below, draw an arc and from it straight lines diverging in different directions. So you have a cover and binding. Draw the remaining pages as rectangles, as shown in the sample.
four

Draw a bold pencil cover and erase unwanted lines. Your drawing is ready!
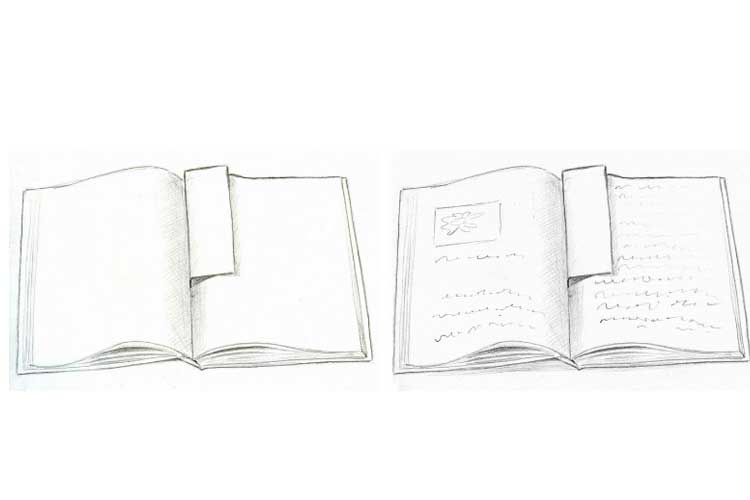
Open book
To create an impression of inspiring bliss from reading your favourite book, make it accessible.
As you know, there is a soft and hardcover. The main differences are in how paper sheets are assembled, and the material from which the cover is made is held together. Hardcover editions look more prestigious and are more practical than paperback books.
When depicting an expanded volume, you must consider the type of binding, look at the example.

Sketch light strokes.

Draw a binding cover, bend pages and the main array.

Erase the auxiliary lines. Circle the outline of the book. Add borders and pictures. Create a shadow effect with overlapping strokes.

Closed book
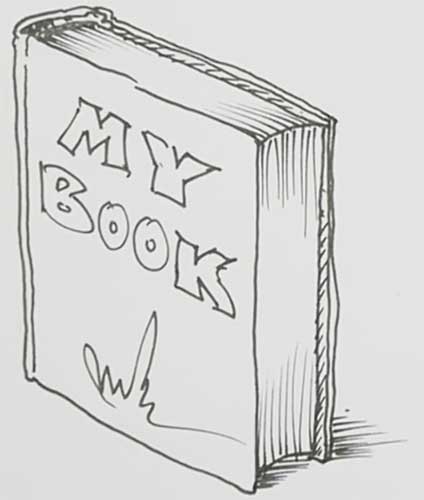
In principle, a closed edition is a parallelepiped, so it is quite simple to portray it.
Do not push hard on the pencil and sketch a sketch. See the example below.

Next, draw the basic outlines, cover and pages.

Use a bold pencil to circle the main features of the textbook, use strokes of different lengths to draw pages. On the cover write the name of the manual. Pass the shadow with short strokes.


