Lemon drawing in 3 different versions will be described in this article! How the lemon appeared, no one can say for sure. It is believed that it arose as a hybrid of citrus fruits, and as a result of climatic changes, it turned out what it is today. India and China are considered the birthplace of lemon, where it still grows wild in the highlands.
From there, citrus spread throughout Central Asia. And already in the Middle Ages, it was brought to Europe. Lemon drawing is easy, and follow our recommendations! The lemon tree came to the American continent with the expedition of Christopher Columbus, where it was originally brought in the form of seeds.
And after several centuries in Florida, California, and Mexico, lemon trees were grown on an industrial scale. For the past few years, Mexico has been the number one supplier of citrus fruits to international markets.
So let’s get down to lemon drawing!
Necessary materials:
– a simple pencil;
– eraser;
– a blank sheet of paper;
– color pencils.
Lemon drawing Easy (option 1)

1. In the middle of the blank sheet, draw a medium-sized circle by hand.

2. Now draw small triangles with rounded corners on both sides. The lemon’s left tip will be placed just below the middle, but the right tip will be the opposite.

3. We remove the auxiliary lines between the circle and the triangles. We get a beautiful lemon shape.

4. In the foreground, draw another half of the second lemon. To do this, first, draw an oval on the right side.

5. Remove the contour line of the lemon in the middle of the oval.

6. Draw a circle in the middle of the oval. This is the center of the lemon. Draw the side of the citrus fruit on the left side.

7. Let’s add another line to the lemon slice. Then draw the wedges in the middle of the oval. Each slice will be similar in shape to a drop. Start drawing each figure with a small circle that is the center.

8. Add lemon slices in the intervals of the oval.

9. Remove the auxiliary lines in the middle of the fruit half with an eraser.

10. We paint the lemon in the background completely and partially the one in the foreground in the cut.

11. Using orange pencils of different tones, we add volume and color to the drawing with citrus fruits.

12. add contour and depth to the lines using a burgundy pencil.

13. a delicious and bright drawing of lemon with colored pencils is ready and will please the true connoisseur of the Spanish fruit.
Lemon slice drawing (option 2)

This drawing I copied from one real lemon, one invented and one photographed. Therefore, I came up with the falling shadows from lemons myself, analyzing where the light comes from. In real still life, with this set of light, there may be slight differences.
1. We outline the location of the lemons: draw one whole and two differently cut.

2. Draw the axes of the lemons and outline their generalized shape, focusing on the axes.

3. Draw the peel of the lemons and add details. Please pay attention to the lemon, which is cut across, the oval in its center is precisely an oval, not a boat, as beginners usually draw in 100 percent of cases when they learn to draw.

4. Break the cut lemons into slices.

5. Add a parallel stick to each broken lobule and get streaks. We connect the veins with the peel near the peel, refining the lemon slices; thus, our slices begin to become appetizing. Erase all auxiliary lines with an elastic band.

6. We begin to lay the darkest places in the image – the falling shadows and our own. Add volume by shading in the darkest places on the lemon in the shape of the lemon.

7. Laying the background around the lemons. If you are not going to add experience, then only lemons can be shaded.
How to draw a lemon Simple (option 3)

Stage 1
The fruit itself is not difficult to draw, since it has relatively simple shapes: an oval as a whole and a circle in section. From these basic shapes, we will begin to draw a slice of lemon and whole fruit.

Stage 2
Let’s make the resulting sketch more similar to a real fruit’s contours: slightly lengthen the tail in both pictures.

Stage 3
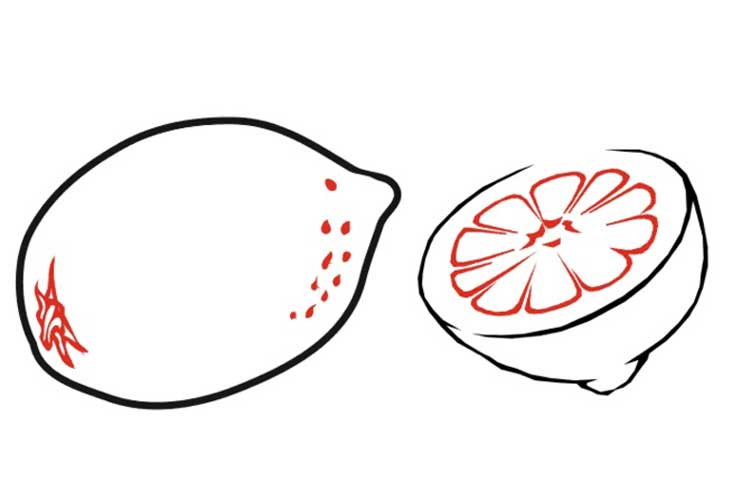
In the whole fruit, draw attachment to the stalk, resembling an asterisk in shape. The uneven surface of the skin, covered with pimples, can be conveyed simply by dots in the greatest shading place.
At the half of a lemon, on the cut line, draw slices that look like triangles with rounded corners. These triangles are directed to the center of the lemon – to the core.
Stage 4
The main drawing is complete. It remains only to trace the image’s contour with a thin felt-tip pen or pen and add color. Give the bright yellow skin a more natural look by adding shadows, as shown.


