Smile drawing in 3 versions wakes up narratively in this article! The detailed description tells and shows how to draw a smile with a pencil step by step. From the step-by-step guide, you will learn how to start the drawing process, position the object of work on a sheet of paper, what materials and tools you need. Take advantage of detailed explanations and illustrations in the form of photos, draw a beautiful smile full of joy and health. Let’s draw a lovely and beautiful smile together!
A smile is a mimic movement that can involve up to 53 facial muscles. And if you remember that there are 57 facial muscles in general, you understand how complex this movement is and how diverse a smile can be. Also, the eyes are involved in this mimic reaction – their expression is significant for understanding the essence of a smile.
Let’s get down to smile a drawing!
Tools and Materials
To make a drawing “smile” with a pencil, you will need:
- ruler;
- A4 sheet of drawing paper;
- simple graphite pencil TM, M3 – 1 pc .;
- rubber;
- paper napkin;
- cotton swab;
- sharpener for pencil.
Smile drawing Easy (option 1)

Step 1
To successfully draw a smile, we need to take an A4 sheet of paper, as we often do, and find and measure the center at a distance of 10.5 cm!

Step 2
Next, as shown in the figure, take one vertical and one horizontal line!

Step 3
The dimensions of these lines will be as shown in the figure!

Step 4
In this step, we draw the upper part of the smile!

Step 5
And here we create the outline of the upper lip!

Step 6
For convenience in subsequent drawing, we need the dimensions! These dimensions are indicated in centimeters in the image!

Step 7
Here we draw the central part of the smile, or more precisely, the place where the teeth will be located!

Step 8
At this stage, we draw the lower lip, or more precisely, its outline!

Step 9
Let’s draw two front teeth, or rather their outlines!

Step 10
Next, we will draw the outlines of the subsequent teeth in the upper row!

Step 11
We darken the sides of the upper row of teeth!

Step 12
Let’s draw the outline of the lower teeth!

Step 13
In this step, we coloring the upper lip of our smile!

Step 14
Let’s finally get rid of the remaining parts of the smile elements!
Smile drawing Simple (option 2)
Location for drawing
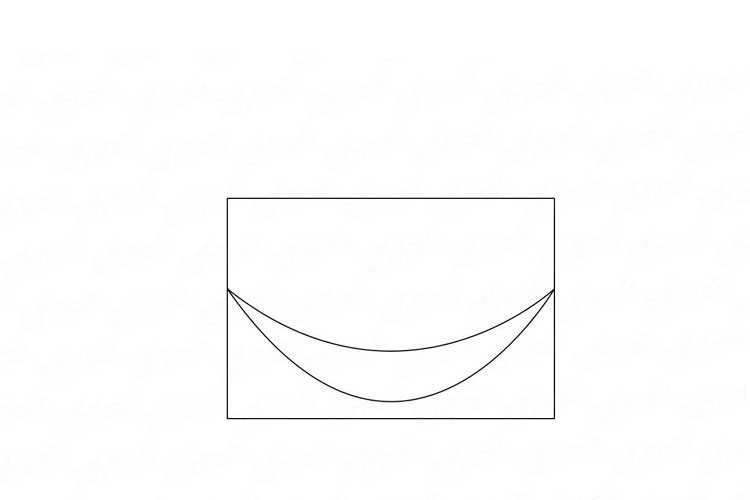
With a rectangular shape, we denote the limits to attract lips with teeth.

Divide it horizontally to specify an area for the upper and lower lips.

2
Underlip
Grinning lips are narrower. The reduced one looks like a crescent.

The horizontal line is no longer required.
Smile adjustment
3
We open our mouth
Given that our lips are split draw the line from over with a mild bend. In this area, we will undoubtedly draw teeth.

Upper lip line: Offer the lip the appropriate form for the upper lip’s reduced part.
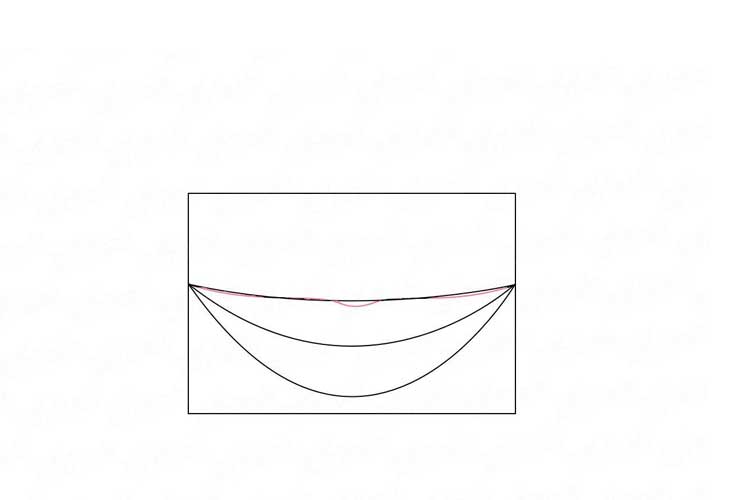
Eliminate unnecessary details with an eraser. Do it meticulously.

4
Upper lip
Include a curly line ahead, and we obtain a large upper lip

The rectangular shape can be erased.

5
Teeth
We begin with the top jaw.

Attempt to maintain your teeth right.

6
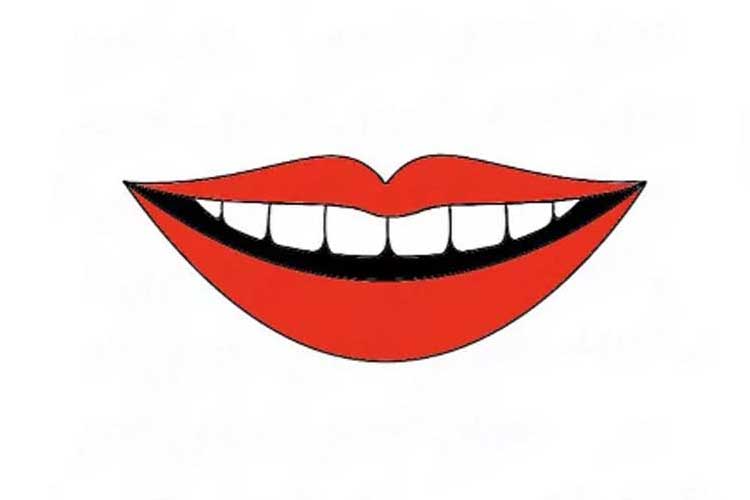
Coloring
To make whatever appearance lovely, select an intense lipstick color, as well as make your teeth perfectly white.

Choose just how you wish to repaint.
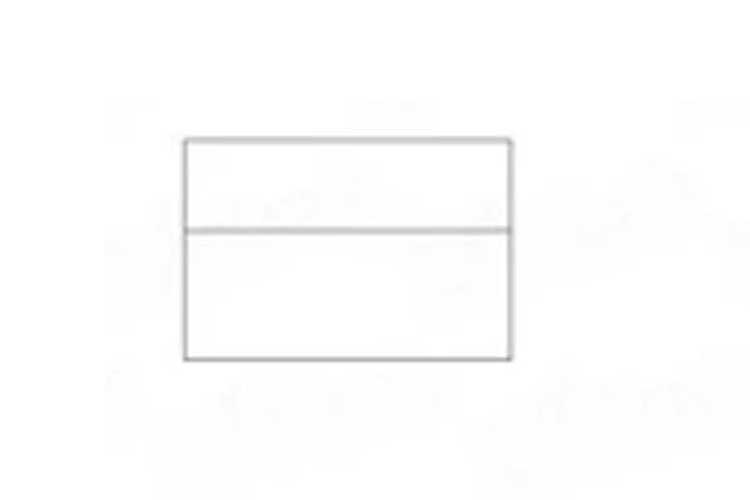
Smile drawing cute (option 3)
Draw a horizontal rectangle and divide it with a line, leaving a smaller volume at the top.

Then we draw the lower lip, leaving space for the teeth, then the upper lip, carefully examining the upper lip edge outline.


Now let’s take care of the teeth. More often, only the top row of teeth is visible, but the smile can be vast and revealing both rows.


We carefully observe the model and draw what we see.


